
Please wait, I'm coming over...


Last Changed 7/14/2012 |
||
|
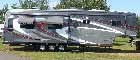
We had DirecWay (now called HughesNet) satellite Internet installed when we moved to the transitional rental farm house.
The farm house was too remote for cable and DSL Internet. Before we went on the road, we acquired a tripod setup for the
equipment we had installed at the farm house. We choose the
DustyFoot system.
The reason for DustyFoot was a pure gut reaction. All of the setups offered (see list) seem to be reasonable offerings. (Note - DustyFoot does not handle tripod systems anymore) At first look, you might think that you could just get a home installed HughesNet setup (dish and modem) and then buy your own tripod and save a lot of money. Well the reality is the cost of the tripod kits, typically called mobility kits, have several components that are custom designed and built on a very limited basis. This means the cost of these items are expensive. The adapter that insures that the satellite dish's center of gravity is over the tripod center is a very difficult design. Without that position, the dish will be tipsy with potential dish transmitter damage. The most important thing you buy with a mobility kit is the support of the vendor. HughesNet will not support a tripod based setup. When you move your satellite setup, the only support you can get is from the vendor of your mobility kit. If you choose to create your own tripod setup, you will also have to be able to support yourself. You may not need this support very often but without it, it will be a very lonely place to be. |
||
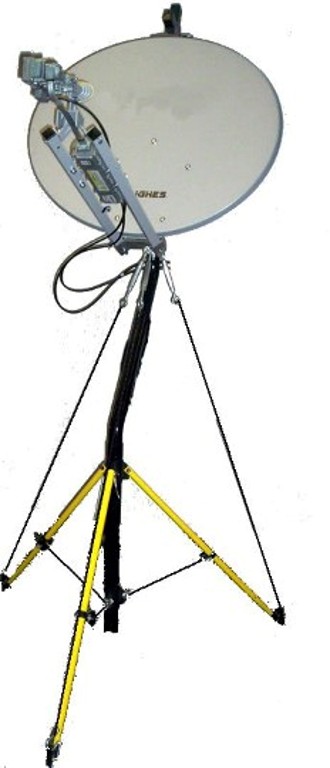 |
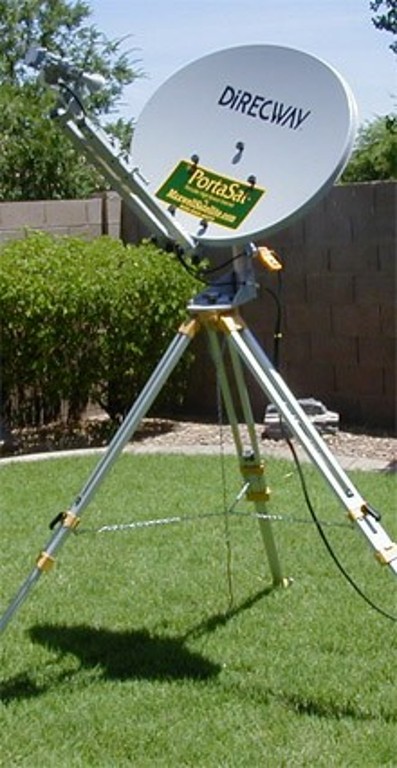
DustyFoot just seemed to be a more complete package. DustyFoot has the distinction of being the most unique of the tripod offers. Most tripods are actually heavy duty surveyor tripods modified to hold the dish (picture below). | |
Since we purchased the DustyFoot tripod setup for our existing equipment, we had to do a couple of modifications to the dish. The modifications were very easy and the instructions were very good; the pictures included with the instructions were a big help. The first setup took four hours. That included making the dish modifications and reading each step. |
||
Align-a-Site |
||
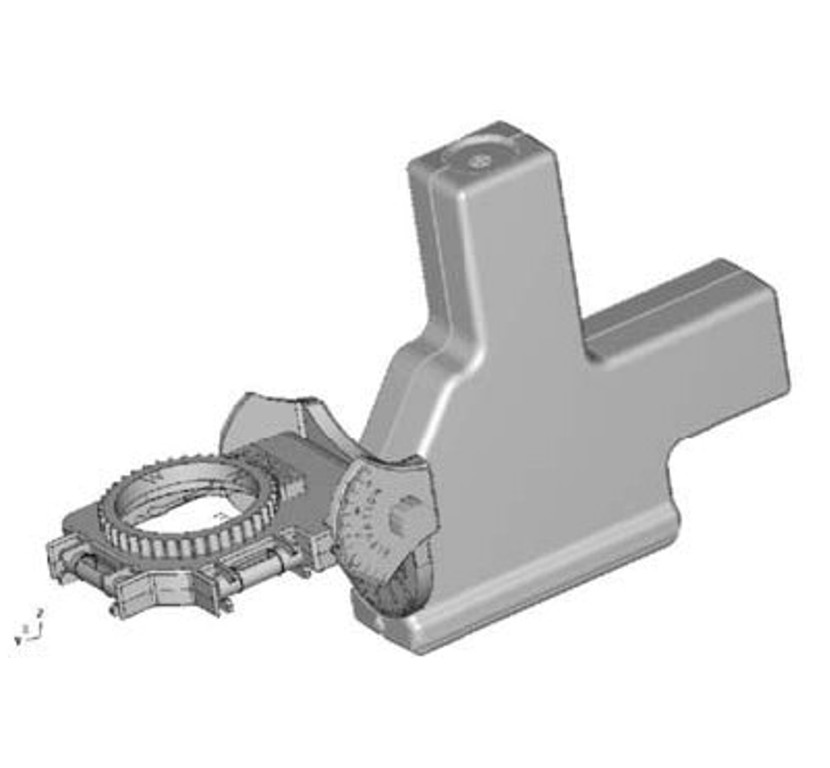 |
A key part of the DustyFoot setup kit is an Align-a-Site, a tool which helps put the satellite
dish into a zone to find the satellite. The Align-a-Site relies on an initial setup based upon the tripod being very vertical. By nature, the new DustyFoot tripod is not easily made vertical. So the initial setup of the Align-a-Site is a SWAG at the best. So your first attempt at finding a satellite out in space is being helped by a device that is not accurate. That is why is took four hours. But by following the procedures outlined by the very good DustyFoot instruction manual we did find the satellite. In fact after we tweaked the adjustments, we had a better signal than when the DirecWay dish had been installed by a “professional installer” who had electronic setup equipment. |
|
 |
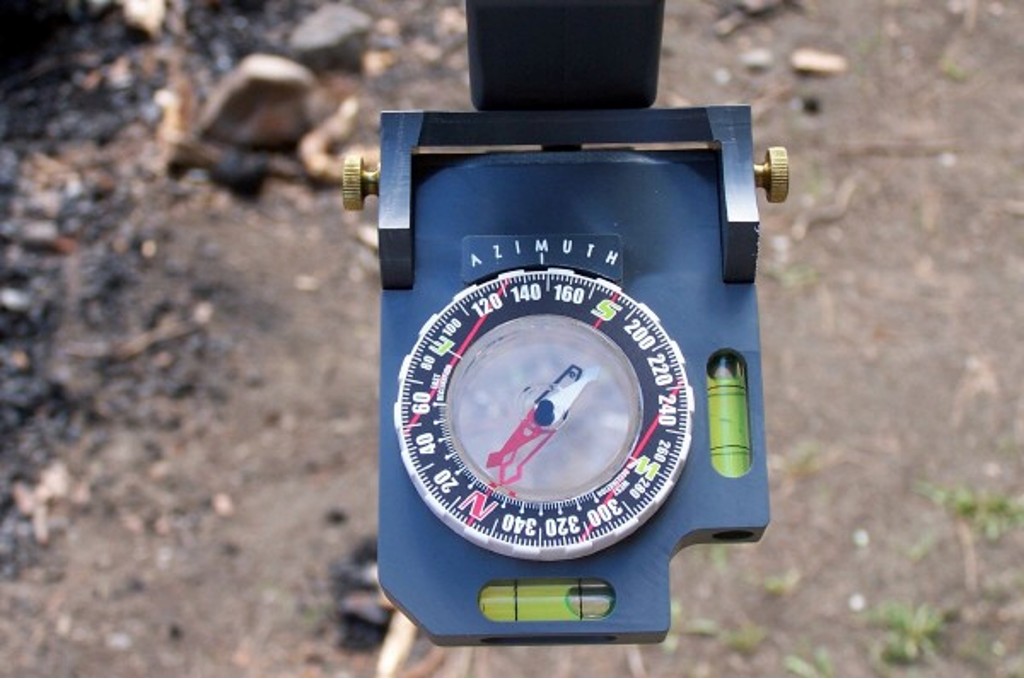
Here you can see the compass where you set the azimuth, the compass direction that the dish should be pointing. You will also note the two levels used in elevation and skew settings. |
|
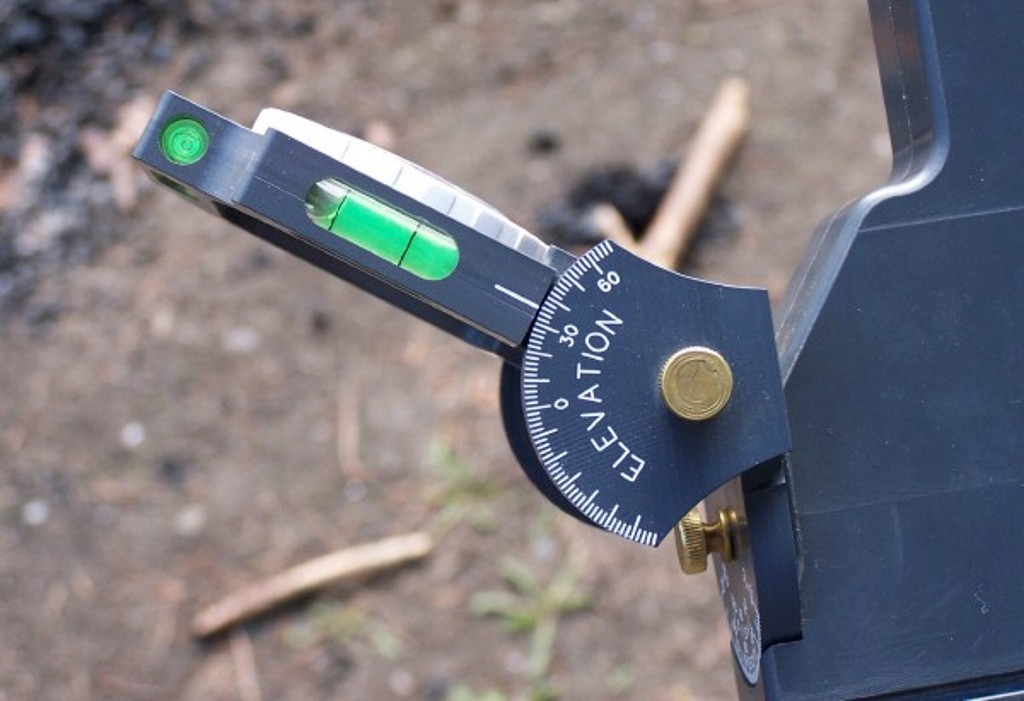 |
Here is the scale where you set the elevation that the dish should have. | |
 |
Here is the scale to set the skew (the twist in the dish) that the dish should be set to. | |
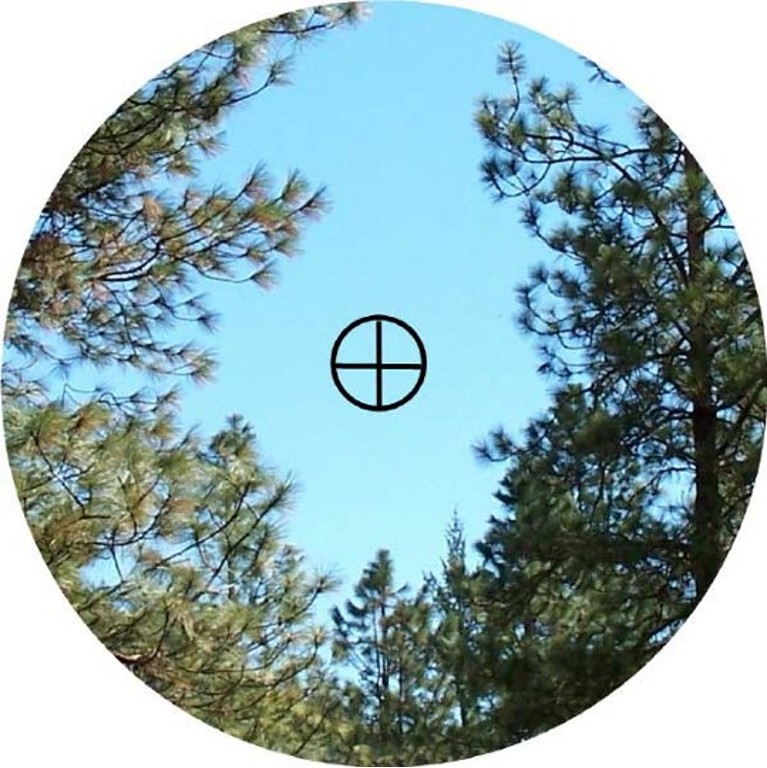 |
After the azimuth, elevation, and skew are set, you look through the eyepiece, holding the levels centered and the compass pointing to the correct direction. What you want is a hole in the trees through which the dish can see the satellite. | |
|
After you make your first satellite contact, you tweak the Align-a-Site and it is a very good tool after that. Our normal setup time is now around twenty minutes. Update - We managed to lose our Align-A-Site and the first time we tried to setup the tripod dish, we realized just how much we used the functionality of the Align-A-Site and how it made dish adjustments a lot easier. WE bought a replacement. |
||
OPI |
||
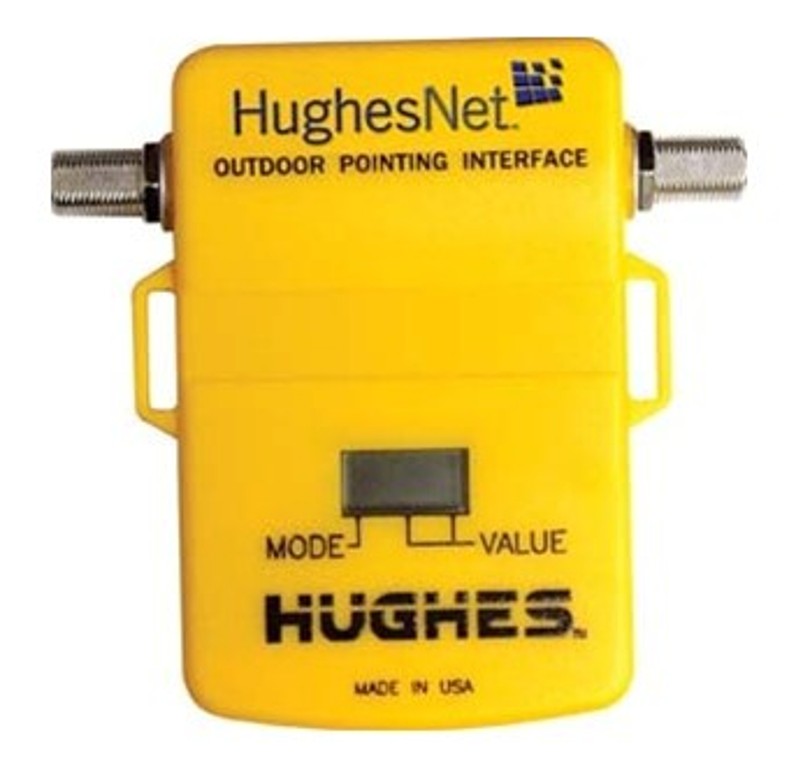 |
One of the devices that come with most tripod kits is Outdoor Pointing Interface (OPI). This device that you put into the cabling that is supposed to give you signal strength to help point the dish. There have been issues where the OPI does not work. That was the case for us the first time. | |
|
The alternative was to use our laptop and observe the signal strength on the screen. This was easy as we have a wireless router attached to the HughesNet modem. The only problem using the laptop was that outside; it is hard to see the screen in bright sun. We have gotten so use to using the laptop; we have not tried the OPI again. The OPI may work as there are several things to help make it work. The only advantage we can see to the OPI over using a laptop is performing a satellite dish setup in rainy weather. The OPI is more waterproof that a laptop. However, we do not foresee setting the dish up if it raining so the OPI is not as issue. |
||
Securing |
||
 |
Most Internet satellite tripods are modified surveyor tripods. Common methods to secure these surveyor tripods are to tie the head of the tripod to the ground with a spring type of connection or to hang a weight, like a bag of water, from the head. |
|
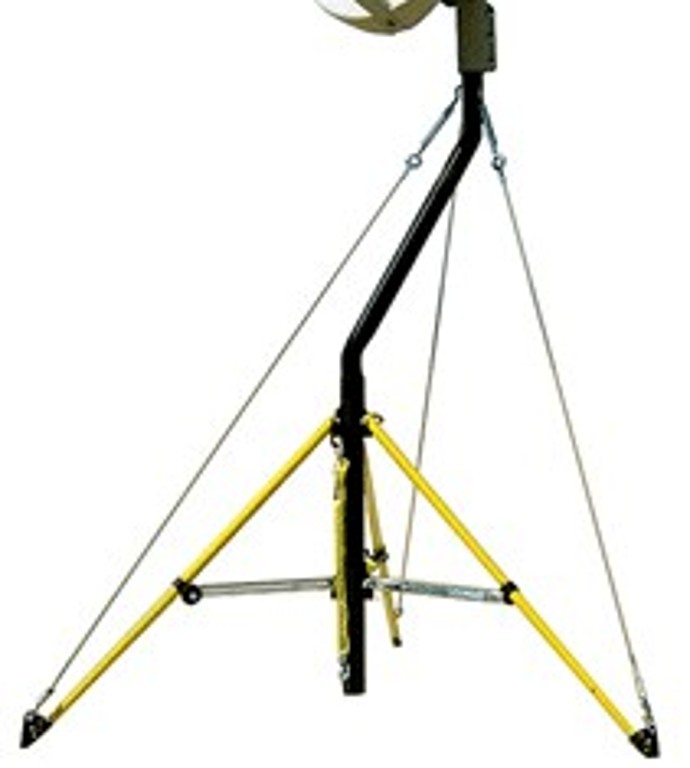 |
The DustyFoot tripod has a center core mast that is not conducive to the type of securing of surveyor tripods. The DustyFoot kit does supply some very good ground stakes made from rebar steel. | |
When we asked DustyFoot how to secure their tripod when on a solid surface like concrete or asphalt, we were told to use sandbags over the tripod feet. We did not want to carry sandbags for a couple of reasons, the most important being the space and weight of sandbags. We thought of using water bags like those hung from the center of surveyor tripods and even bought a pair. What we did not like about the water bags was that the bags would chafe against the legs and supports of the DustyFoot tripod. |
||
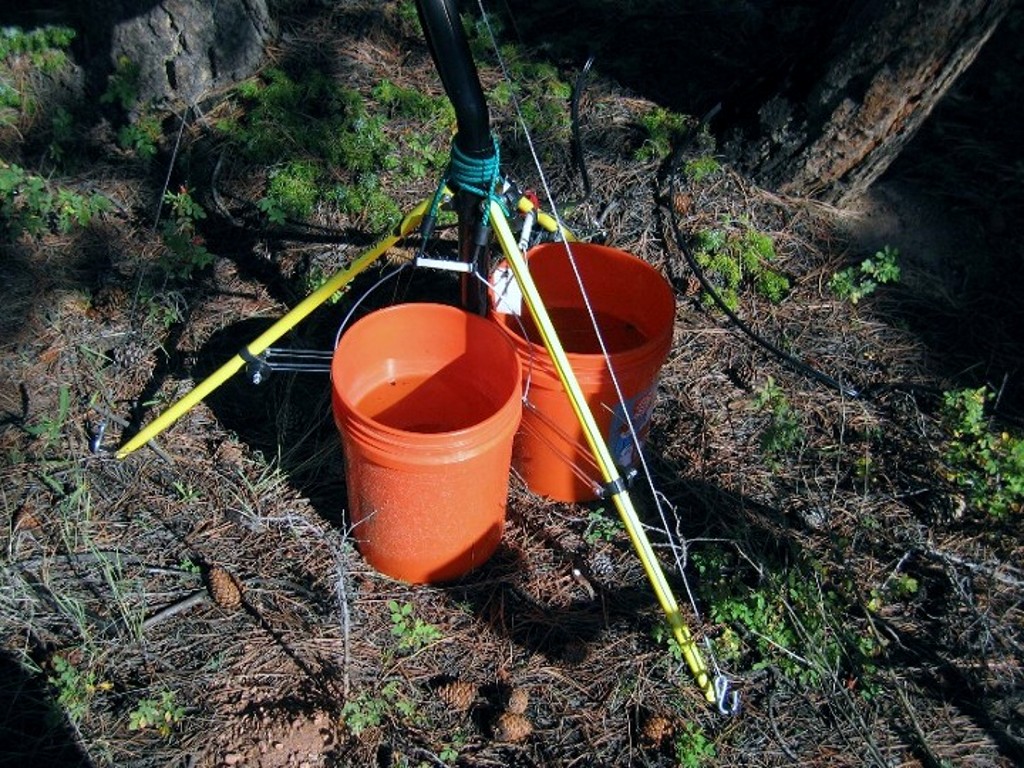 |
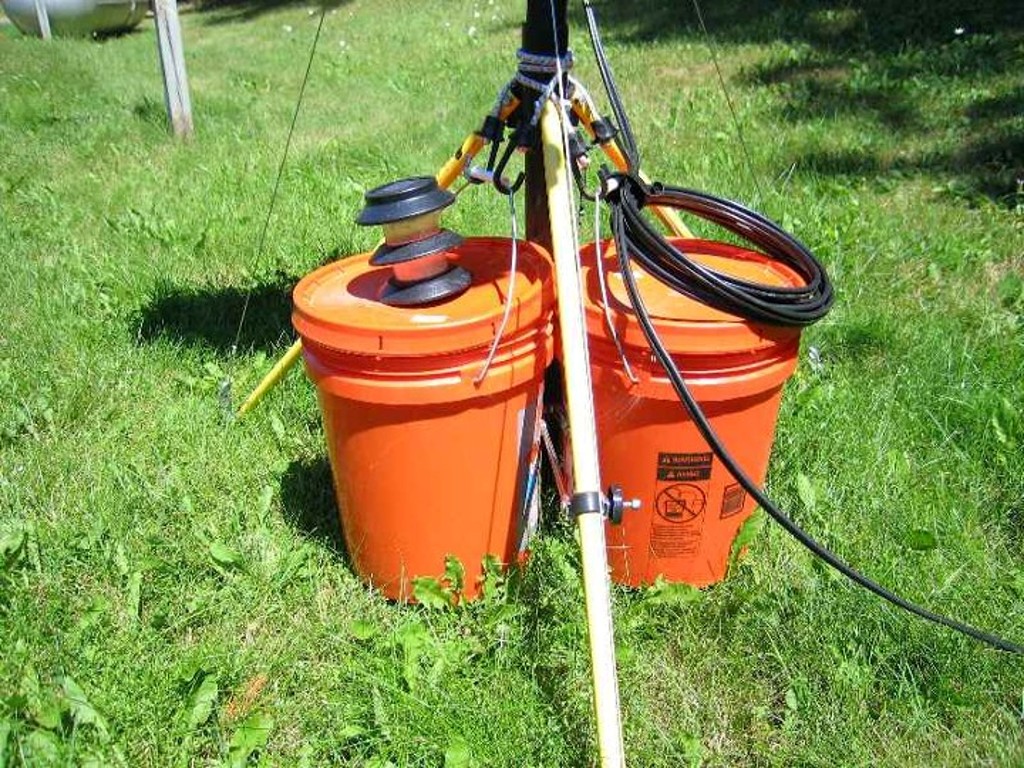
The solution we found was a pair of five-gallon utility buckets from Home Deport. We use a bungee cord wrapped around the center shaft of the DustyFoot tripod just about the leg attachment point to attach each bucket. We double wrap the bungee cord so that the buckets are just off the ground. If we fill the buckets full of water, we have about 60 pounds of securing force. We usually put about 3-1/2 to 4 gallons in the buckets. We have been through some very significant winds in Idaho and Colorado, and the satellite stayed stable through those winds. | |
The buckets stack when we are traveling. We store our other buckets inside the five-gallon buckets so they do not take much additional space. |
||
 |
The use of the water filled buckets has been so successful; we use them even when we are on ground where we could use the stakes.
Now we do not have to worry about hitting anything in the ground like rocks, water pipes, and wiring. Not every Home Depot has covers for the buckets. When we found them, we drilled holes in the covers of half of them so we could put solar walkway lights in them. This lights the tripod position in the evening when people might walk into the dishes. |
|
Cabling |
||
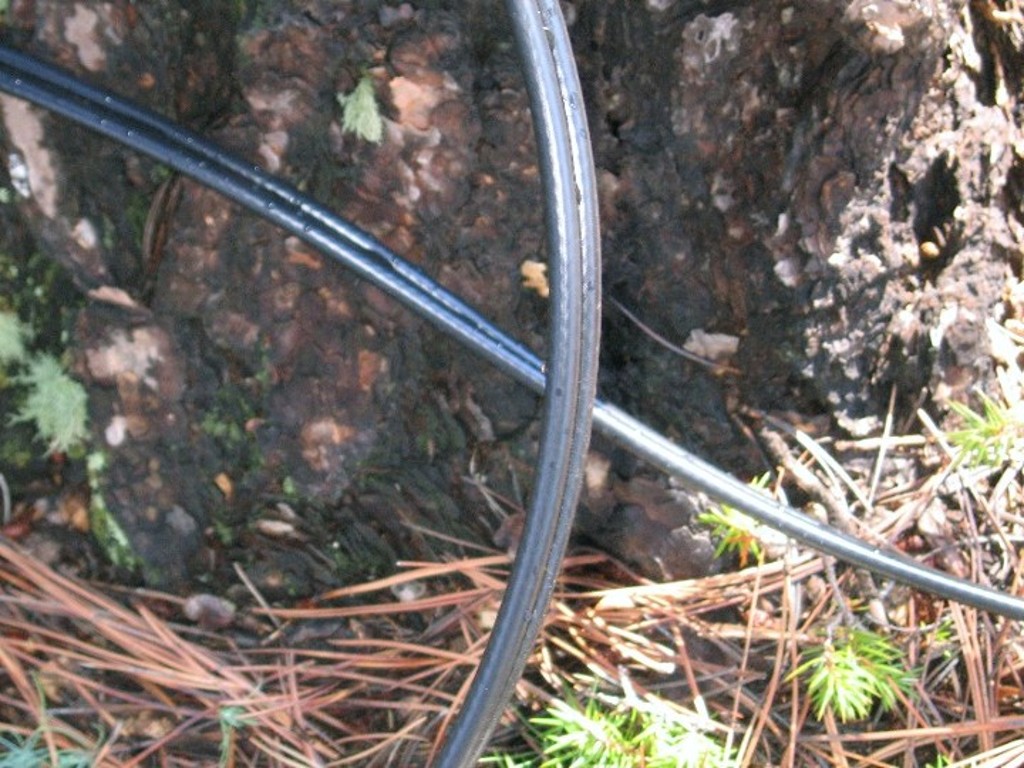 |
The DustyFoot system came with a 50' dual coax cable, The first place tried to setup the system after we left the farm house, we needed 100' of cable. We purchased a 500' reel of RG6 coaxial antenna cable since it was cheaper than buying two 100' single cables. We cut the reel into five 100' pieces. We used two for the satellite Internet dish and two for the satellite TV dish. | |
|
We found the loose single wires were messy. We bought a reel of dual RG6 coax cable and replaced the single cables. The dual coax is a lot more manageable and neater. In the process of buying the dual coax, we found the features to look for in the cable are "solid copper core" and "3 GHz swept." With those features, you can have up to 250' of cabling for the satellite internet dish. This is compared to the 100' for "copper plated steel" core cable. |
||
Some Satellite Internet Vendors:Forums for mobile satellite Internet
|
||
Disclaimer: The information in this site is a collection of data we derived from the vendors and from our personal experiences. This information is meant as a learning guide for you to make your own decisions Best practices and code should always be followed. The recommendations we make are from our personal experiences and we do not receive any compensation for those recommendations. |