
Please wait, I'm coming over...


Last Changed 3/5/2017 |
||
| This may seem to be a rather mundane subject, but there really are reasons to care about the type of sewer hoses you use and the accessories that go with them. | ||
|
||
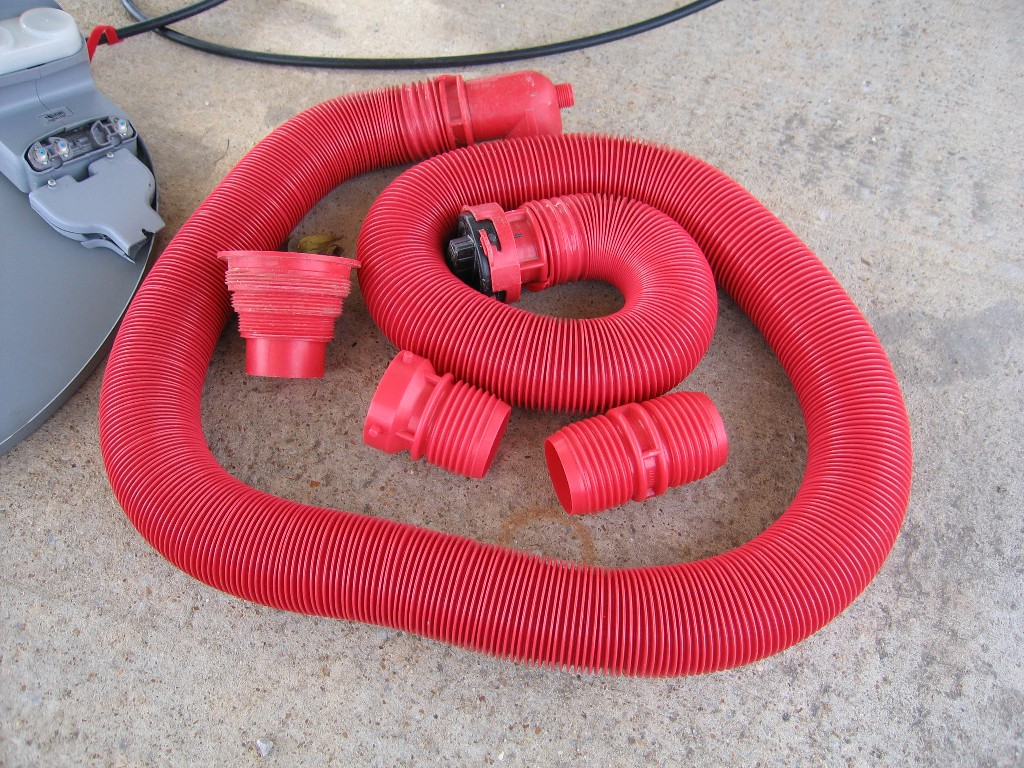 |
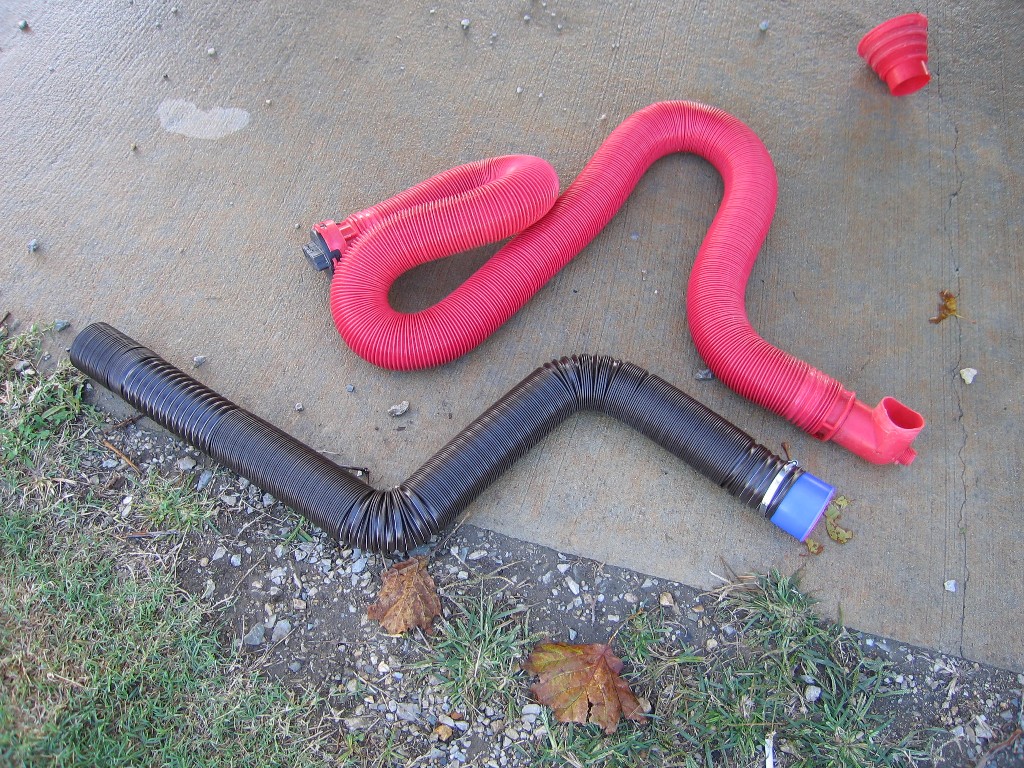
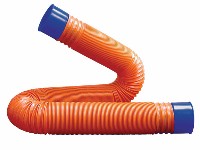
When we started RVing with our motorhome, Training Wheels, we bought the EZ hose system from Valterra. This is the
red hose system. The end fittings screw into the coils of the hose. These include hose-to-hose connectors, the 90° elbow that
connects to the park drain, and the bayonet connection to the RV. This system worked fine for us with Training Wheels. The Valterra EZ also worked well when we started out with Tige. |
|
click on images to enlarge |
||
|
When we dump the tanks, we follow the normal procedure of dumping the black water tank and then the gray water tank. Since the sewer
hose was on the ground and typically there was a rise to the park drain, there was a potential that some gray water was still in the
sewer hose after the gray water valve was closed. A 20' hose can still have up to 7 gallons of fluid in lying on the ground. The
hose is not a safe place for that much fluid to sit. We would pick up the hose starting from the RV end and walk any remaining water
toward the park drain. When we use the clothes washer in Tige, the washer discharge water is dumped straight into the drain pipe without going into the gray water tank. This meant we would have to go outside and lift and walk the sewer hose to drain remaining water in the hose into the park drain after using the clothes washer. Since we often do laundry when it is raining (nothing else to do), this was inconvenient. |
||
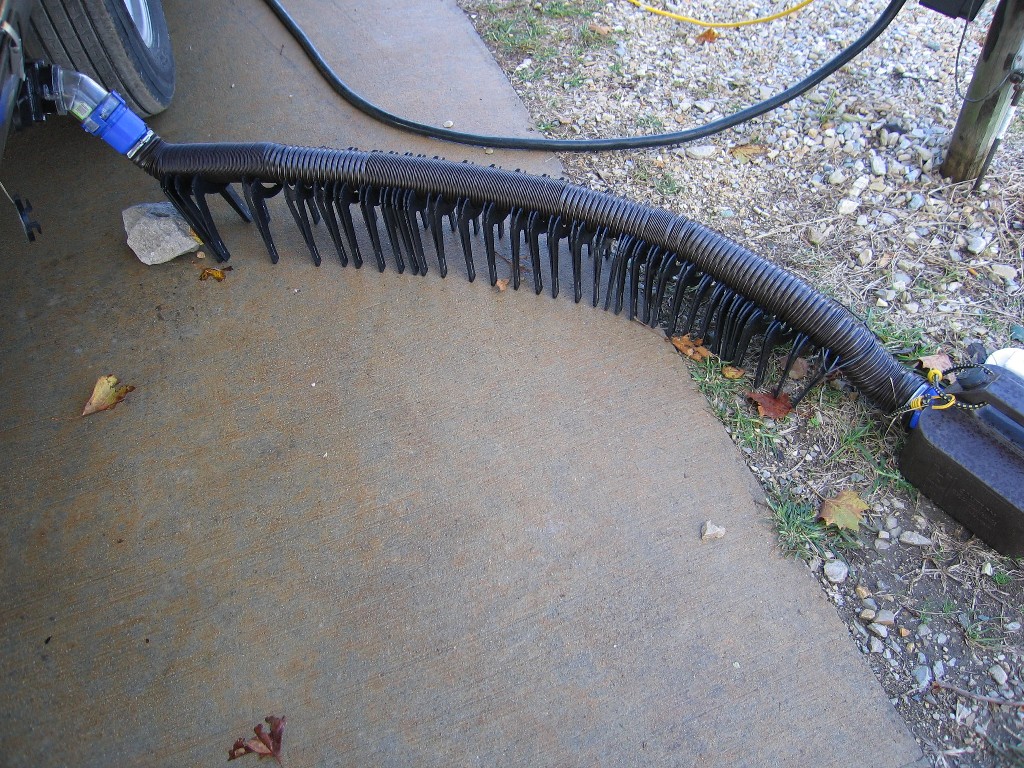 |
We acquired a sewer hose support system. We picked the Slunky
hose support because it seemed to be the most compact when stored. With the sewer hose support, the hose is raised on an
incline from the RV end of the hose to the park drain. The sewer hose support also means that the hose usually drops down to the park
drain at that end. The hose is now self draining. The introduction of the Slunky hose support brought a new problem. The Valterra EZ sewer hose coil construction allows the length to expand from about 4’ to 20’. |
|
click on images to enlarge |
||
|
Normally, the run from Tige to the park drain is about 10’.
When the gray water tank is dumped, the water flow force is rather substantial. The flow is important for the removal of particles
from the gray water tank. This substantial flow force made the EZ sewer hose expand in length. This would force the sewer hose
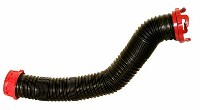
off of the Slunky hose support. The first thought was to string the hose out to its full length. However, without the water flow force, the hose retracted to the shortest possible length again pulling the hose out of the Slunky hose support. So we had to put the hose back into the support after dumping the gray water tank. Visiting with Jack Mayer, we found he had some RhinoFLEX sewer hose from CAMCO. RhinoFLEX is made from thicker material. The thicker material makes the hose stay compressed unless it is pulled out. If it is pulled out, then it stays at the length it was pulled to. The shape retention also happens if the hose is curved. The RhinoFLEX hose is shaped to fit the path from the RV to the park drain and then is stays in that shape. By retaining its shape, the RhinoFlex hose would stay in the Slunky hose support and solve our problem. |
||
The Solution - Sewer MasterWhile shopping for RhinoFLEX sewer hoses and fittings, we found another brand that is similar to RhinoFLEX but made from an even thicker material and that material, polypropylene instead of vinyl, was immune to ultraviolet light. This brand was Sewer Master. |
||
 |
Using either the RhinoFlex hose of the Sewer Master hose was going to mandate that we get new end fittings. This was another area where were found the Sewer Master to be better. The RhinoFlex comes in two lengths. There is the initial 15’ set where you get a permanently mounted bayonet to RV fitting at one end and a 90° elbow on the other. Add-on RhinoFlex hoses come in 10’ lengths. The RhinoFlex uses Easy Slip fittings from Camco. We really did not like the twist-off wire clamp used with those fittings. We tried these fittings at a Camping World visit and found that I could not twist the clamps with my hands. | |
|
The Sewer Master does not mandate any particular brand of end fittings but they do recommend Prest-o-Fit BlueLine fittings. We had some concern about these end fittings, because they rely on static friction to hold the fitting onto connector and other fittings. We felt the bayonet connections that the Valterra EZ system used were more reliable. Asking around, users who had no problems with the Prest-o-Fit BlueLine Pushover fittings ever coming apart put those concerns to rest. The Prest-o-Fit BlueLine Pushover fittings slide into the hose and are secured with stainless steel hose clamps. There is quite a cost difference between the Sewer Master hoses and the RhinoFLEX hoses, but we felt the longer wearing polypropylene hose construction and end fittings options made the Sewer Master a worthwhile investment. |
||
Current Sewer Hoses 12/1/2014Since we bought sewer hoses there has been changes in the industry. Here is a recap of what we found now based upon hoses that have dimensional stability, i.e. those that hold their shape, extended or bent on their own. |
||
Prest-o-fit BlueLine - DureForm |
||
 |
Made with polyolefin with steel wire reinforcement. Available in 10’ and 5’ lengths. |
|
CAMCO - RhinoFLEX |
||
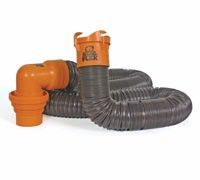 |
Made with polyolefin with steel wire reinforcement. 10’ plain hose compress to 32” – 27% or size Available as a 15‘ kit with ends attached. Extensions with bayonet ends attached in a 5” length is available. Hoses without ends are available in 10’ and 15’. |
|
Valterra – Dominator |
||
 |
Made with polyolefin with steel wire reinforcement. 10’ compresses to 39”, 15” to 57” – 33% (with fittings) Available as a 15’ kit with fittings. Extensions with bayonet ends attached in 5’ and 10’ lengths. |
|
|
||
| No longer available. | ||
|
||
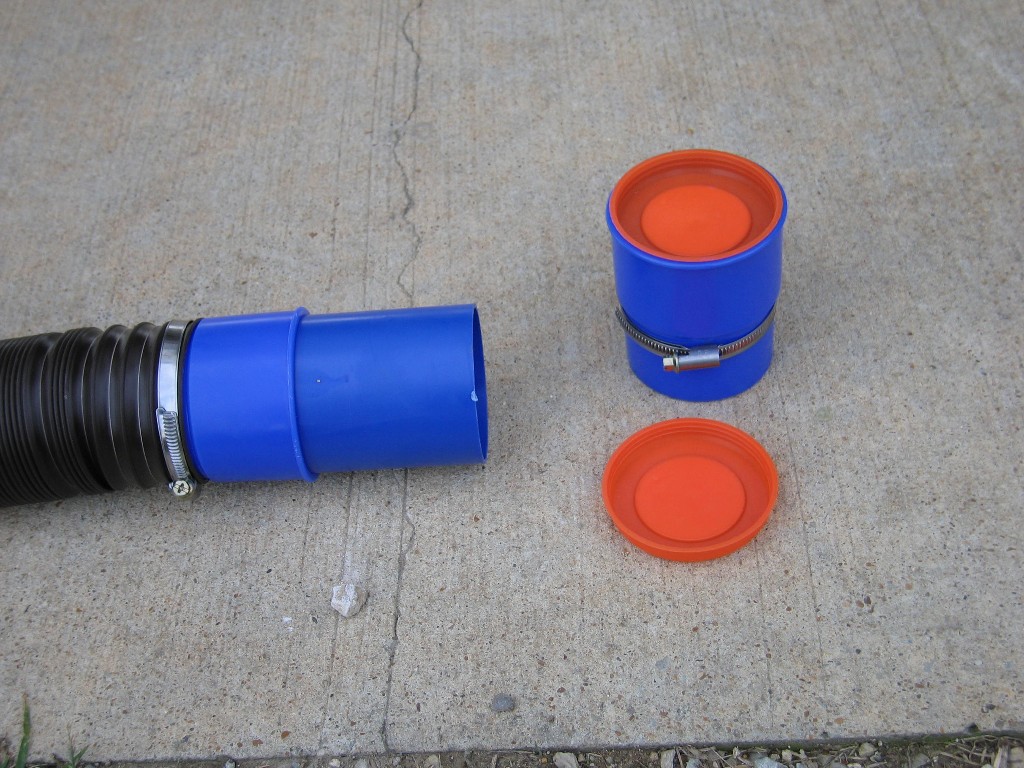 |
For fittings, we put a
Prest-o-Fit Sewer Hose Fittings
BlueLine Pushover fitting an each end of each hose. We also acquired caps that seal the Pushover hose fitting. After the seals
are pushed into the end fittings, you can carry the hose around with worrying about dribbling dirty water. We bought three connection
sets. Each set includes two Pushover hose fittings, two hose clamps, and a Coupler tube that the Pushover fittings slip onto to effect
connection of two hoses. You supposedly can screw two Sewer Master hoses together but we did not want to use that method. We also acquired the necessary 90° elbow to connect to the park drain as well as the bayonet end that attaches to the RV. |
|
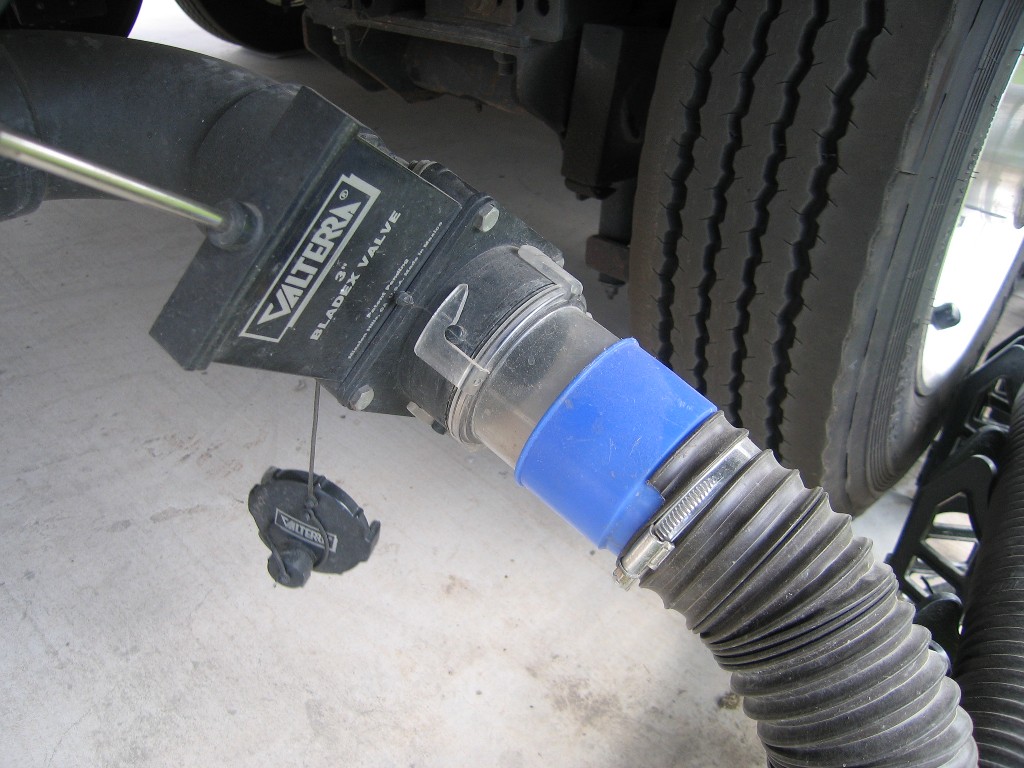 |
We use a clear adapter between the RV and the sewer hose. We have straight, 45°, and 90° elbow adapters. We put these between the RV and the sewer hose so we can watch what and when stuff is coming out of the tanks. When we are flushing the black water tank, we can see when the flushing action has stopped moving stuff out of the tank when clear water comes out | |
At the park drain end of the hose, the 90° elbow is usually used to connect the sewer hose to the drain. Sometimes the park drain has a threaded end and the 90° elbow has threads that match. Sometimes, the park drain is just a plain pipe. You need something to insure the 90° elbow stays connected to the park drain. A soft foam donut fits into the plain pipe and holds the 90° elbow. |
||
|
||
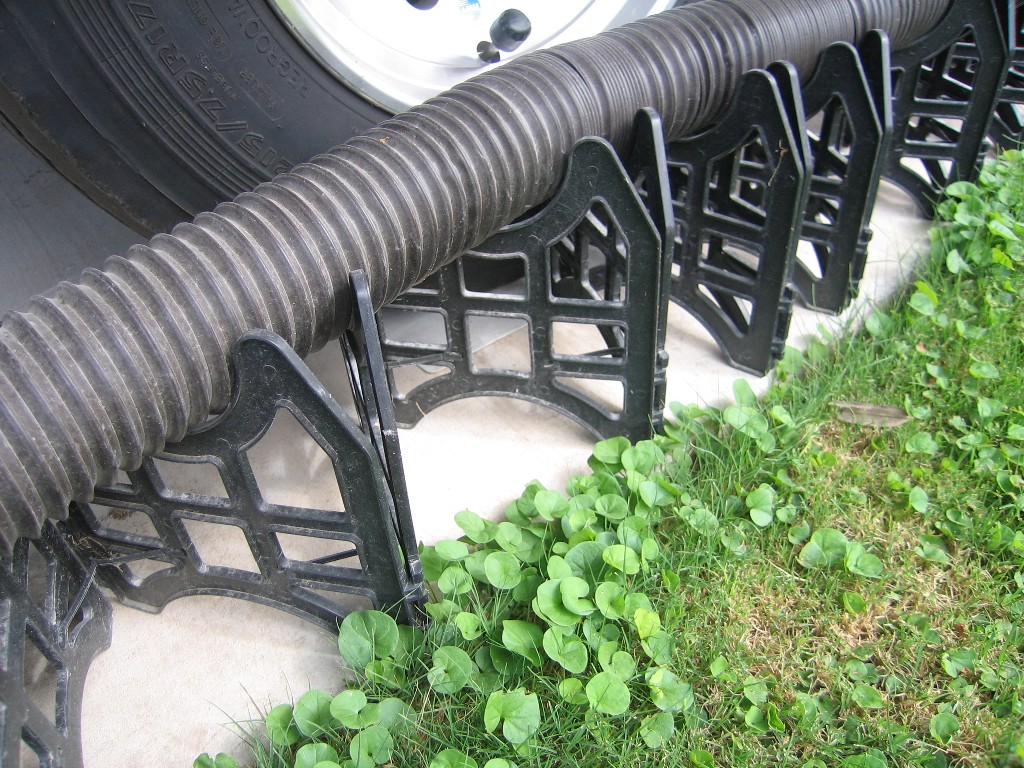 |
We started with a Slunky hose support. The Slunky was made of flexible fiber board. The Slunky was not the most study item. We replaced it with a Camco Sidewinder hose support made from plastic pieces hinged together. The size folder was a little larger that the Slunky but not enough to matter. | |
|
||
 |
The Sewer Master hose comes in 12’ lengths. We had one circumstance where we had the 20’ Valterra EZ hose stretched to the limit. Two 12’ lengths would be comfortable but we have been recommended that an additional hose length will be needed someday. So we acquire three lengths of Sewer Master hose. Even being made of significantly thicker material, the Sewer Master does compress to about a ¼ of the total length. The sewer hose compartment of the Travel Supreme just held the 20’ length of the Valterra EZ hose compressed. We knew that two lengths of Sewer Master hose would not fit. We did not want to carry sewer hose in Tige's cargo bay so we acquired two Valterra sewer hose carriers and mounted them under Tige's belly. | |
click on images to enlarge |
||
|
||
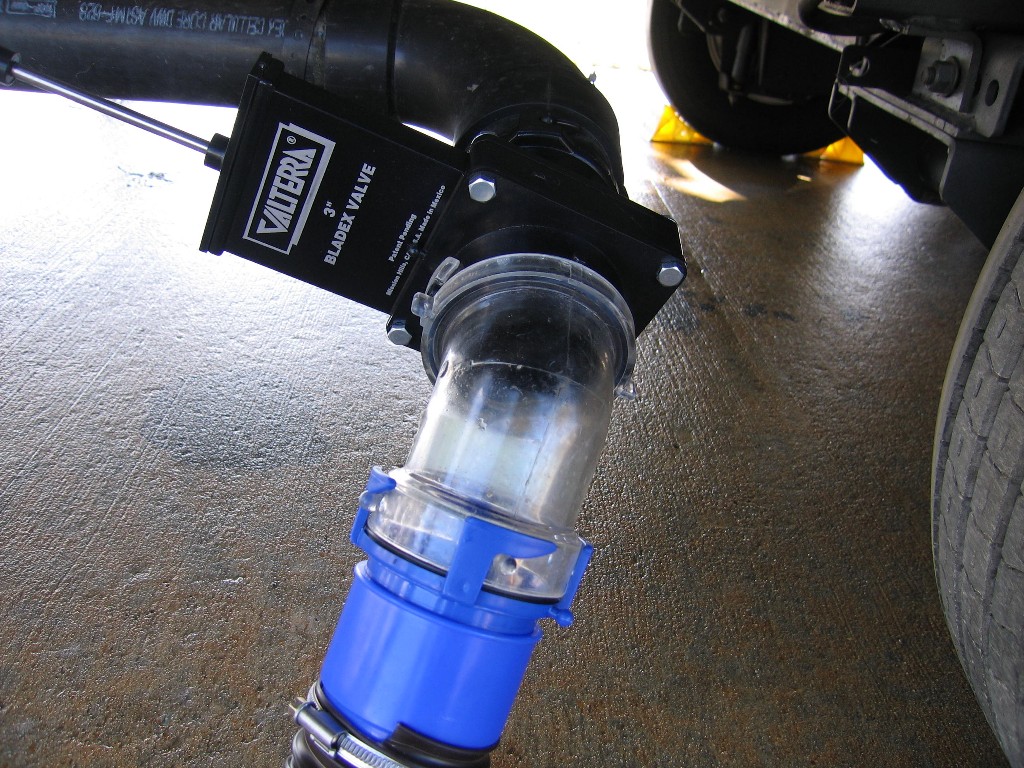 |
We had another problem to solve. The dump valves for the Travel Supreme are located way up inside the insulated belly of the trailer. This protects the valves from freezing in cold weather. This means there is a fairly long run of drain pipe from the valves to the bayonet end of the pipe where the cap is put on for traveling. Since we tend to dump just before leaving, there was always some water left in the drain pipe. When we arrived at the new location, there usually was some settled dirty water that would drop out when the cap was taken off. We would try to have the hose under the cap to catch the water but it was inconvenient. We acquired a Valterra Twist-On Valve that attaches to the bayonet end of the pipe. The cap is now attached to the Twist-On Valve. | |
click on images to enlarge |
||
|
Now we can take the cap off and attach the hose without worry about dirty water on our hands or the ground. After the hose is on, then
the Twist-On Valve is opened. Since the Twist-On Valve only holds back a very small amount of water, we do not worry about freezing.
Even if the valve should freeze, we can easily remove it. |
||
|
||
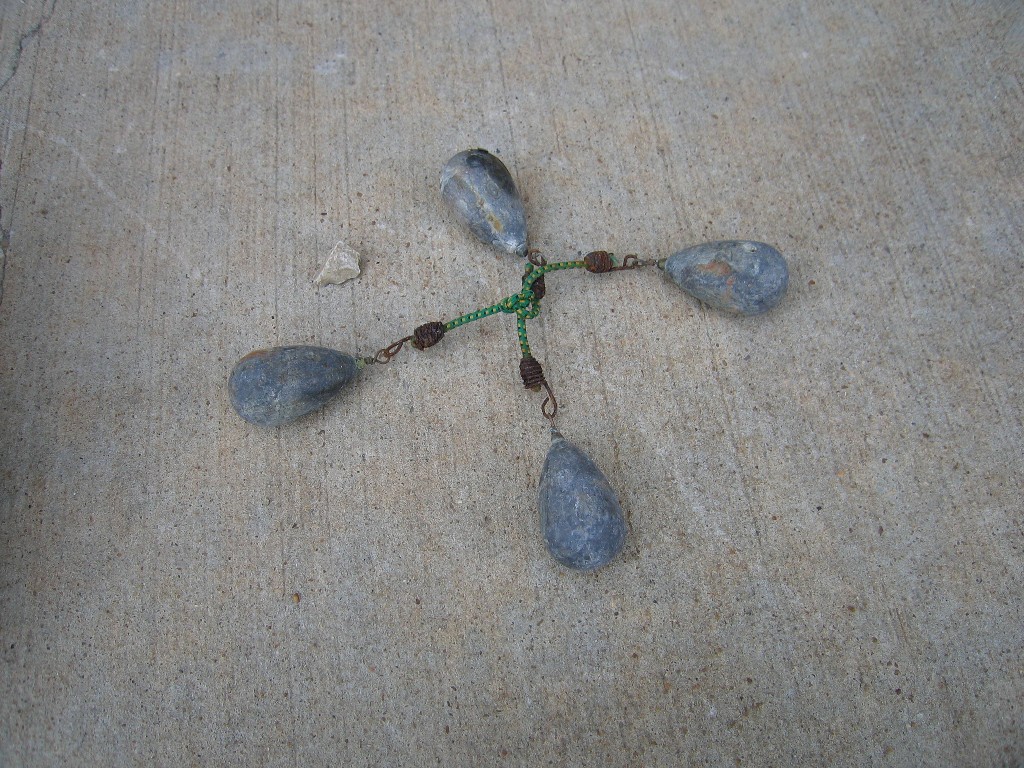 |
When we started with Training Wheels, we acquired four heavy fishing weights and two small bungee cords, put a weight on each bungee cord end, and tied the bungee cords together in the middle. This gave us a weighted cross that we put over the 90° elbow to hold it down. | |
click on images to enlarge |
||
 |
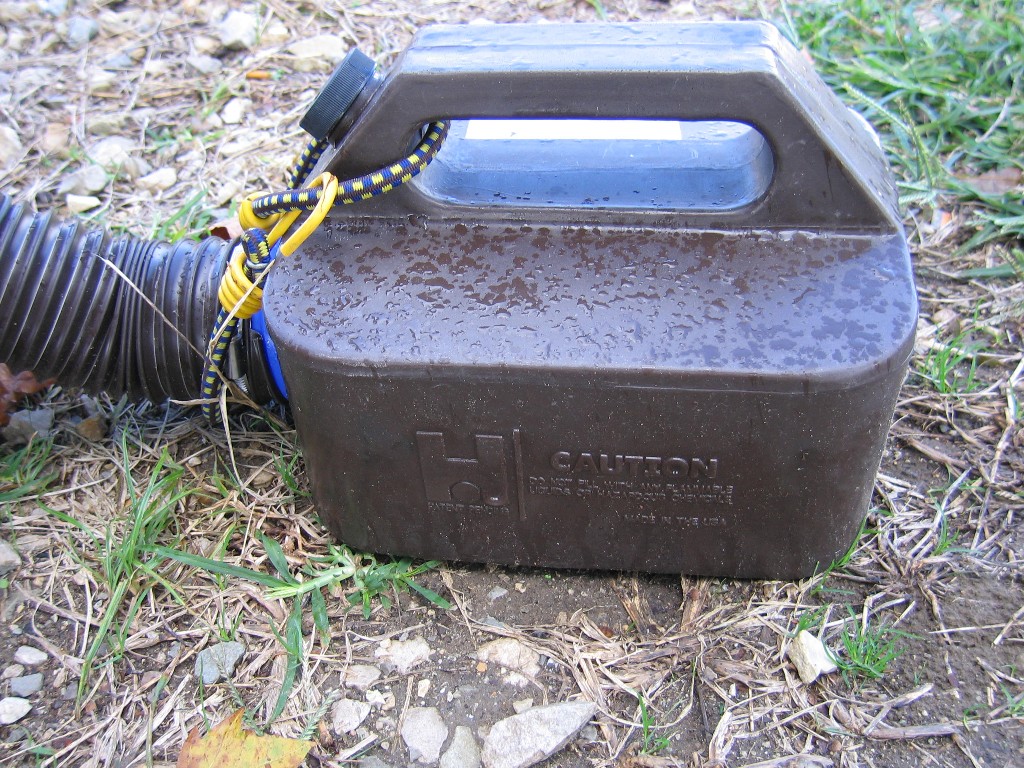
We found Hose Buddy on the Internet and felt it was a better way to hold the 90° elbow down. We fill the Hose Buddy with water to give it weight. Notice that the cut out shape of the underside fits the shape of the elbow. When it's time to travel, we empty the Hose Buddy, stow and go. | |
 |
||
click on images to enlarge |
||
|
||
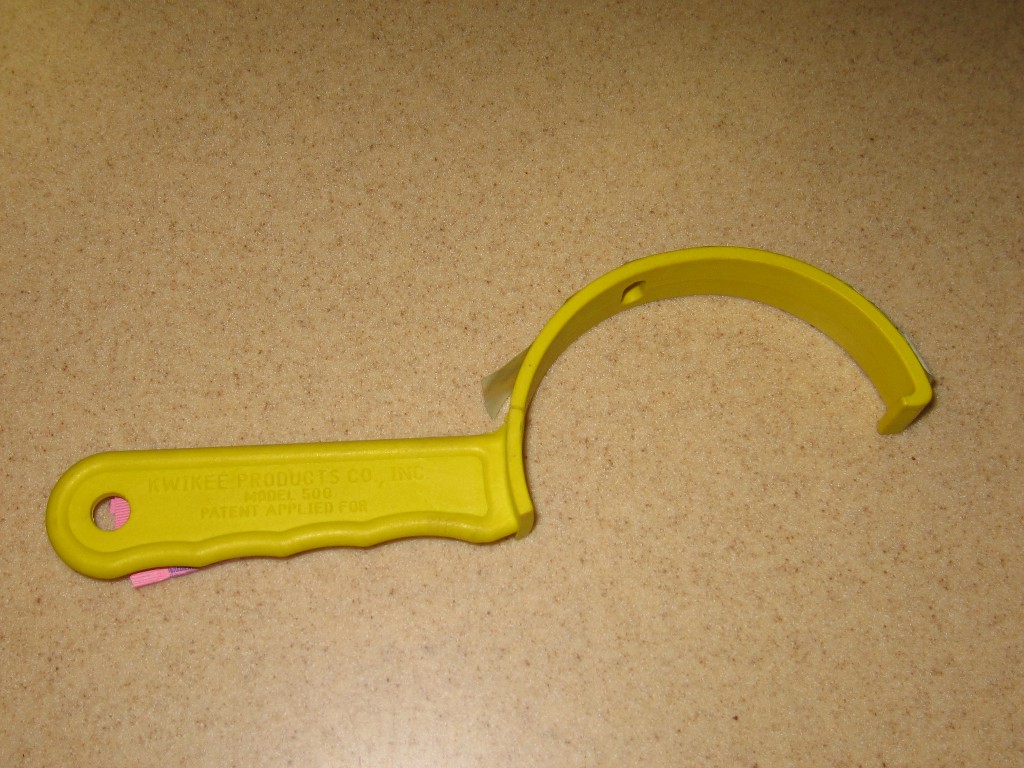 |
We have been using a rubber strap wrench to release the clear fitting that attaches to the external valve. The very reason the
plastic makes a good fitting, it slickness, makes it difficult to use the strap wrench. We bought one of these wrenches to make the job easier. |
|
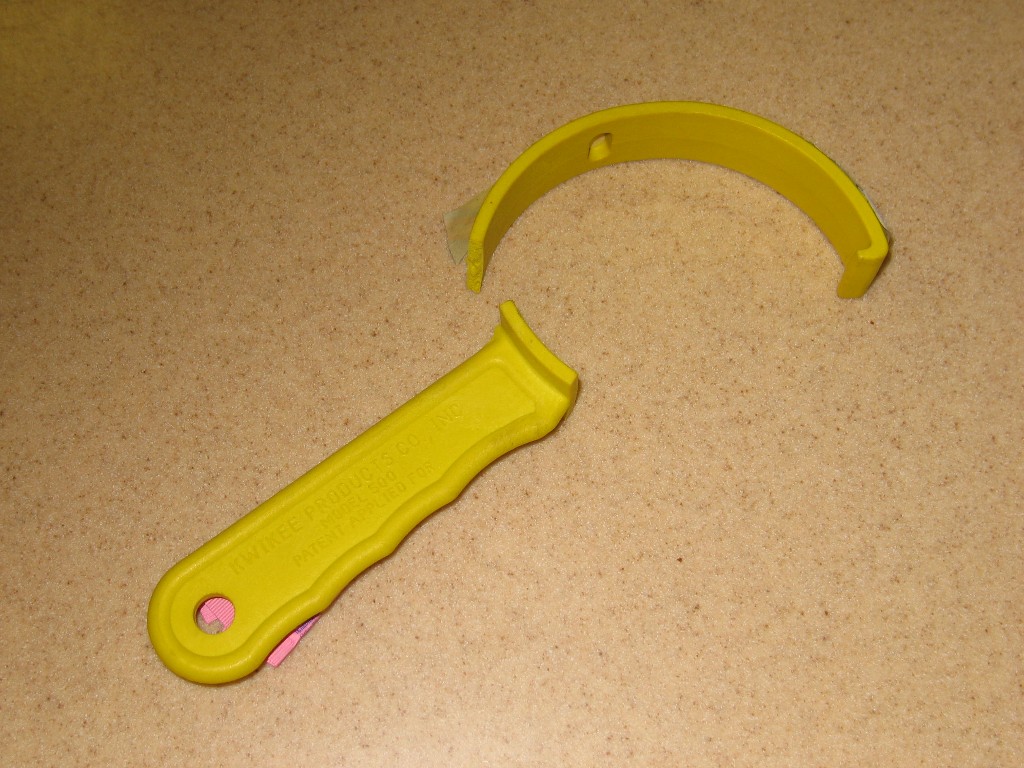 |
Actually we bought two. We assumed that when the first broke, it was a fluke. When the second wrench broke, it was obvious that the plastic was not up to the task. | |
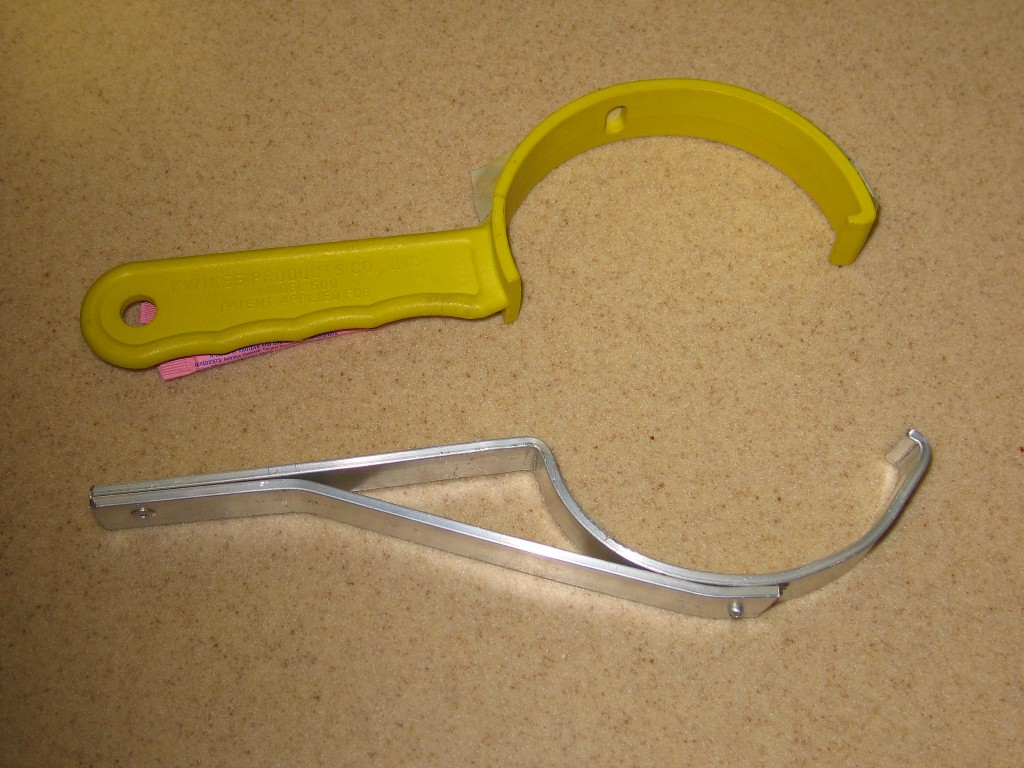 |
We used some aluminum bar stock and a couple of pop rivets to make out own wrench. We hand bend the curve. This wrench works much better. |
|
click on images to enlarge |
||
|
||
 |
We also carry a macerator pump and 225' of 3/4" hose to be able to dump when a nearby sewer connection is not available. We prefer to use the 3" hose when we can. The "swoosh" of the water rush in the 3" hose pulls a lot of material out of the tank. |
|
click on images to enlarge |
||
|
||
|
|
Since the release of RhinoFlex system, more options like 10' extensions with ends became available, we chose the RhinoFlex system for use with our Bounder motorhome, Joey. | |
Disclaimer: The information in this site is a collection of data we derived from the vendors and from our personal experiences. This information is meant as a learning guide for you to make your own decisions Best practices and code should always be followed. The recommendations we make are from our personal experiences and we do not receive any compensation for those recommendations. |