
Please wait, I'm coming over...


Last Changed 2/28/2018 |
||
|
Replacing the 2014 Equinox with a 2018 Equinox generated some
issues. The 2014 Equinox had one fuse would disable most of
the non-essential electrical devices when we were towing the car.
The 2018 Equinox does not have a fuse like the 2014. We had to add a capability to provide a charge to the 2018 Equinox when it was being towed. These are the additions and changes we made to our 2018 Equinox into a toad (towed vehicle). |
||
Base PlateThe first thing the 2018 Equinox needed was a base plate. The base plate is attached to the frame of the car behind the front fascia. |
||
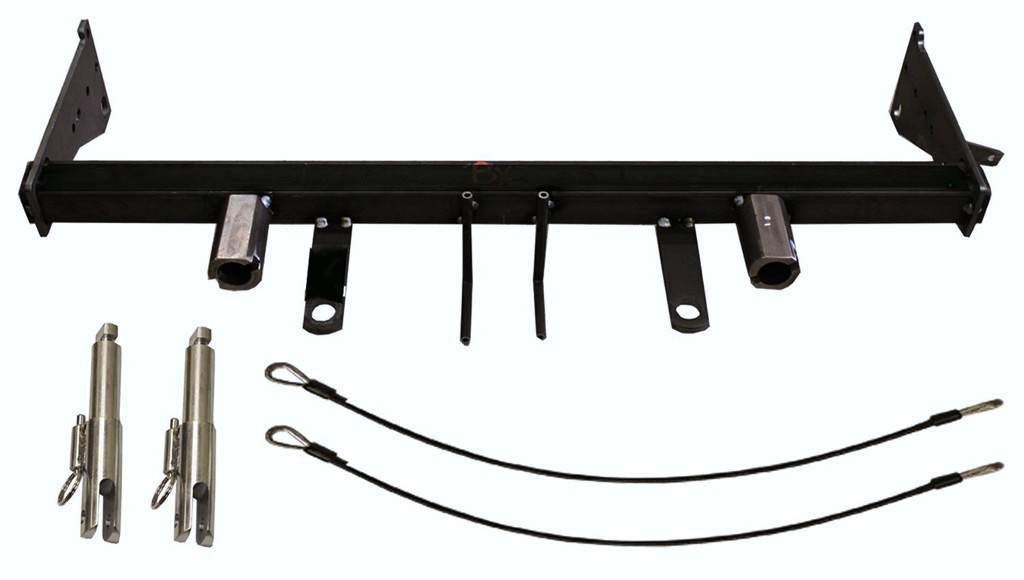 |
This is the
Blue OX BX1730 Base Plate Kit for the 2018 Equinox. We have been a Blue OX user from the beginning in 2006 and are well satisfied with their tow bars and base plates. |
|
 |
This is the base plate installed on our Equinox. The tow adapters are removed for the winter. We plug the holes for the adapters with drain plugs which we painted black to be less obvious. |
|
click on images to enlarge |
||
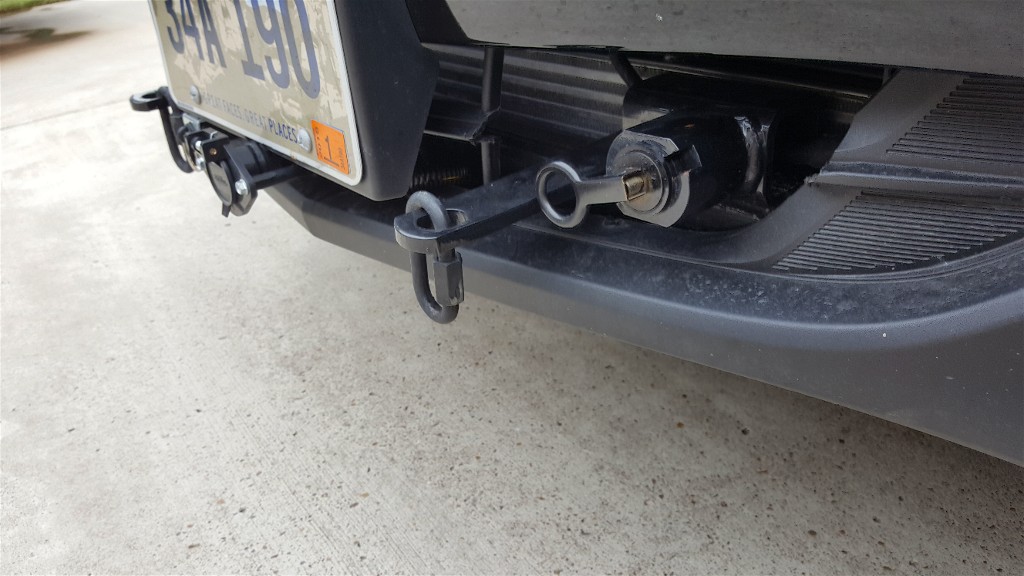
Break-away SwitchA break-away switch is mounted on the base plate and has a cable that attaches to the tow vehicle. The purpose is that if the toad disconnects from the tow vehicle, the cable will pull out a plunger from the break-away switch and cause the auxiliary brake unit to apply the brakes to the toad. |
||
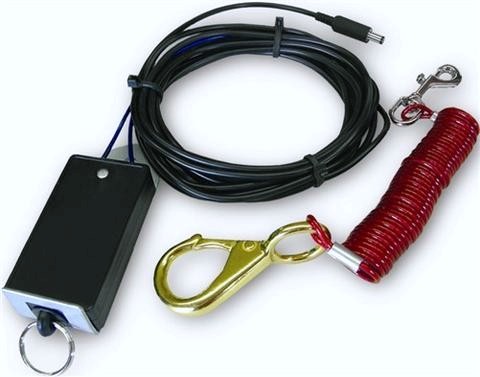 |
This is the break-away switch kit that was delivered with the RVI Brake 3 system. | |
 |
This is the break-away switch mounted to the tab that is part of the base plate. | |
click on images to enlarge |
||
Signal CableWe have used a 7-Blade to 4-flat signal cable with the previous toads. The 4-flat cable has the necessary signals for Running Lights, Left-Stop, Right-Stop and Ground. We had to add +12 volts from the Bounder to the toad. Than meant moving to a 7-blade to 6-round signal cable. |
||
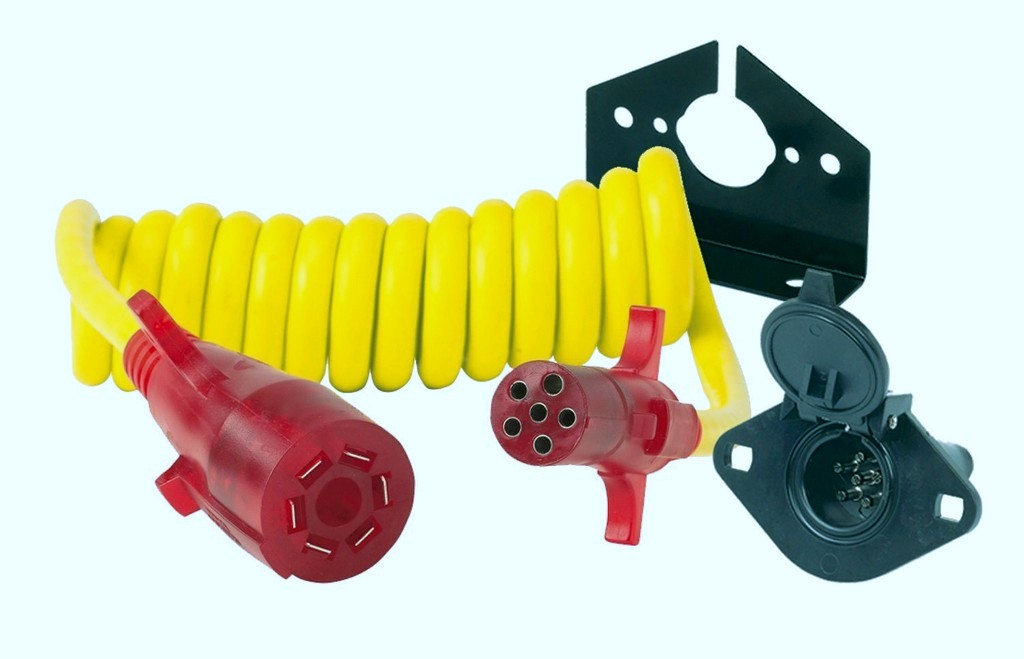 |
This is the Hopkins 47054 kit we obtained which had the 7-blade-to-6-round cable and a 6-round receptacle. | |
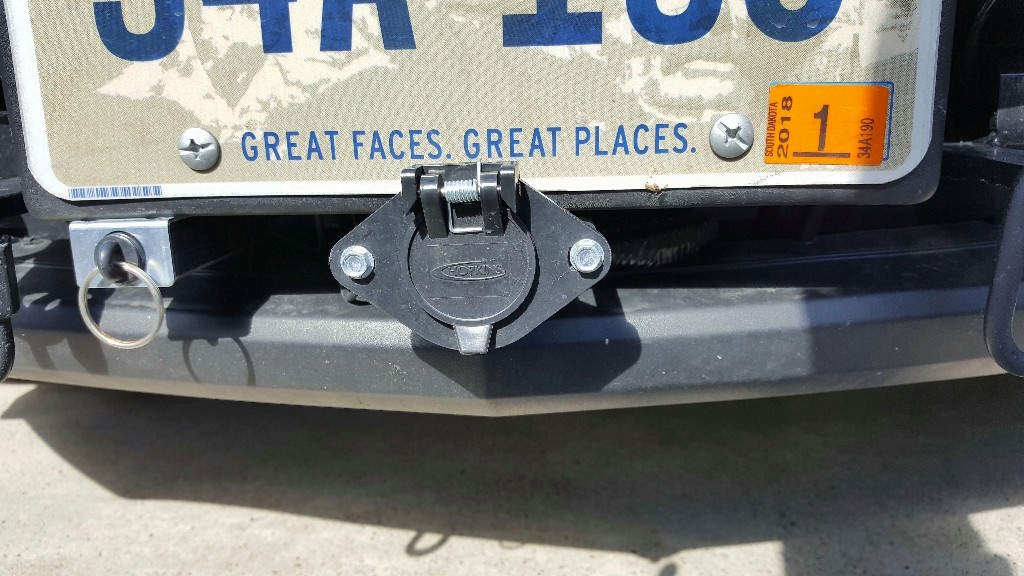 |
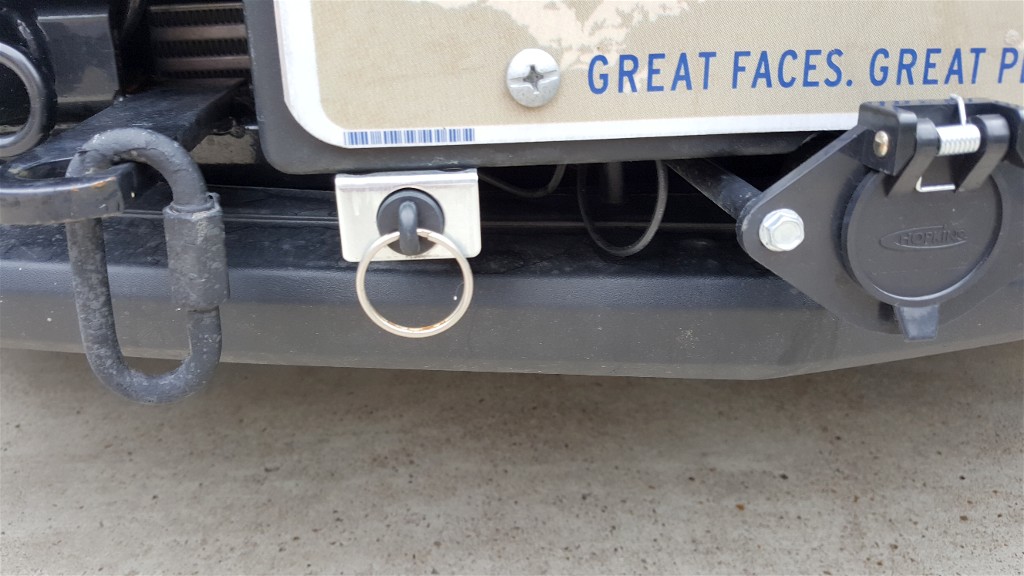
The new 6-round connector is mounted to the baseplate. | |
click on images to enlarge |
||
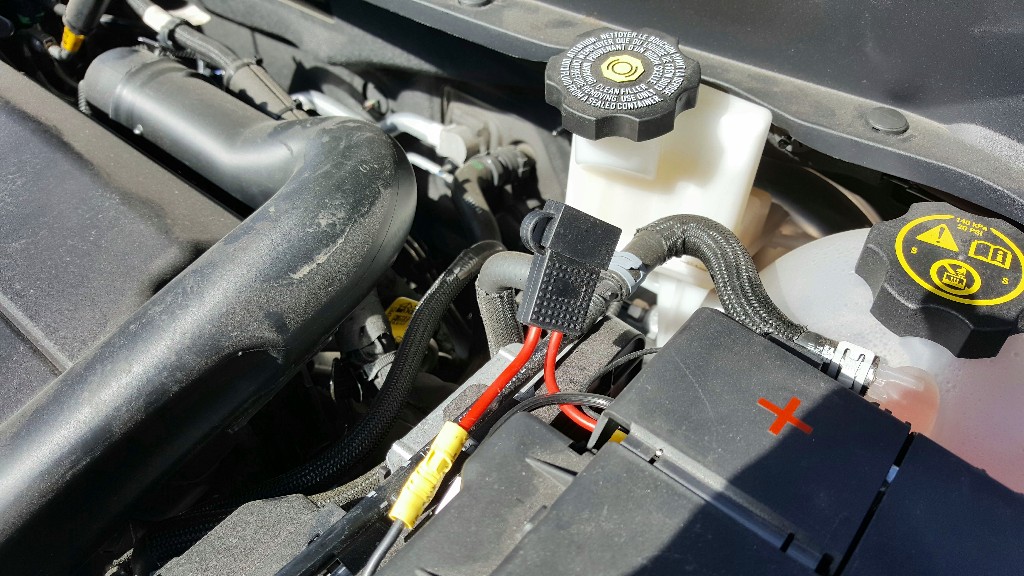
Battery ChargerWe have to feed +12 volts from the motorhome into the toad batter while we are towing to keep the battery from running down. |
||
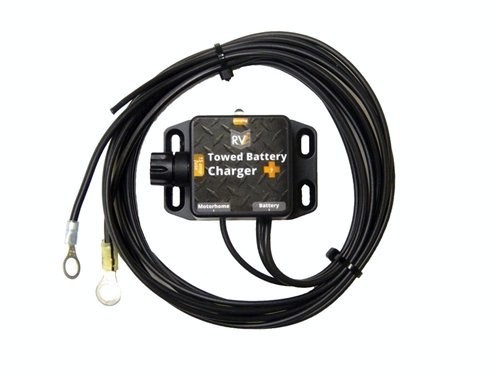 |
This is the RVI Towed Battery Charger. The RVI Charger has logic to prevent battery discharge. | |
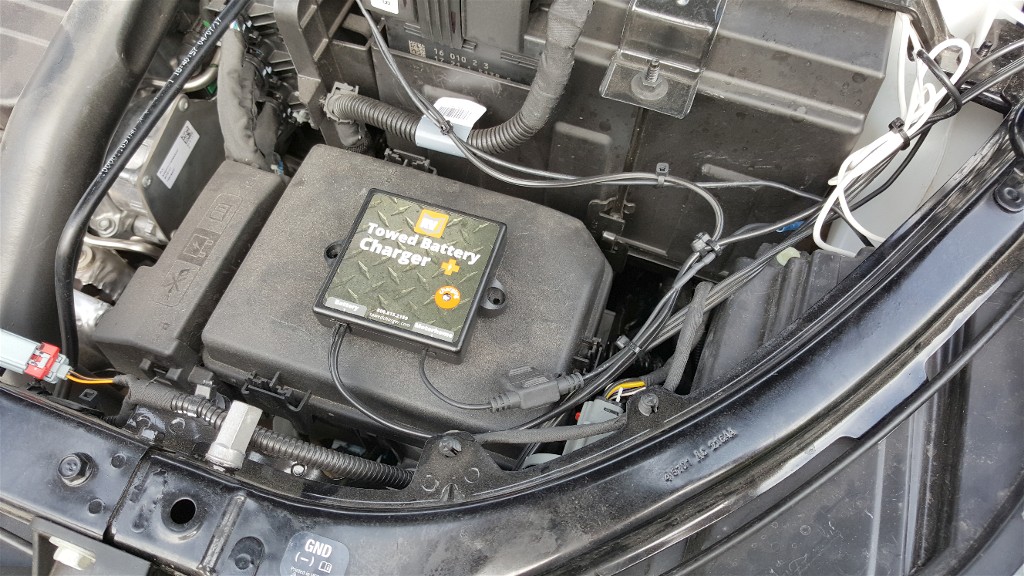 |
We used Velcro tape to mount the RVI Towed Battery Charger to the
top of the battery case. To have good current flow from the motorhome to the battery charger, we used a #12 gauge extension cord. #12 for the wire size. The extension cord provides covering to protect the wires. |
|
click on images to enlarge |
||
| The extension cord was attached to the +12 volt and the Ground pins of the 6-round connector. The +12 volts wire was attached to the RVI Tower Battery Charger. The Ground wire was attached to the battery disconnect switch. | ||
Battery DisconnectUntil we find a way to disable the various accessories in the 2018 Equinox when we are towing it, we added a battery disconnect switch to remove the car from the Negative terminal of the battery. |
||
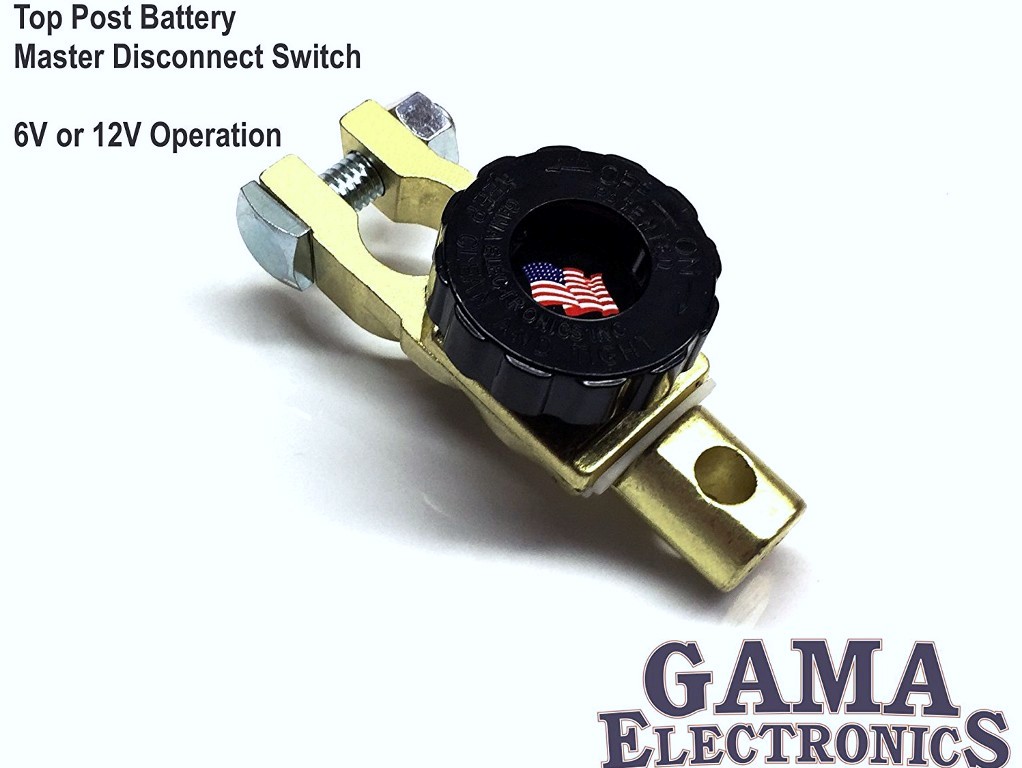 |
This is the battery disconnect switch we obtained. | |
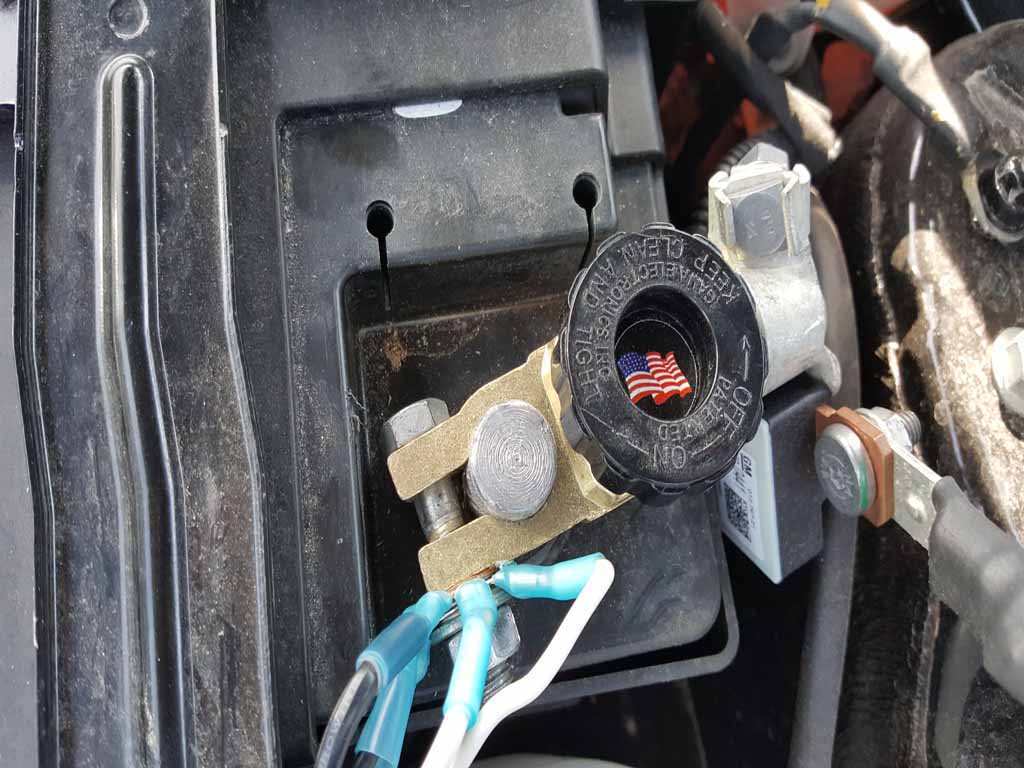 |
Here the battery disconnect switch is connected to the Negative terminal of the battery.
The normal negative battery connection is connected to the other end of the battery disconnect switch. |
|
click on images to enlarge |
||
Direct Power ReceptacleSince we are disconnecting the battery from the car when towing, we had to provide power for the Auxiliary Brake Unit. |
||
 |
RVI makes a kit for this but we already had the
cigarette lighter
extension cord. This was a heavy duty cord with #14 gauge
wire. We cut the plug end off and fed the cord to the battery area. |
|
 |
The wire that goes to the center of the power receptacle (black) was
connected to a fuse holder and the Positive battery terminal. The white wire from the receptacle was connected to the battery disconnect switch on the battery terminal side. |
|
click on images to enlarge |
||
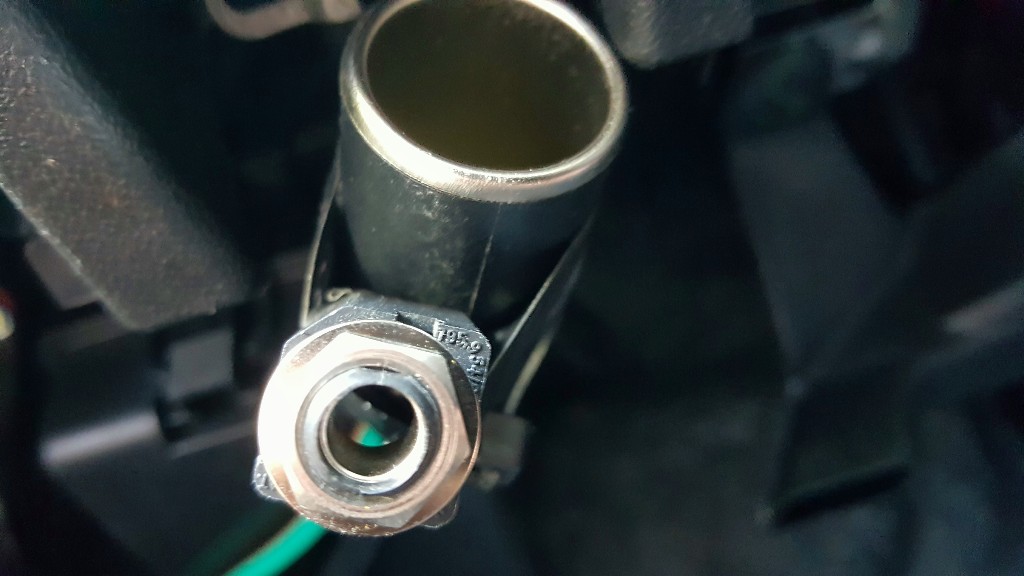 |
This is the receptacle end wire tied to the host release cable under the dash. There is also a jack for the break-away switch wires. | |
Tow LightsWe drilled holes in the 1994 Grand Cherokee and the 2012 Equinox taillight housings to add bulbs for the tow light bulbs. We had no problems with the Grand Cherokee but the holes in the 2012 Equinox allowed moisture into the housings. In the 2014, we used a diode harness and it worked well.The taillights of the 2018 Equinox are not well suited to a diode harness and we did not want to drill holes for addition bulbs. We decided to use magnetic tow lights on the roof of the Equinox. |
||
 |
We obtained this package of magnetic LED lights, and a very long 37' #16 gauge cable to the 4-flat plug to connect to the tow vehicle. | |
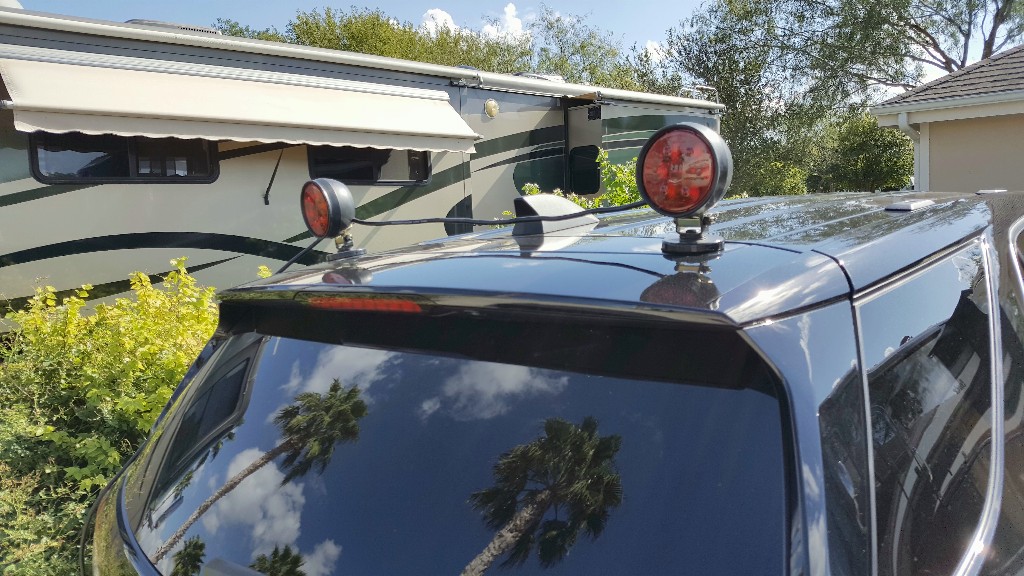 |
We shortened the cable between the two magnetic lights by opening
the LED housings and pulling the cable through the access holes. We pulled the long cable with the 4-flat connector so the cable was just long enough to plug into a cable inside the cargo area. |
|
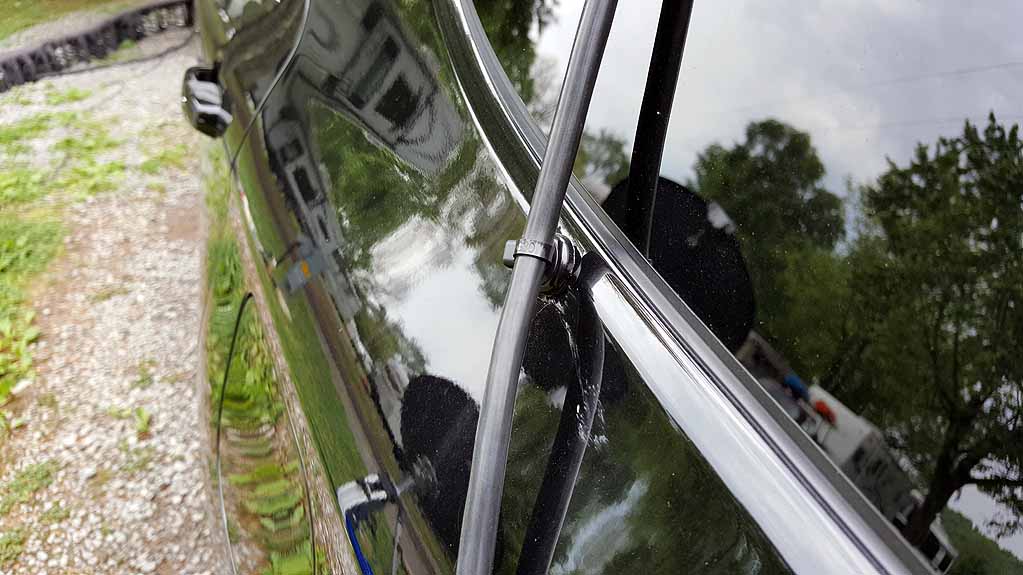 |
To manage the cable from the magnetic lights into the cargo area, we
found these magnets with a cable tie sized slot at the top.
We put a piece of Gorilla Black tape over the surface that contacts the body. |
|
click on images to enlarge |
||
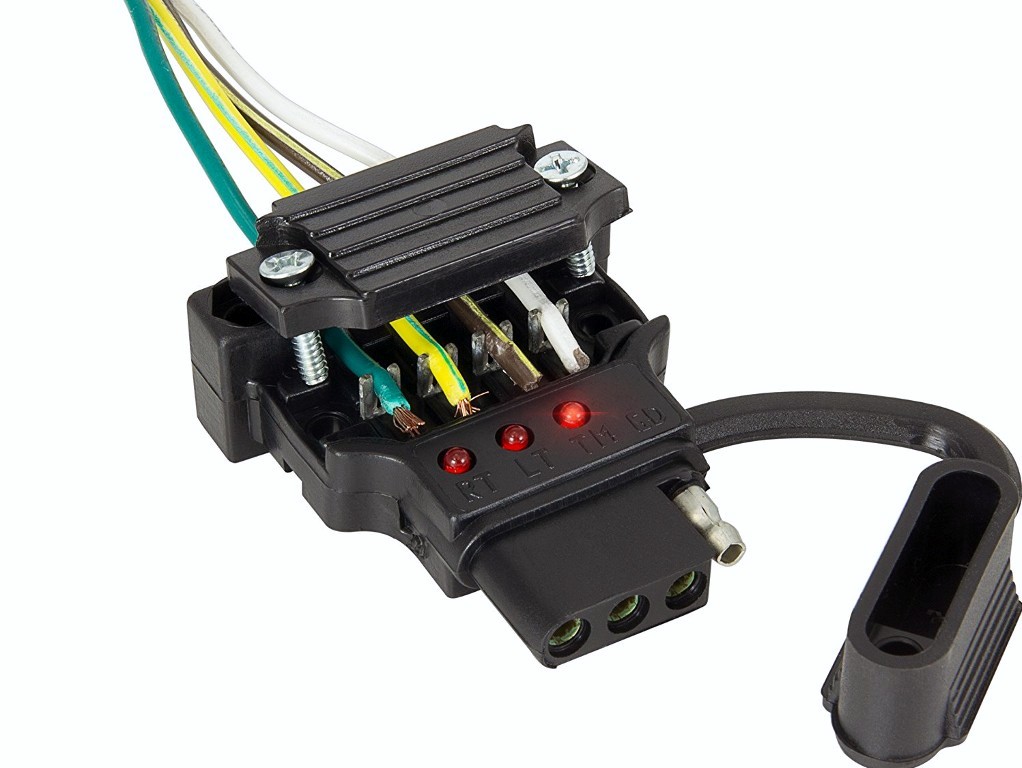 |
We installed a
4-flat end to the piece of cable we had left over
from long cable from the LED light. We ran the cable trough a hole we drilled in the spare tire compartment and strung the cable to the battery area. We attached the cable using wire ties. The cable has a very durable outer sheath and suited to being exposed under the car unlike typical 4-flat wire. |
|
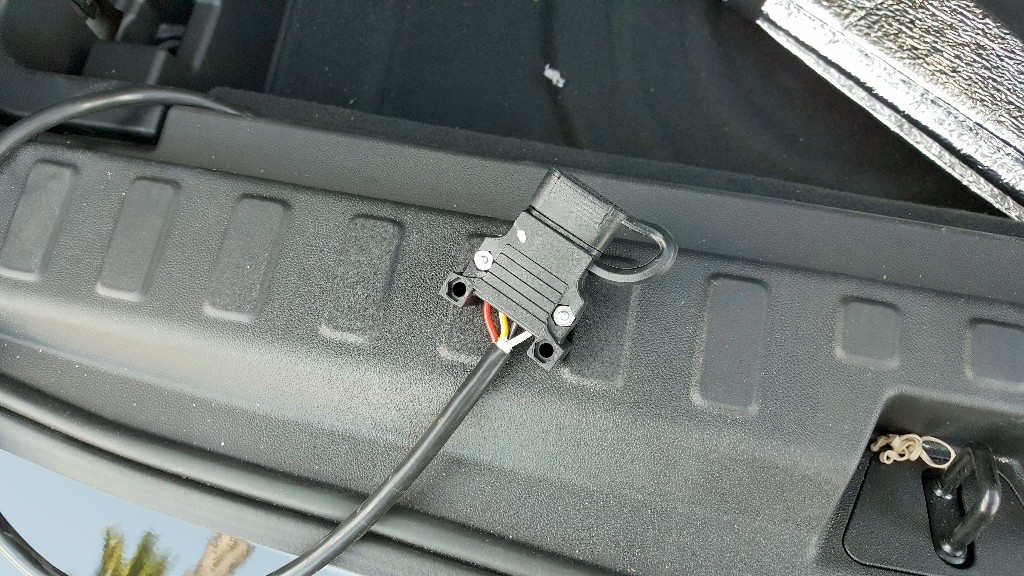 |
This is the end of the cable from the spare tire area. It connects to the LED lights. | |
click on images to enlarge |
||
|
In the battery area, we opening the sheath of the tow light cable
and withdrew the ground wire. We encased the remaining three
wires into cable loom and fed them to the 6-round connector where
they were connected to the appropriate Running Lights, Stop-Left and
Stop-Right terminals. |
||
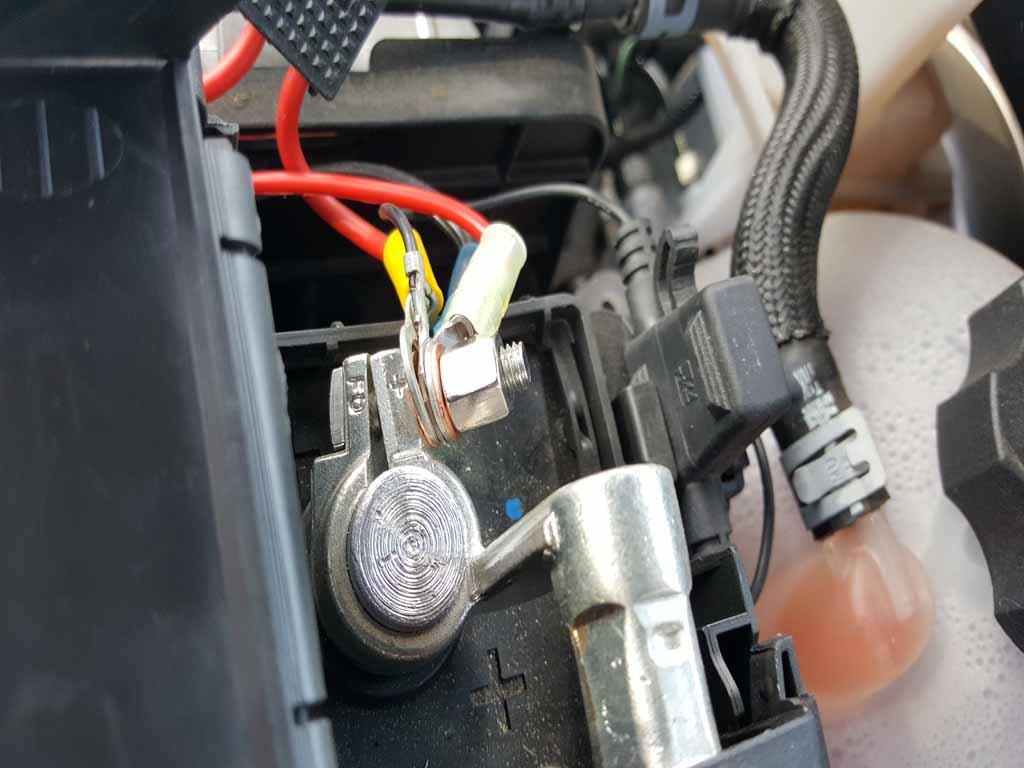
Common Ground ConnectionsThe battery terminal end of the battery switch became a common point for several Ground connections. A longer bolt was used for the extra wires. |
||
|
|
Here the battery disconnect switch again. Connected to the battery end bolt we have the Ground wire from the 6-round connector, the ground wire from the RVI Towed Battery Charger, the Ground wire from the Tow Lights cable, and finally the Ground wire from the Direct Power Receptacle. | |
click on images to enlarge |
||
|
The Ground wire from the 6-round connector provides the reference
between the toad and the motorhome that the RVI Towed Battery Charger needs to do it job. Since
the Ground terminal of the 6-round connecter was already used, the
Tow Lights cable Ground goes to the battery switch. The
Direct Power Receptacle is attached to the battery switch so the
receptacle is powered when the switch is opened. |
||
Auxiliary Brake UnitOur Blue OX Apollo auxiliary brake unit has served us for 11 years but was getting aged. We had the opportunity to get a little used RVI Brake 3 system at a good price. The RVI 3 uses a lot of new technology. |
||
 |
This in the RVI 3 Brake unit. Much smaller that the Apollo unit. | |
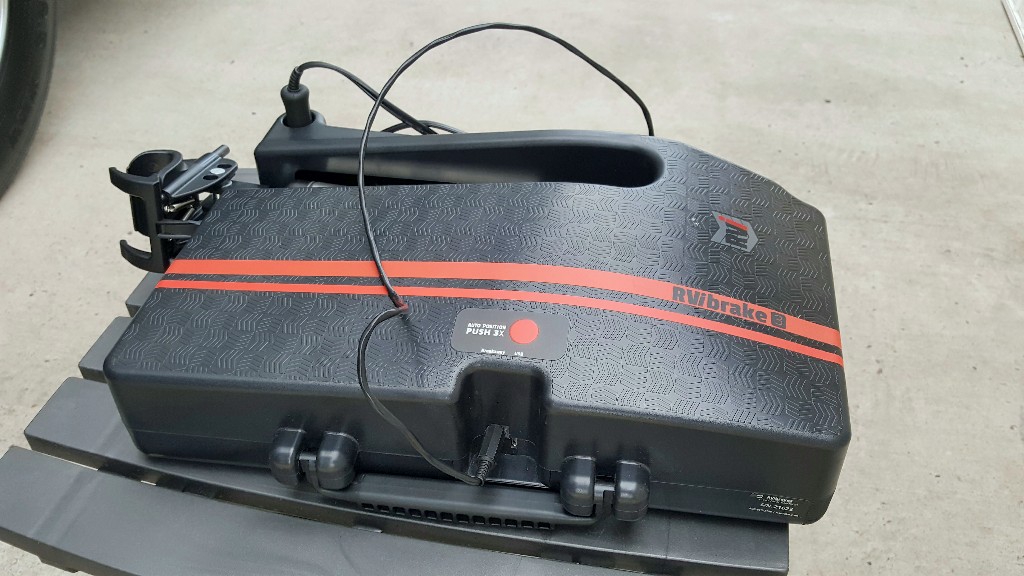 |
Our RVI 3 Brake unit.. | |
click on images to enlarge |
||
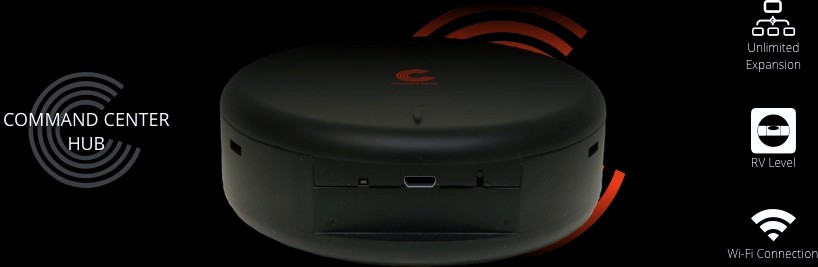 |
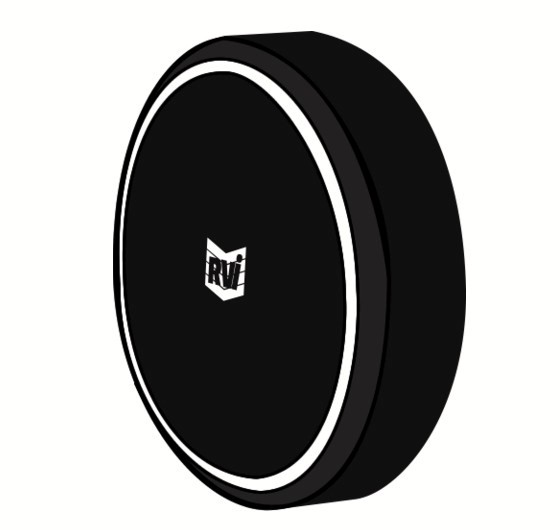
One of the technologies that the RVI 3 Brake uses. This is the
Command Hub
which wireless communicates with the RVI 3 Brake unit
and also with the RVI Command tablet. There are other functions that the Hub supports that we don't use. |
|
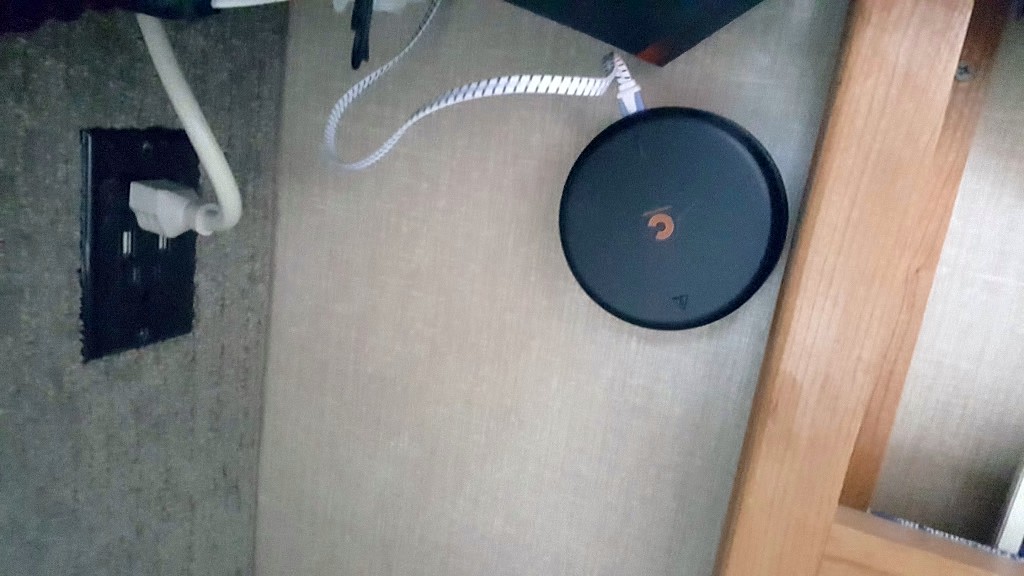 |
The Command Hub uses USB power for charging the battery. We
are mounting the Hub so that is will always be under USB power.
We eventually found the best place for the Hub was midway back in the motorhome. |
|
click on images to enlarge |
||
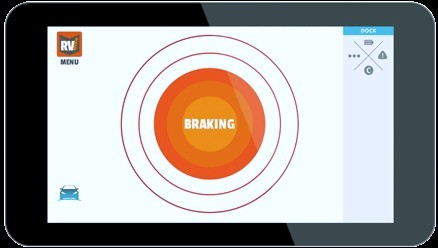 |
The RVI 3 Brake system uses a 7" tablet that wireless communicates with the Command Hub. | |
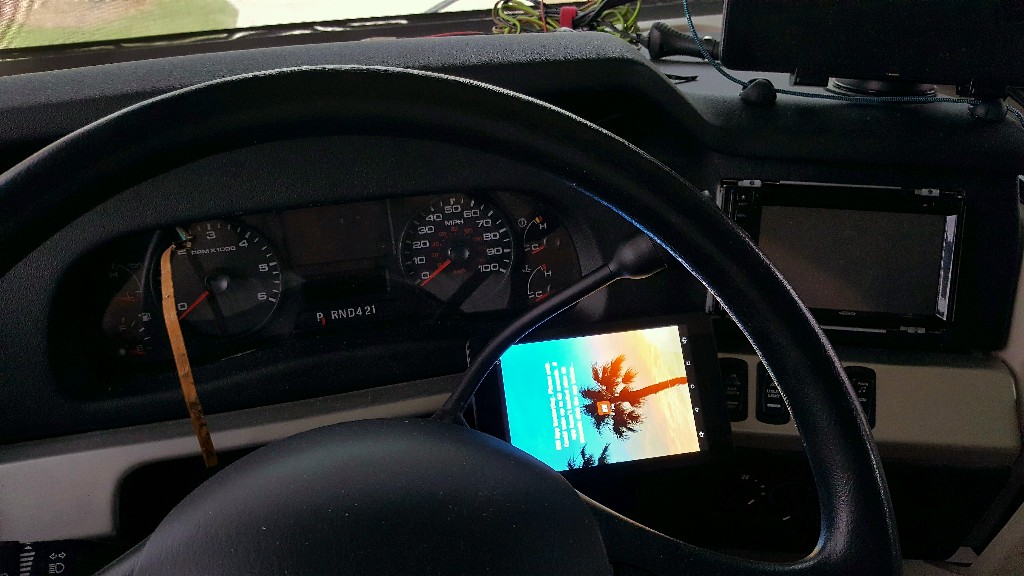 |
The tablet is mounted near the steeling wheel to keep the driver up-to-date on what is happening with the RVI 3 Brake unit. The tablet also has a touch button to test the brakes, a feature we wanted for time when the normal inertial triggers are not activated and some braking by the toad is desired. | |
click on images to enlarge |
||
 |
The Command Hub and the Tablet come with magnetic mounts that are
glued to the surface and then hold the Hub/Tablet. A flat mount and an angled mount were included with the system. For our purposes, we acquired an second flat mount for the Tablet too. |
|
click on images to enlarge |
||
Wiring AccessOne of the challenges is adding wiring is how to get wires from the engine compartment inside the cabin of the car. Cars today are very dense in architecture. Simple access like in the old days through the firewall is near impossible these days. |
||
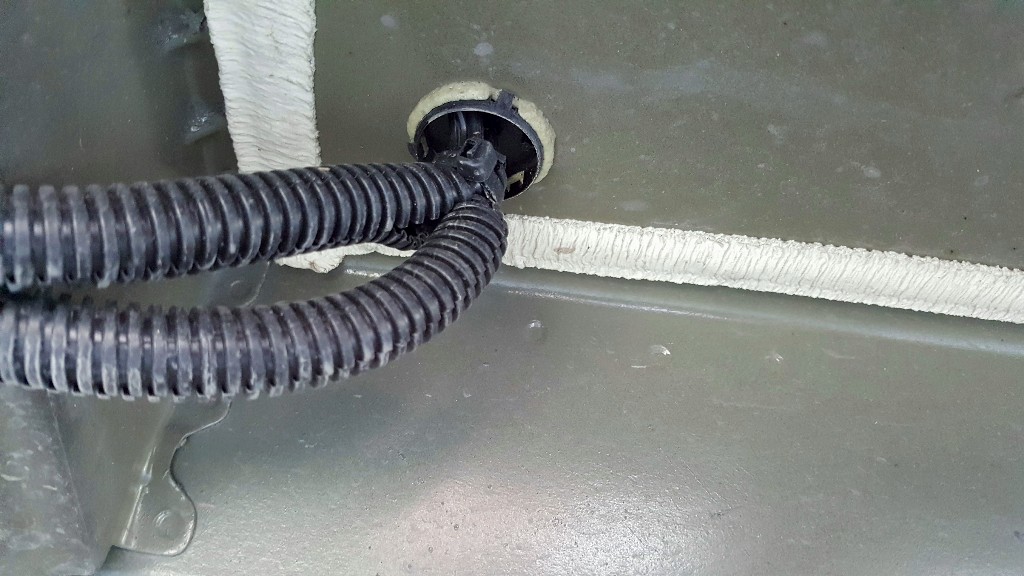 |
We have found that usually there are plugs under the floor.
These plugs usually are plastic and easily drilled. The two cables you see are for the break-away switch and the Direct Power Receptacle. |
|
click on images to enlarge |
||
|
Once inside, the cables run under the carpet and along the side step covers then up under the dash. We ran cables inside the fender to the battery area. We found a gap under a filler bottle to get access to the front. We dropped the fascia a bit to route the wire to the 6-round connector. |
||
Battery ChargerThe Equinox has built-in Wi-Fi hotspot. We want to be able to use the Equinox hotspot as a backup to our air-card modem. To be able to use the hotspot, we need to have the Equinox in Accessory mode, which can run the battery down. So we added the hookup for a battery charger. |
||
 |
We choose a NOCO Genius G3500, a smart charger. | |
 |
The Genius G3500 comes will these battery terminal clamps to connect to the battery. | |
click on images to enlarge |
||
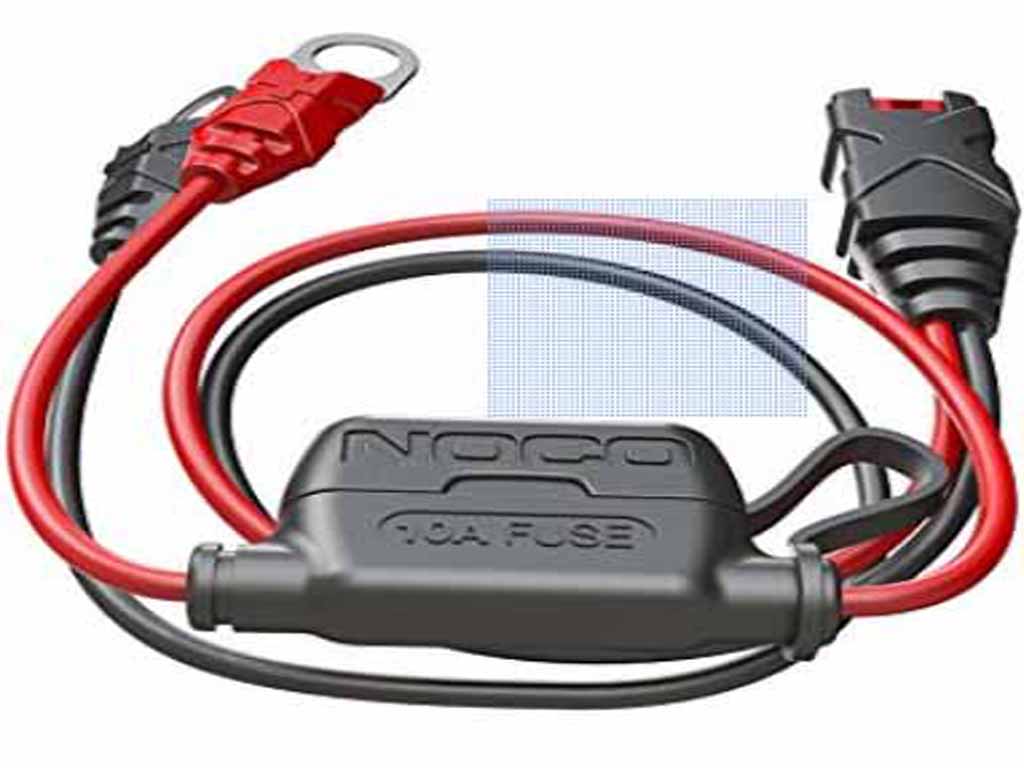 |
We bought this NOCO Genius GC008 XL Eyelet Terminal Connector
kit and connected it directly to the battery terminals. The
eyelets were too large for good electrical contact so we cut them
off and crimped on the appropriate size terminal ends. Now to connect the charge, we just plug into the cable. |
|
click on images to enlarge |
||
Disclaimer: The information in this site is a collection of data we derived from the vendors and from our personal experiences. This information is meant as a learning guide for you to make your own decisions Best practices and code should always be followed. The recommendations we make are from our personal experiences and we do not receive any compensation for those recommendations. |