
Please wait, I'm coming over...

Last Changed 7/5/2019 |
||
|
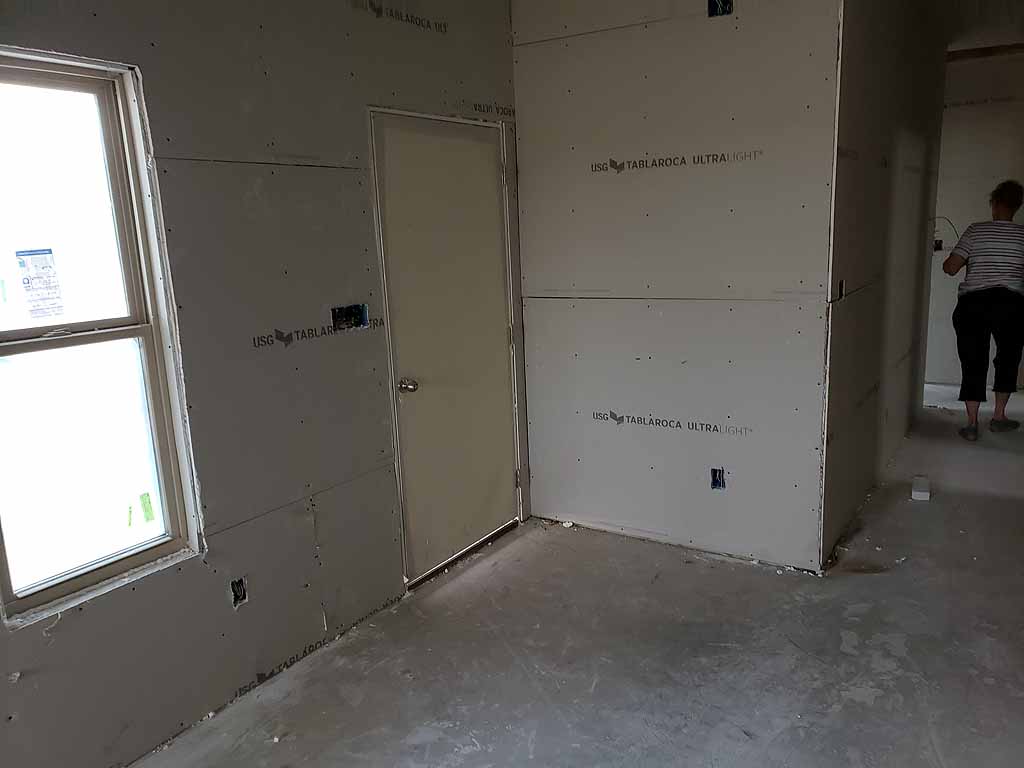
After the shell is built, then the inside works starts. |
||
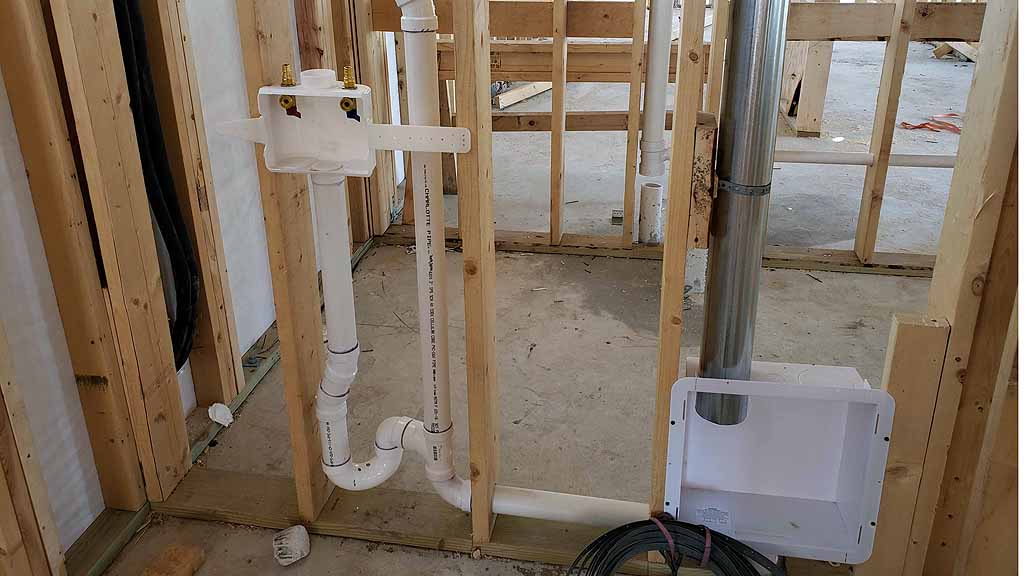 |
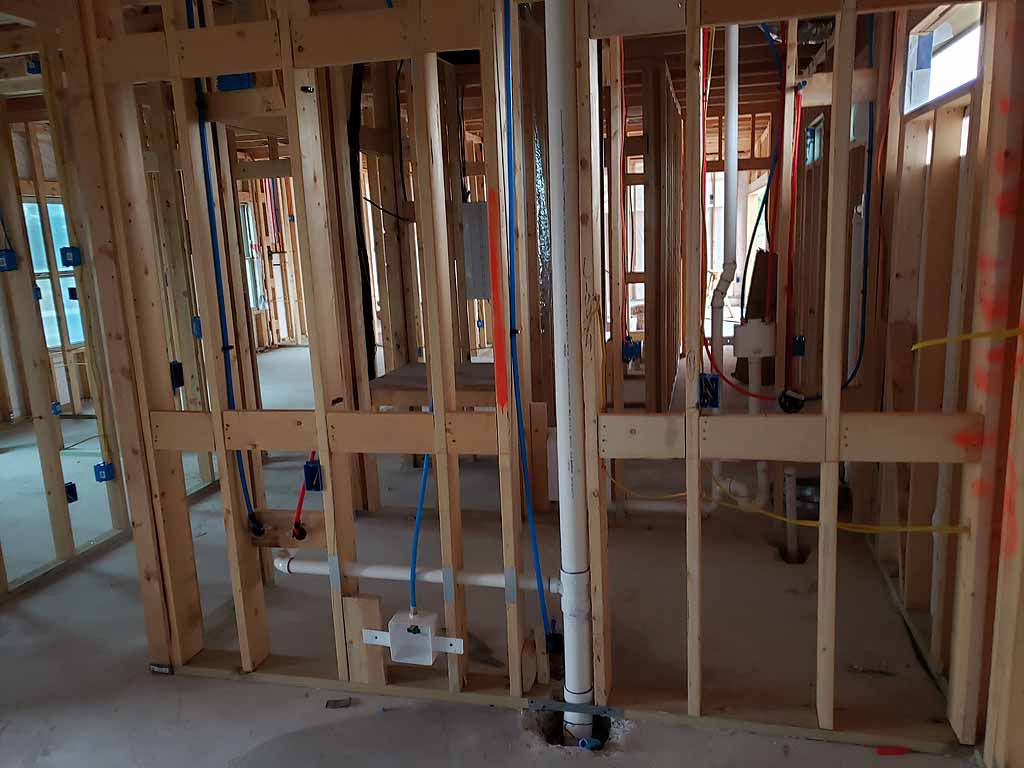
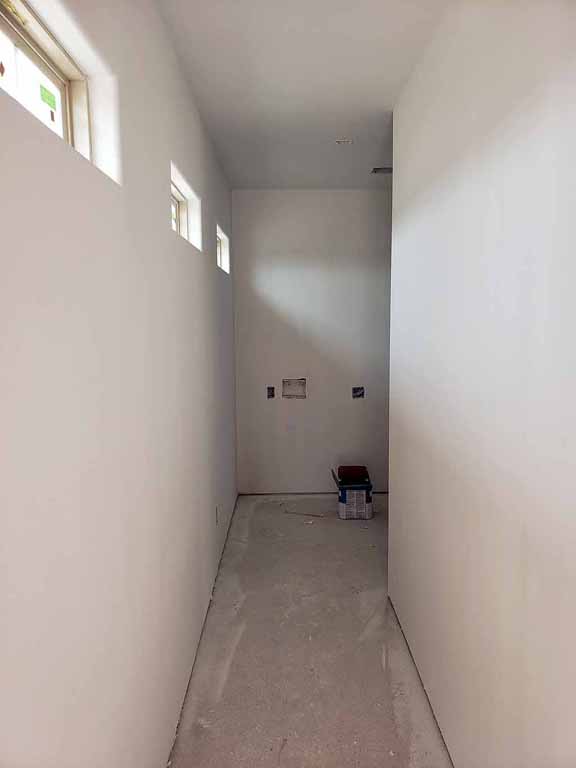
One of
the design considerations we had to make was the positioning of the
washer and dryer. The easiest way to handle the dryer vent
would have been to place the dryer on the left and run the vent
pipe out the side wall. We needed the dryer to be on the right because the washer door only opens to the left and cannot be reversed. Dryer doors can be reversed. |
|
click on images to enlarge |
||
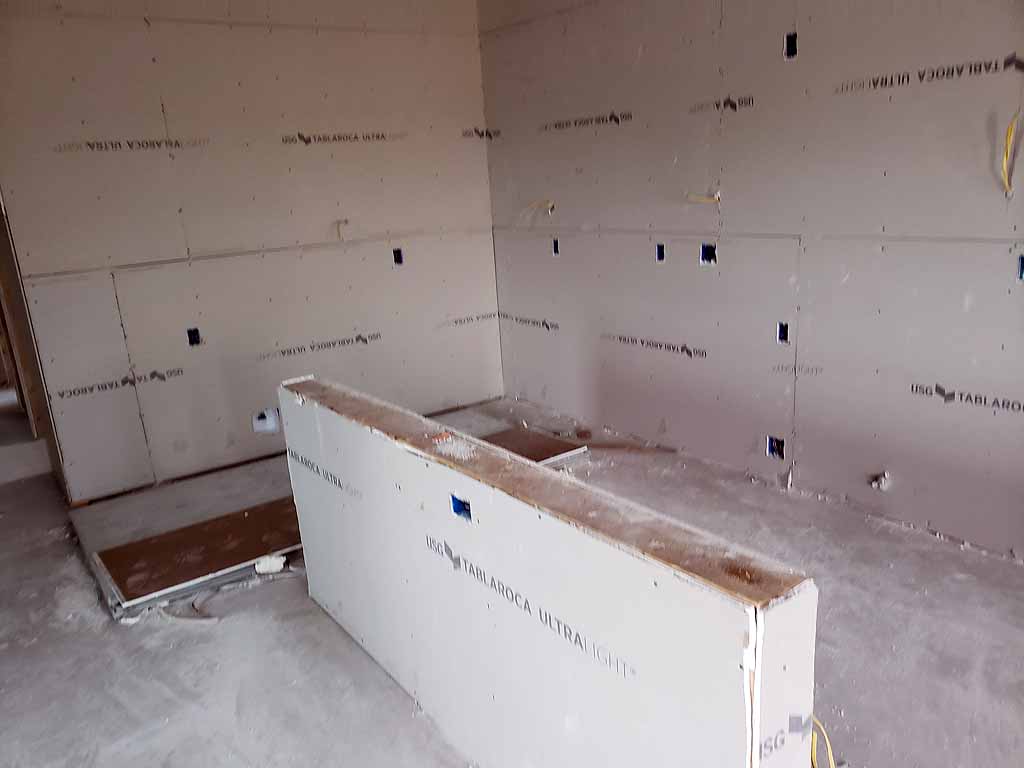
We wanted the doors of the washer and dryer to open away from each other to facilitate moving the wash items to the dryer. To complicate issues, the plumber had placed the washer drain pipe on the right side and that was set in the concrete slab. The plumber creatively routed the drain to the left through the studs and then placed the dryer vent box atop the drain line and set the dryer vent to exhaust upward out through the roof. |
||
|
|
One of the design considerations we had to make was the positioning of the washer and dryer. The easiest way to handle the dryer vent would have been to place the dryer on the left and run the vent pipe out the side wall. | |
click on images to enlarge |
||
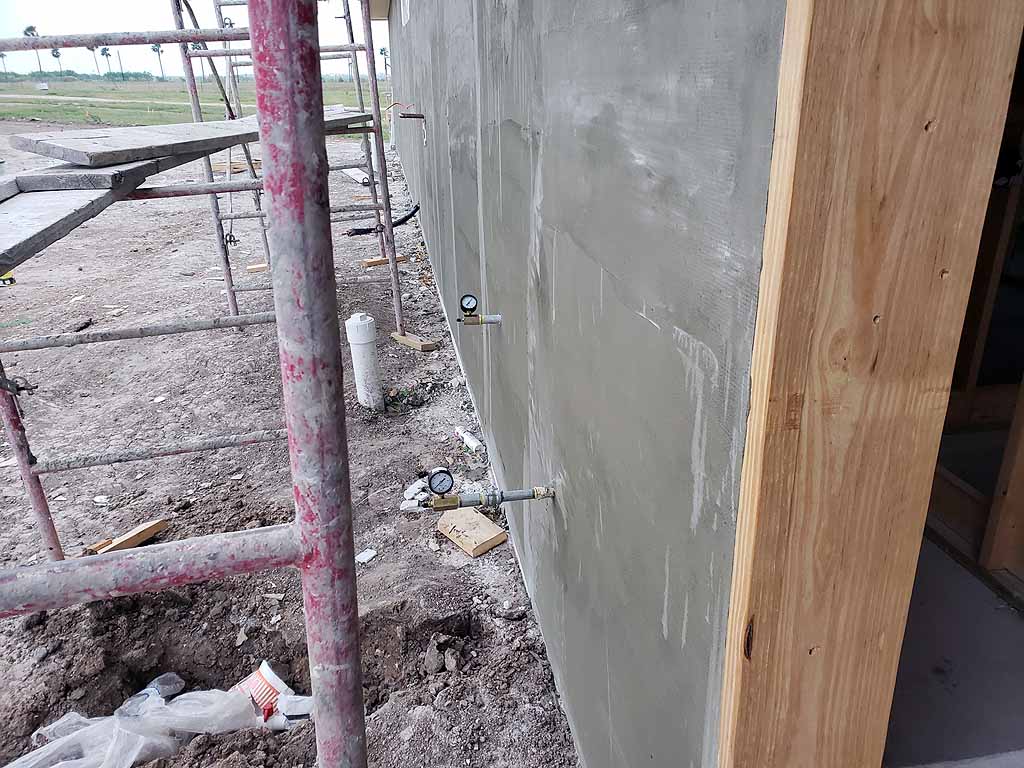 |
4/17/19 If you note, the two pressure gauges are testing the water lines and the gas line. |
 |
 |
All the water lines are PEX. |
 |
click on images to enlarge |
click on images to enlarge |
|
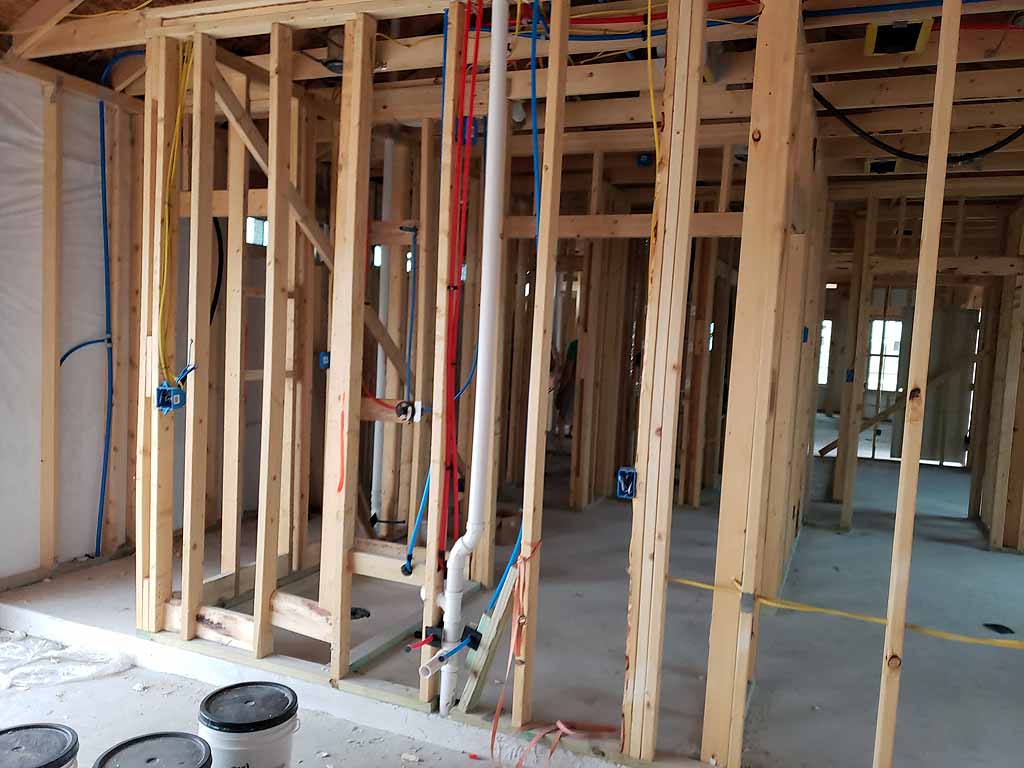 |
Even the gas line, which used to be black iron pipe, is now a flexible line. |
 |
click on images to enlarge |
click on images to enlarge |
|
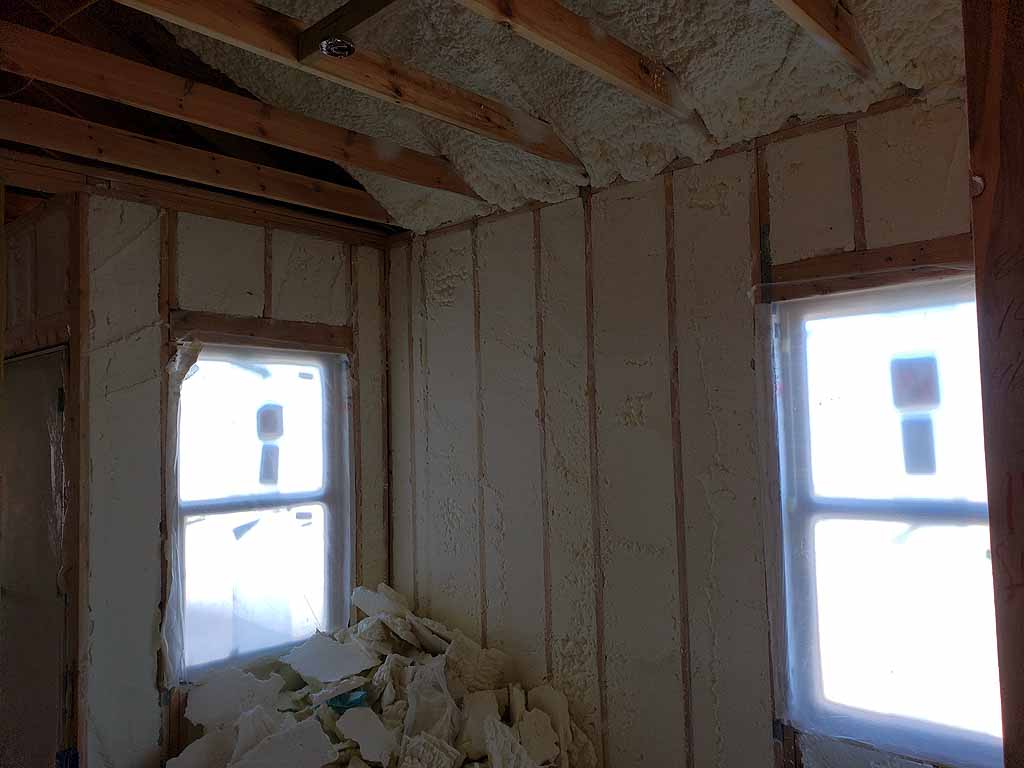 |
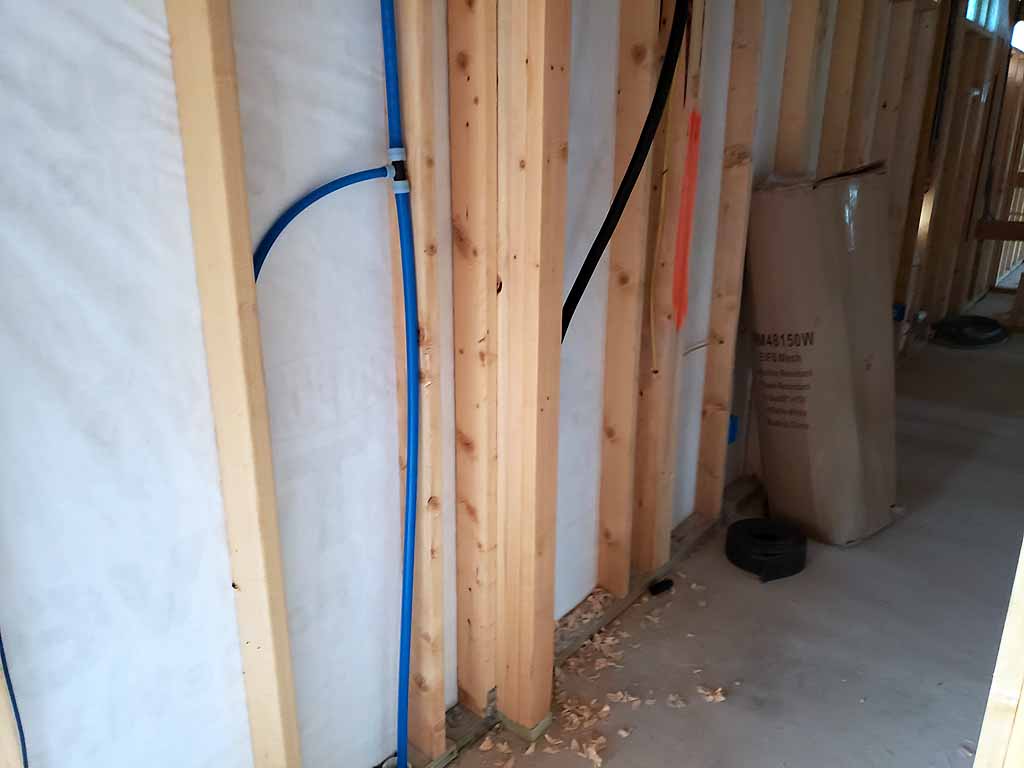
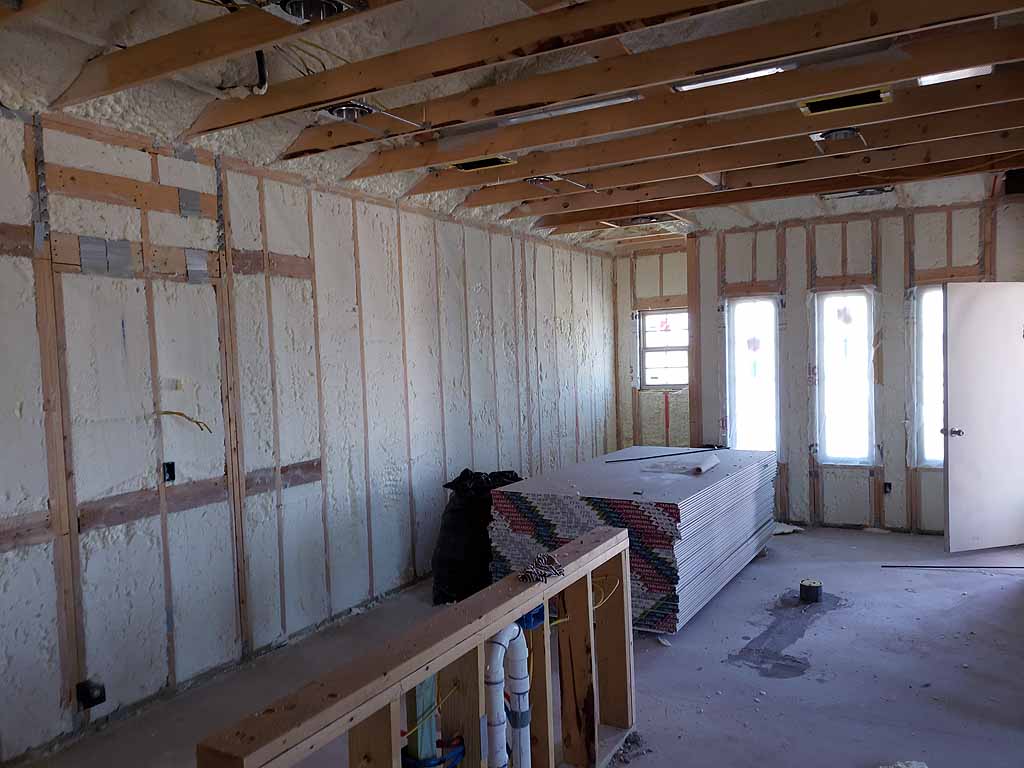
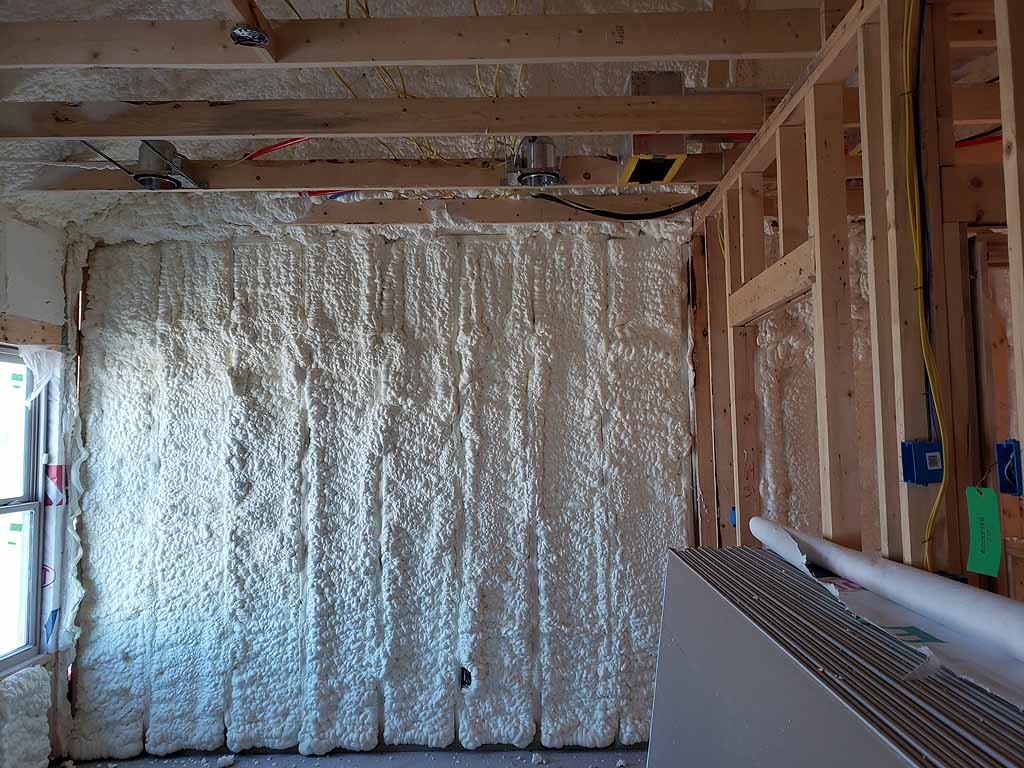
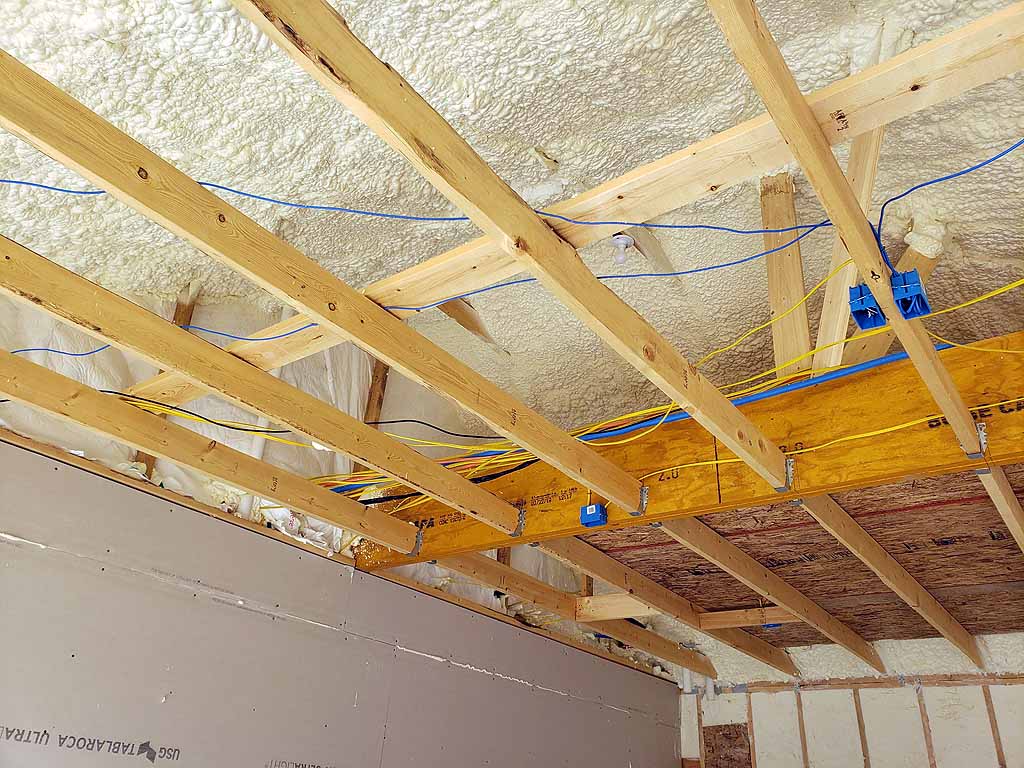
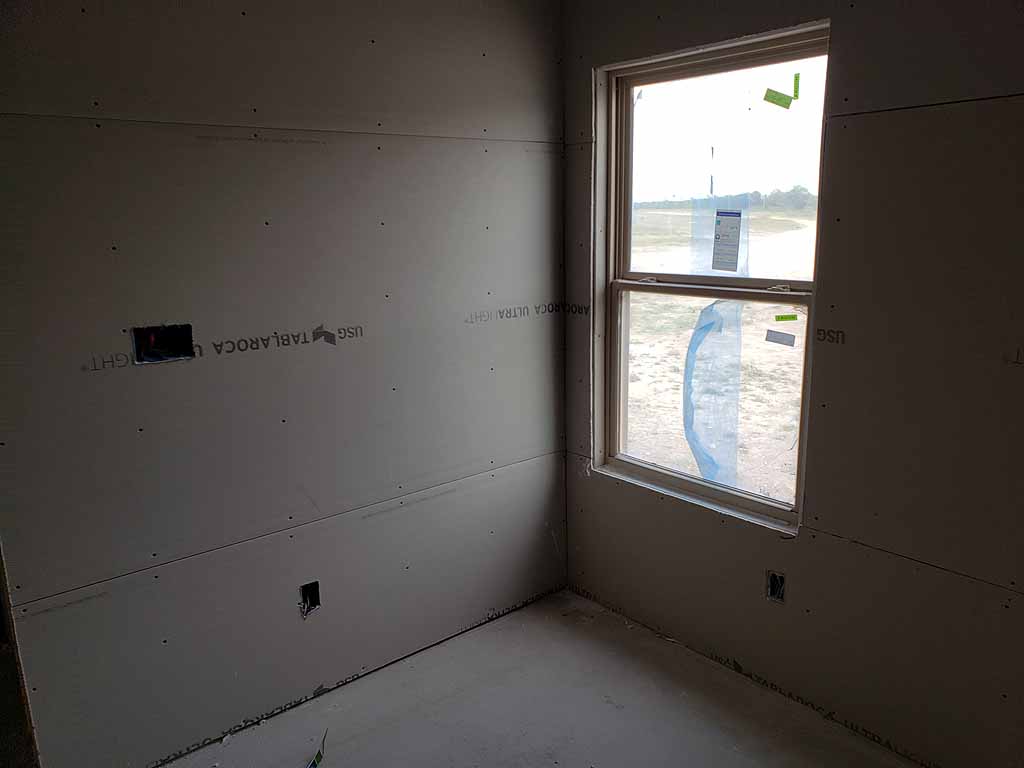
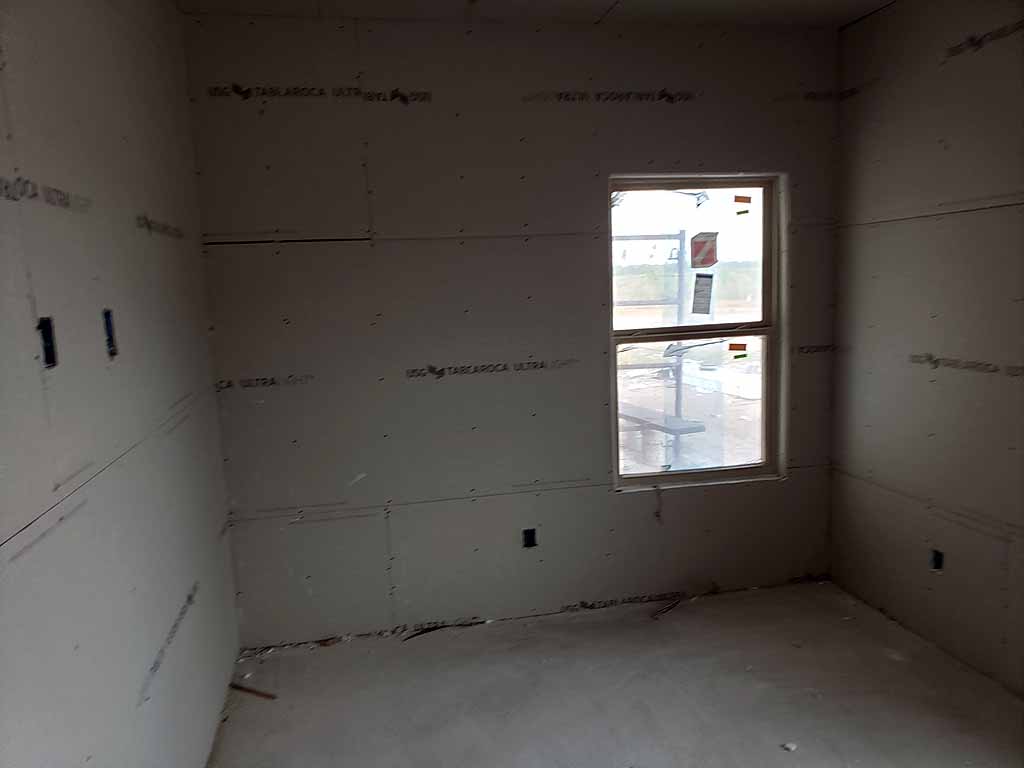
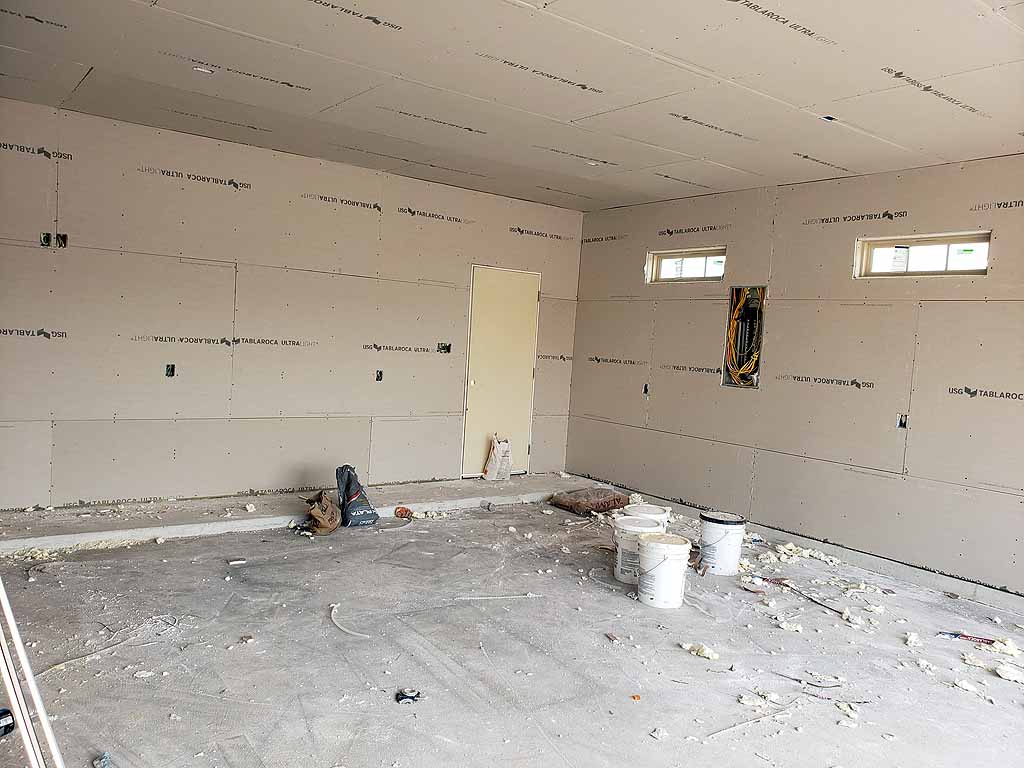
4/26/19 We have been foamed. |
 |
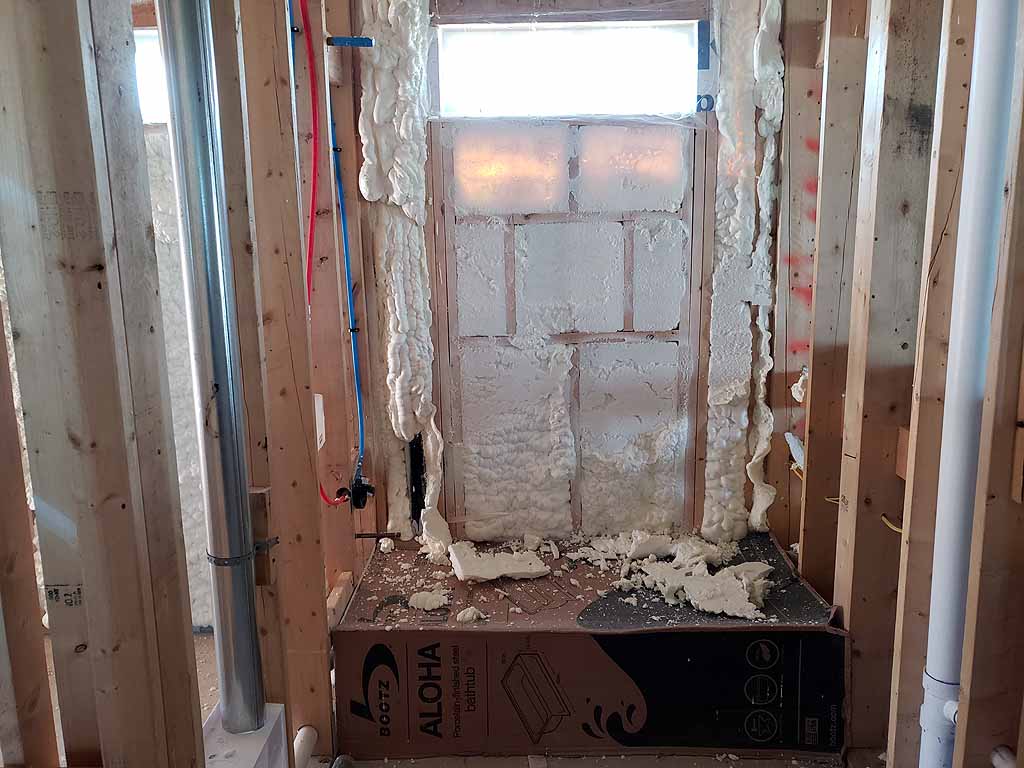 |
The foam insulation has been sprayed on the walls and the roof rafters.. |
 |
click on images to enlarge |
click on images to enlarge |
|
 |
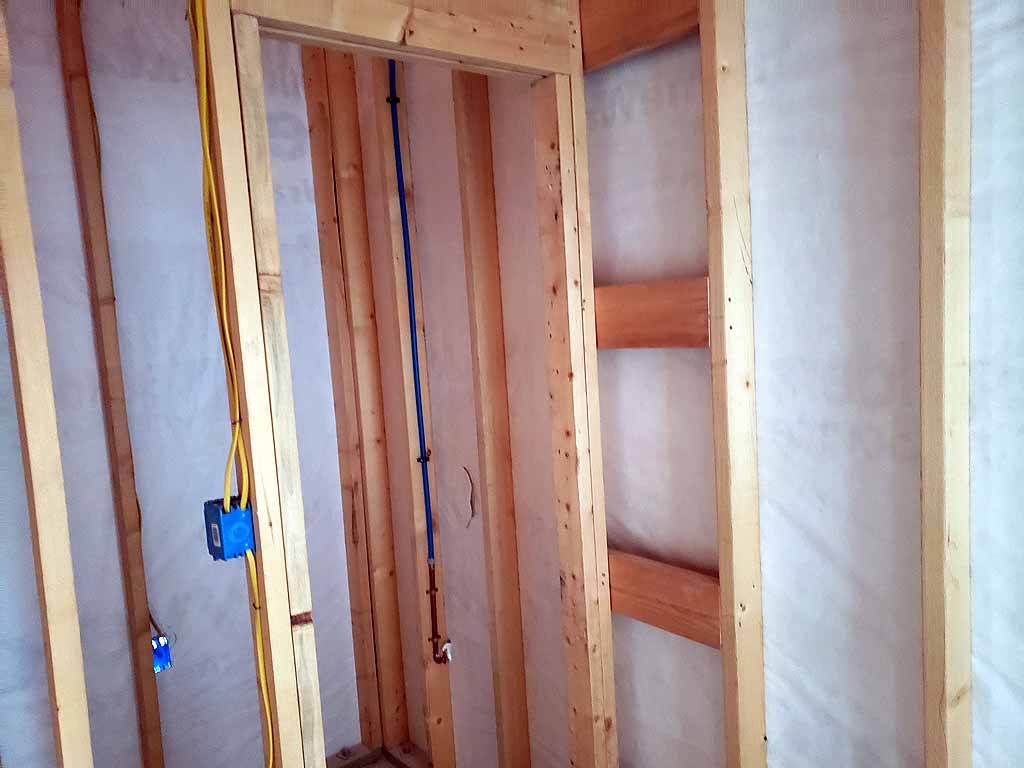
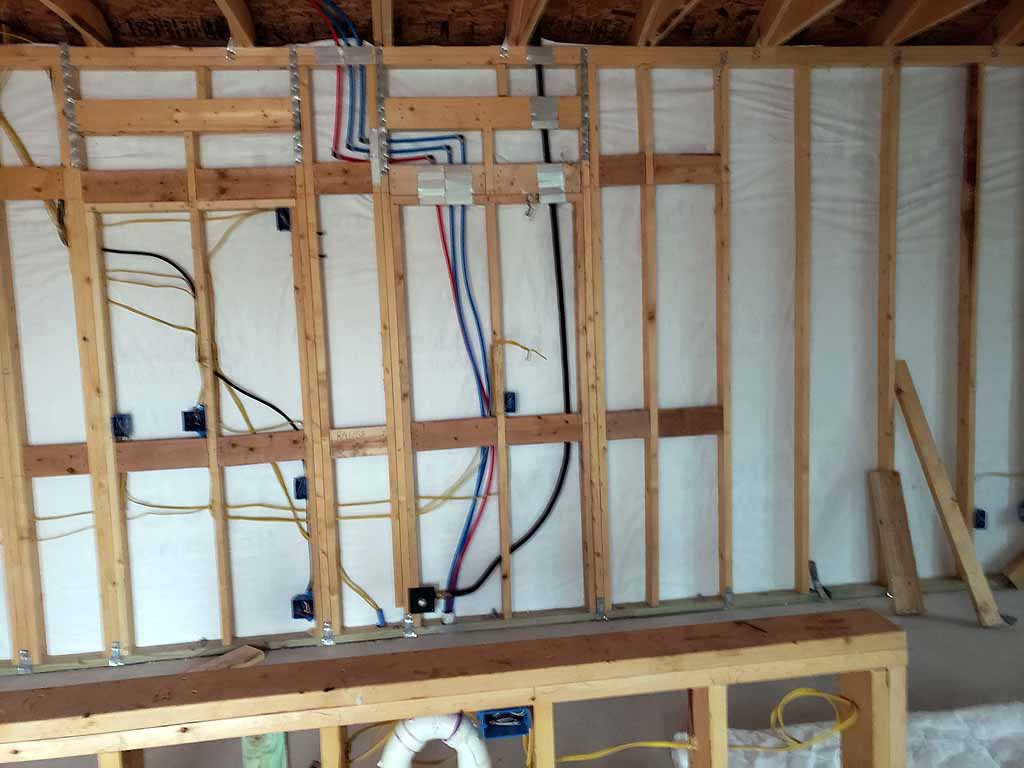
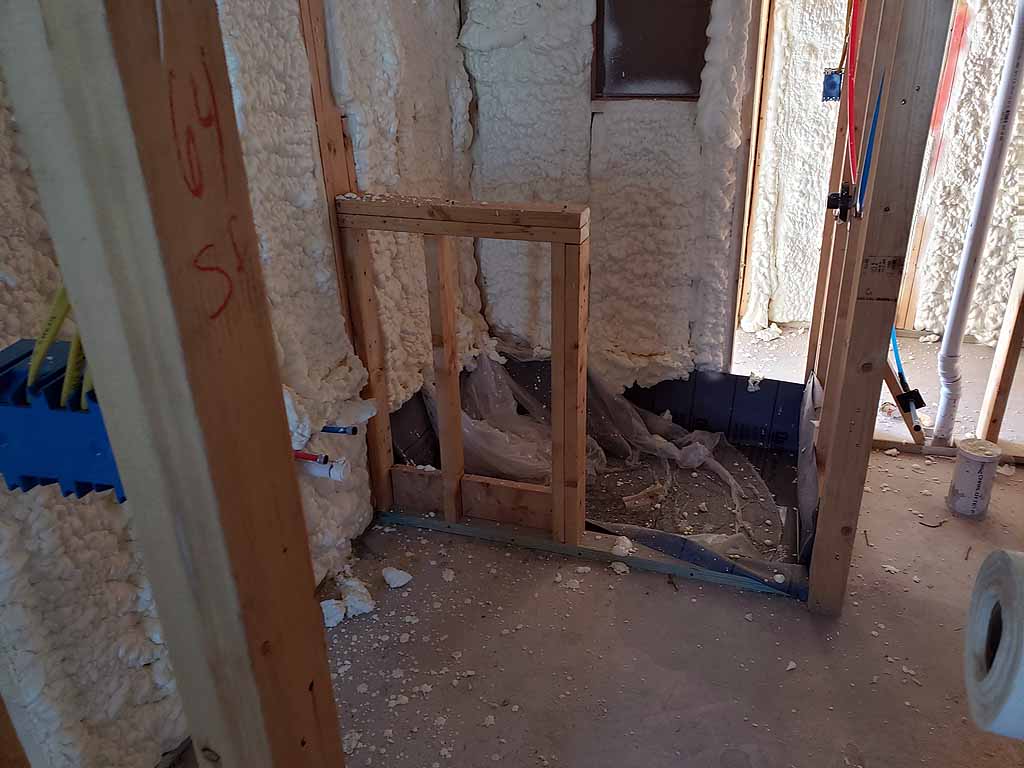
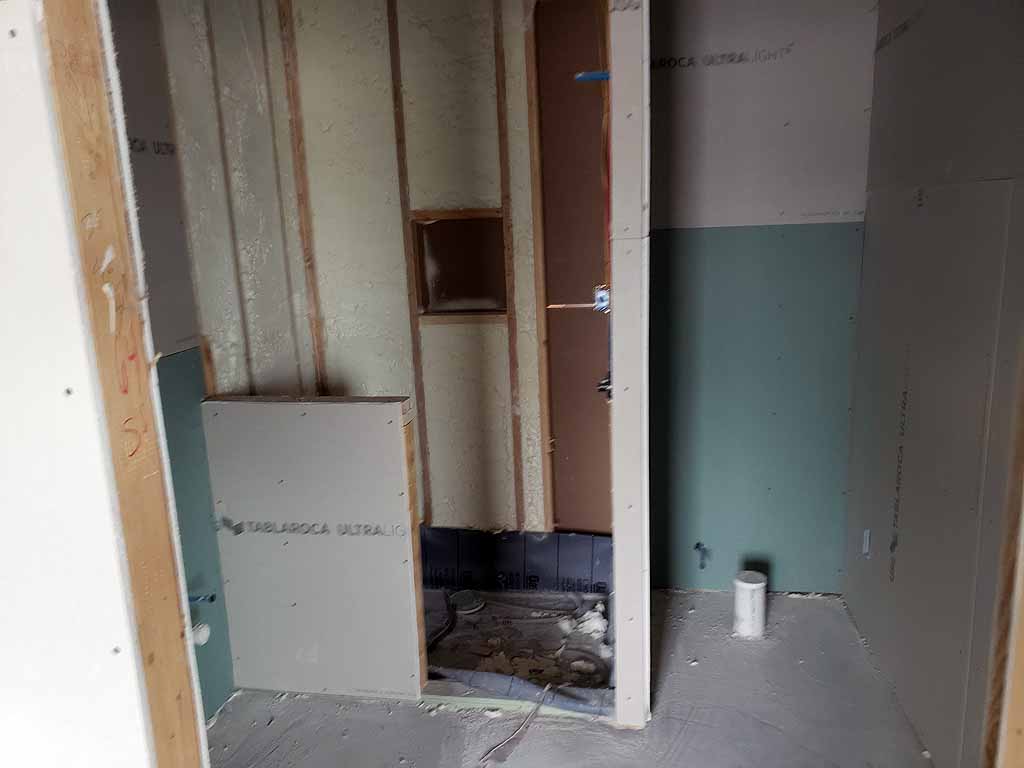
The framework for
the pocket door in the Master Bathroom has been installed. The knee wall between the shower and the Master Bathroom vanity has been built. |
 |
 |
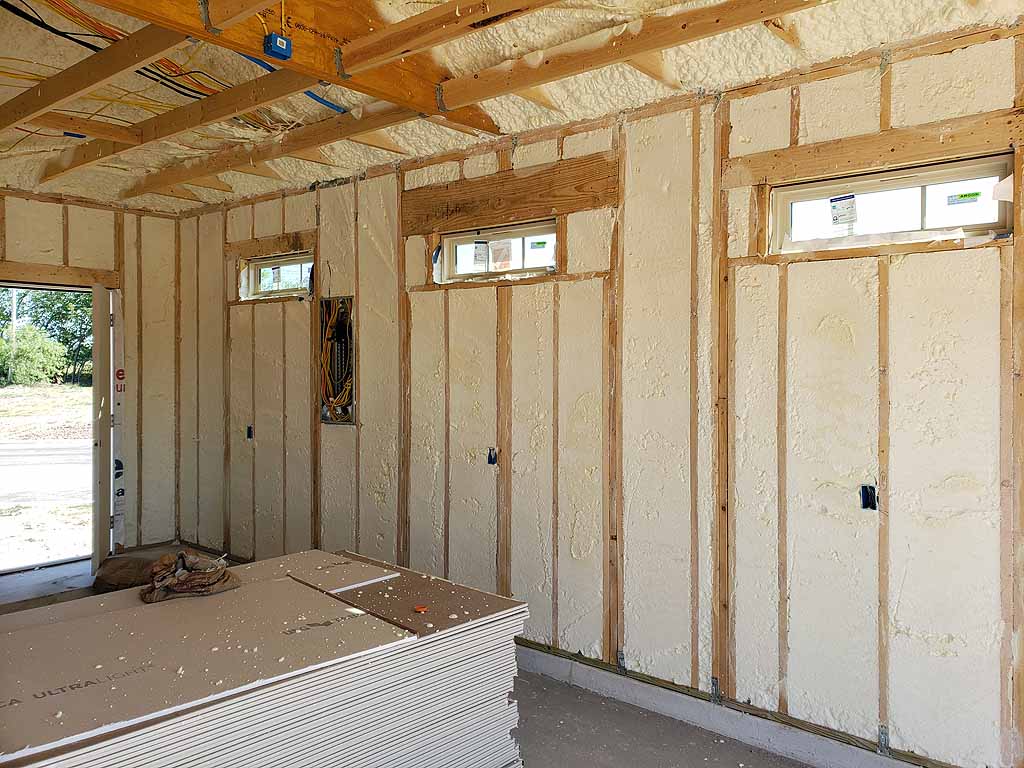
4/29/30 The foaming of the garage walls and roof has been completed. |
 |
click on images to enlarge |
click on images to enlarge |
|
 |
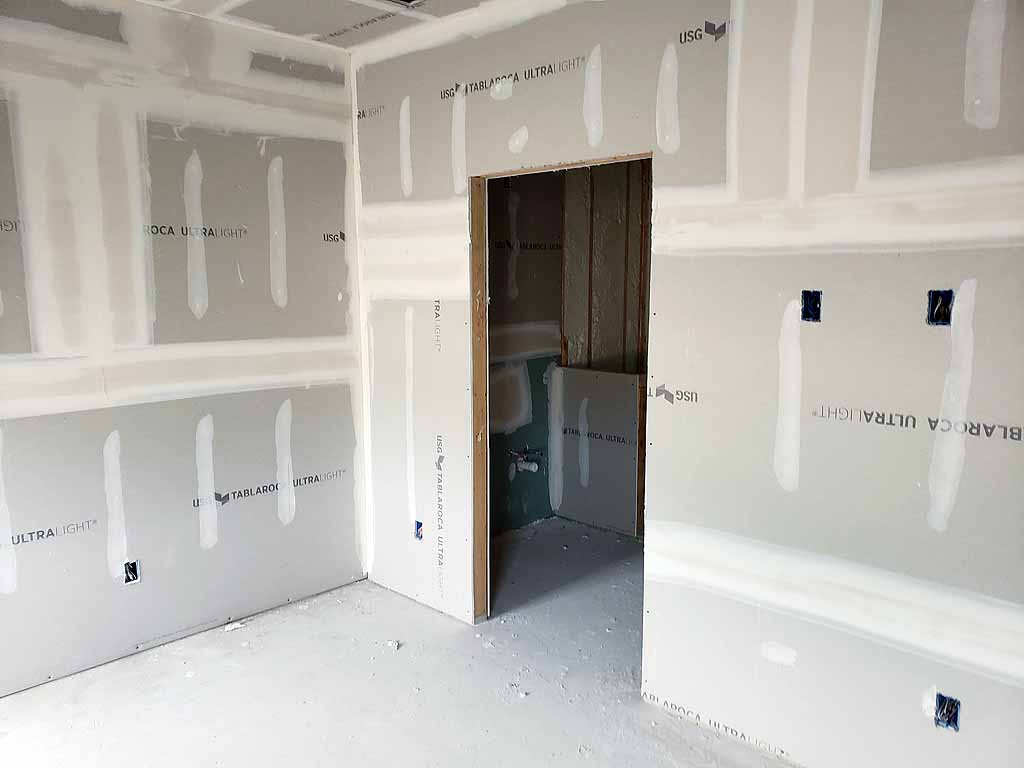
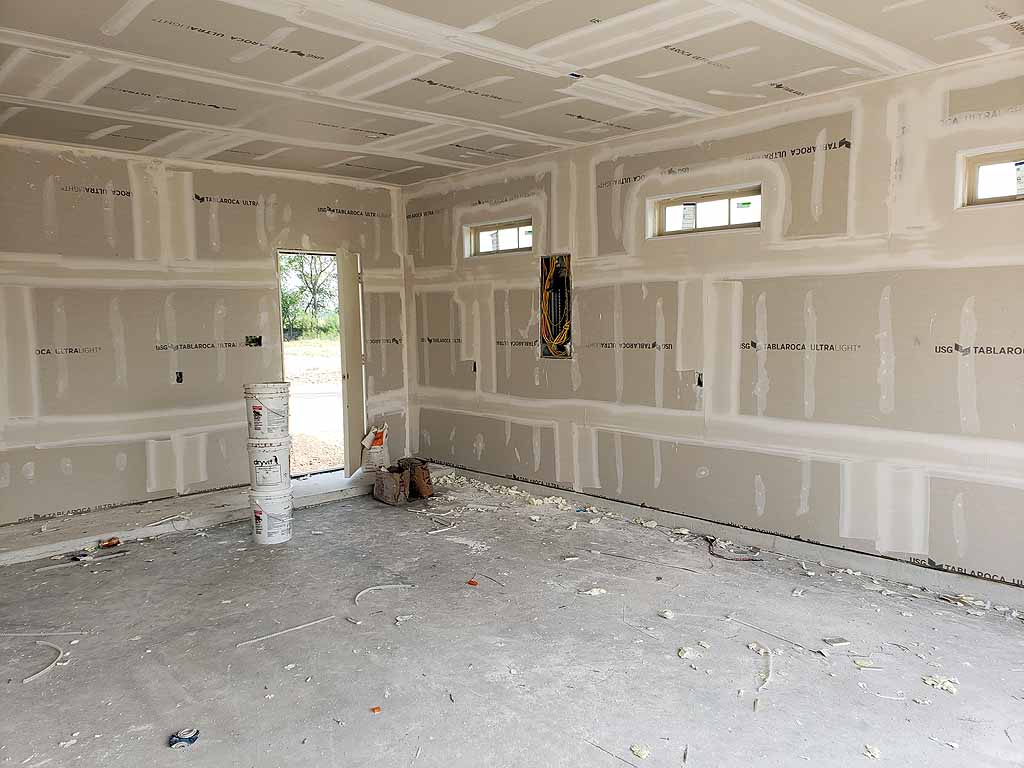
4/30/30 The big day has come and the drywall boards are being installed. |
 |
 |
 |
 |
click on images to enlarge |
click on images to enlarge | click on images to enlarge |
 |
 |
 |
 |
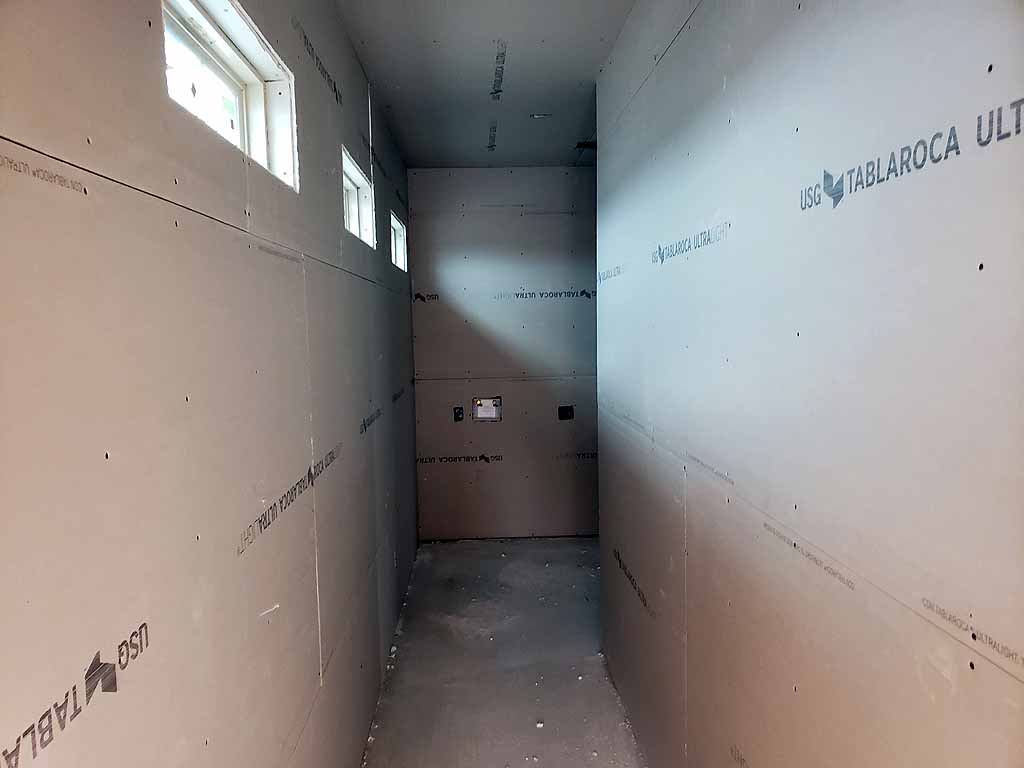
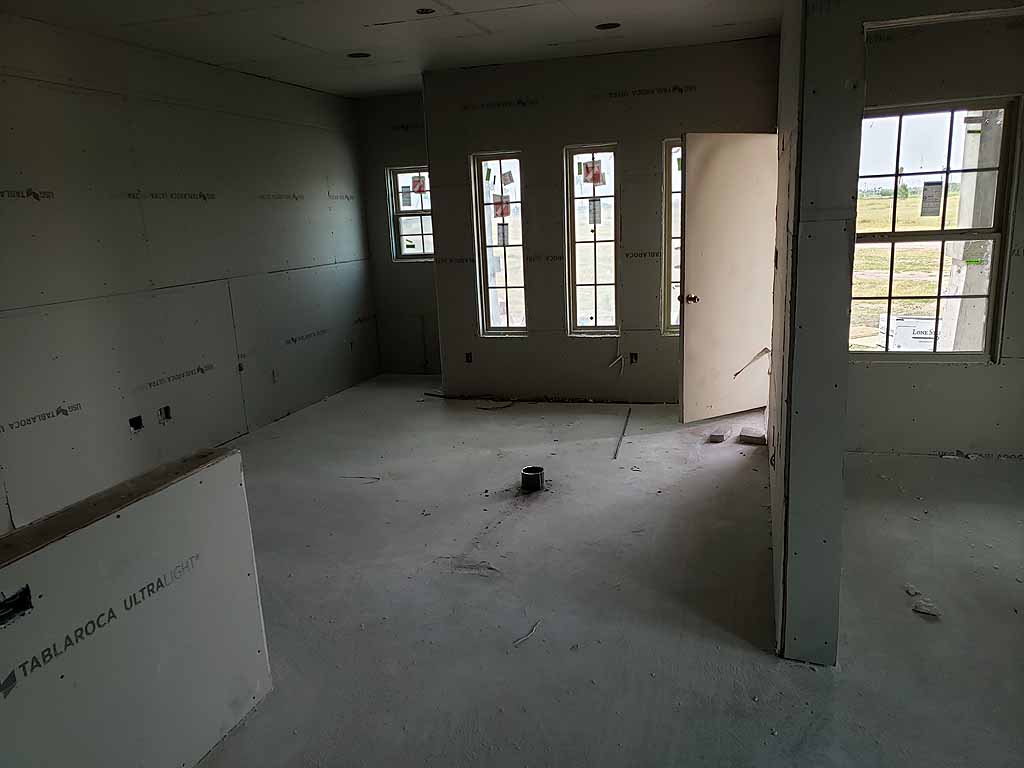
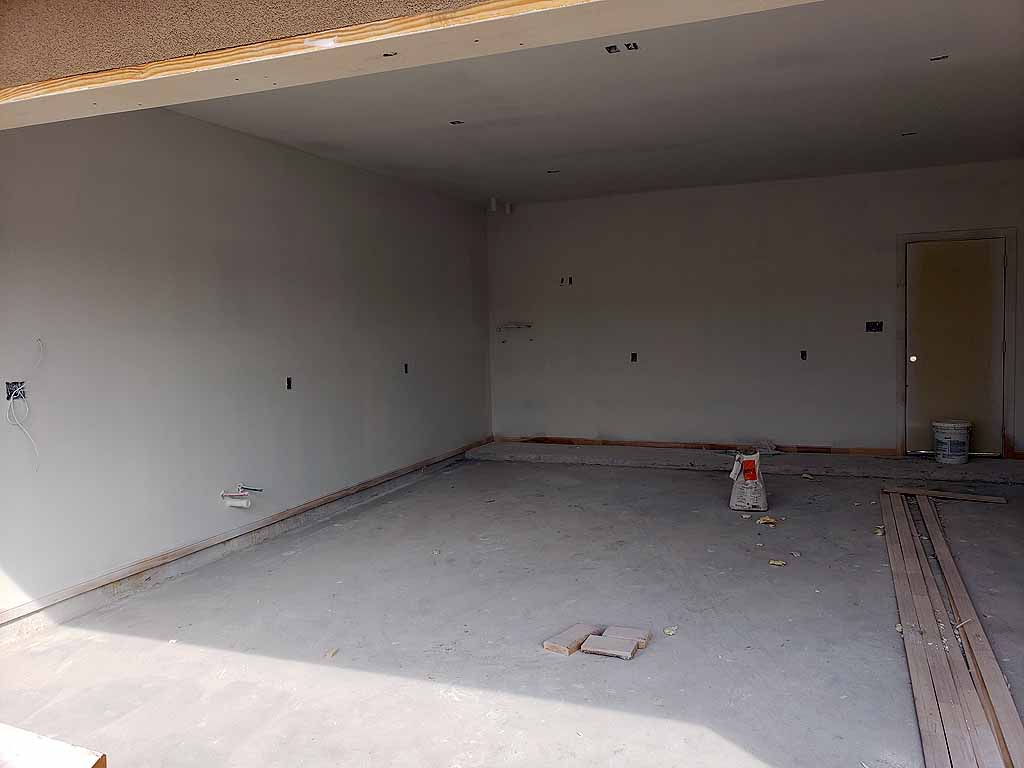
The inside of the Cottage is done. The garage drywall has been started. |
|
click on images to enlarge |
||
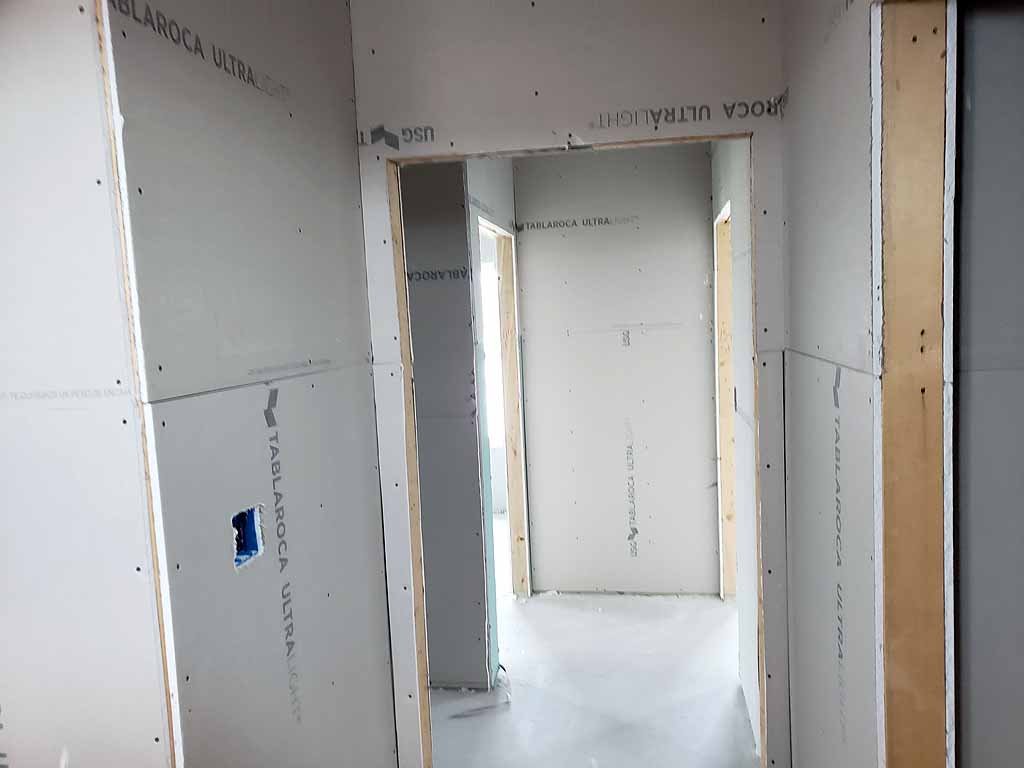
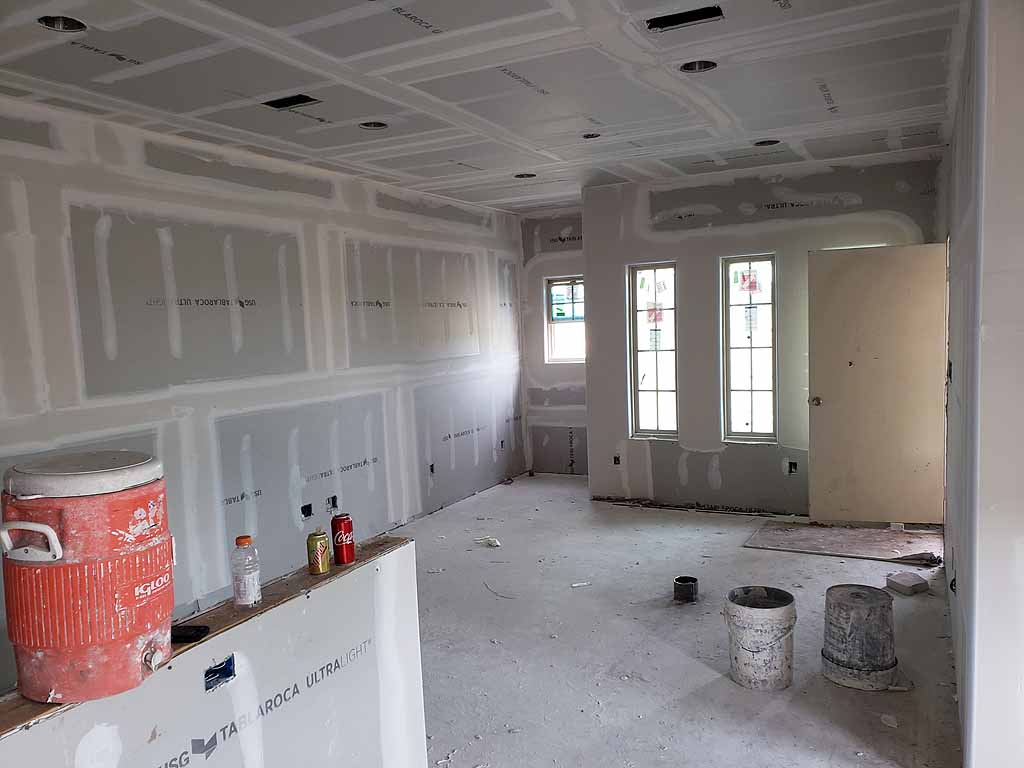
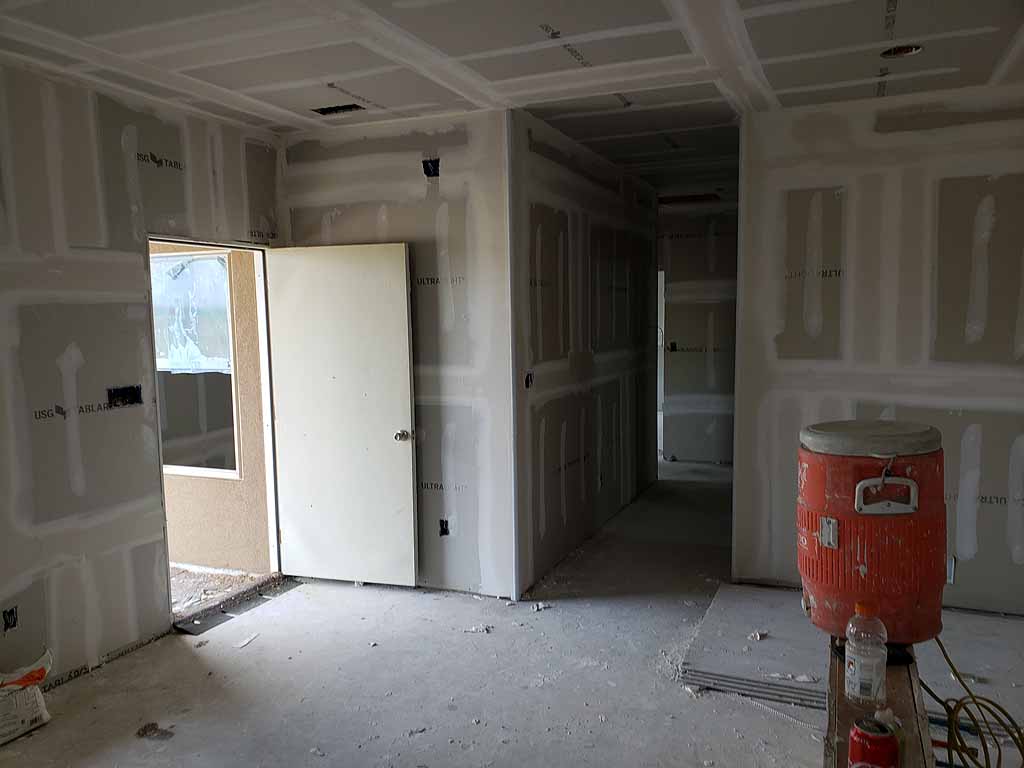
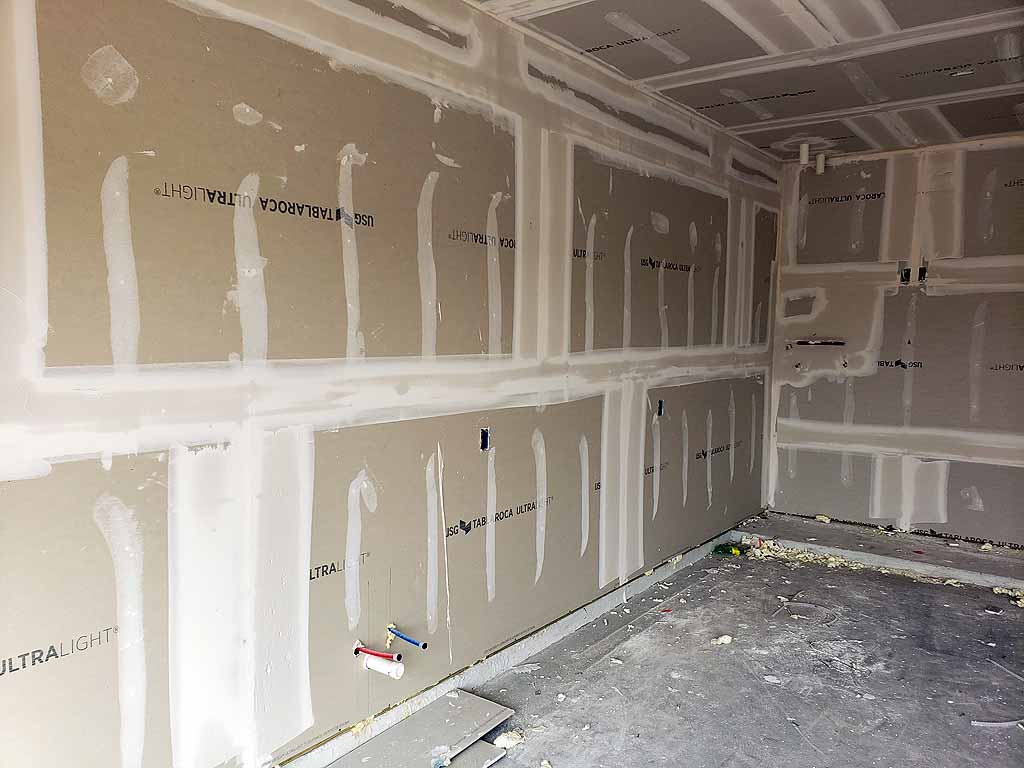
5/2/19 The mudding of the drywall has started. |
||
 |
 |
 |
click on images to enlarge |
click on images to enlarge | click on images to enlarge |
5/6/19 The inside drywall has been textured. |
||
 |
 |
|
 |
 |
 |
click on images to enlarge |
click on images to enlarge | click on images to enlarge |
 |
 |
 |
 |
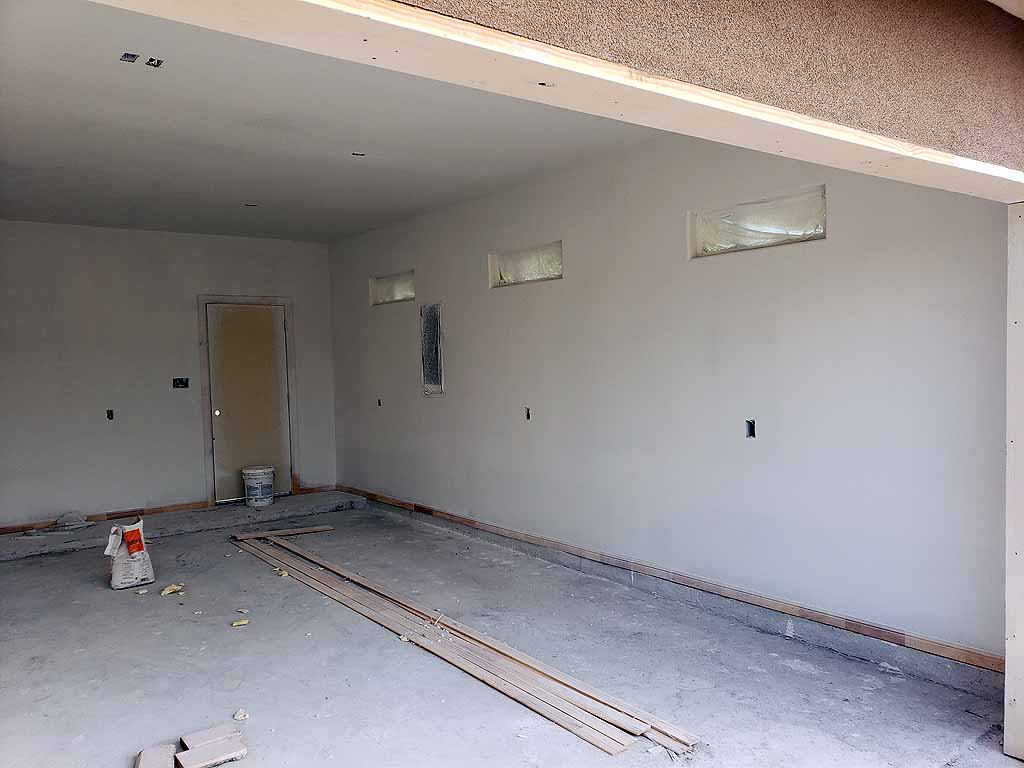
5/6/19 The drywall has been installed in the garage. |
|
click on images to enlarge |
||
 |
5/7/19 The mudding of the garage drywall was done today. |
 |
click on images to enlarge |
click on images to enlarge |
|
 |
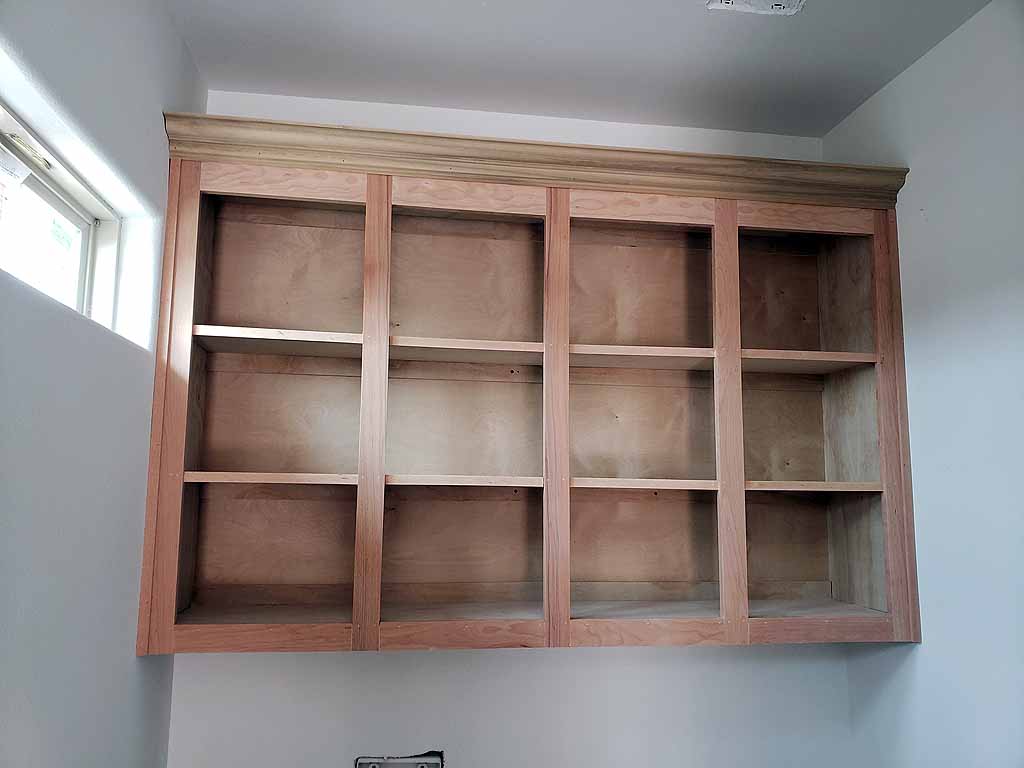
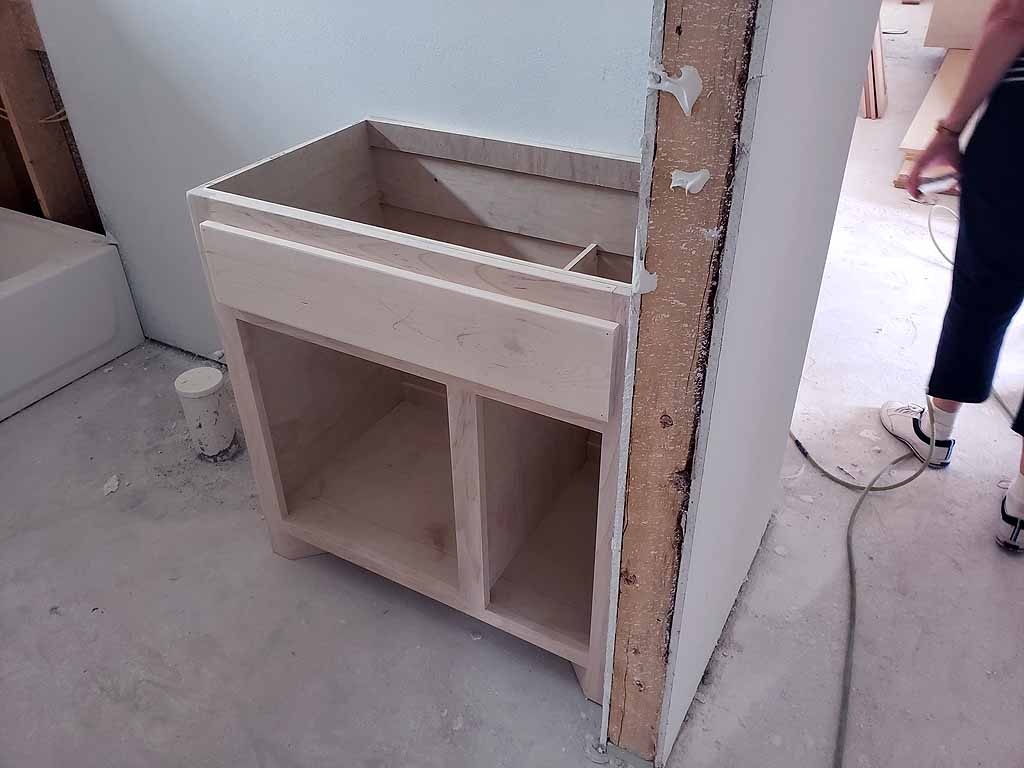
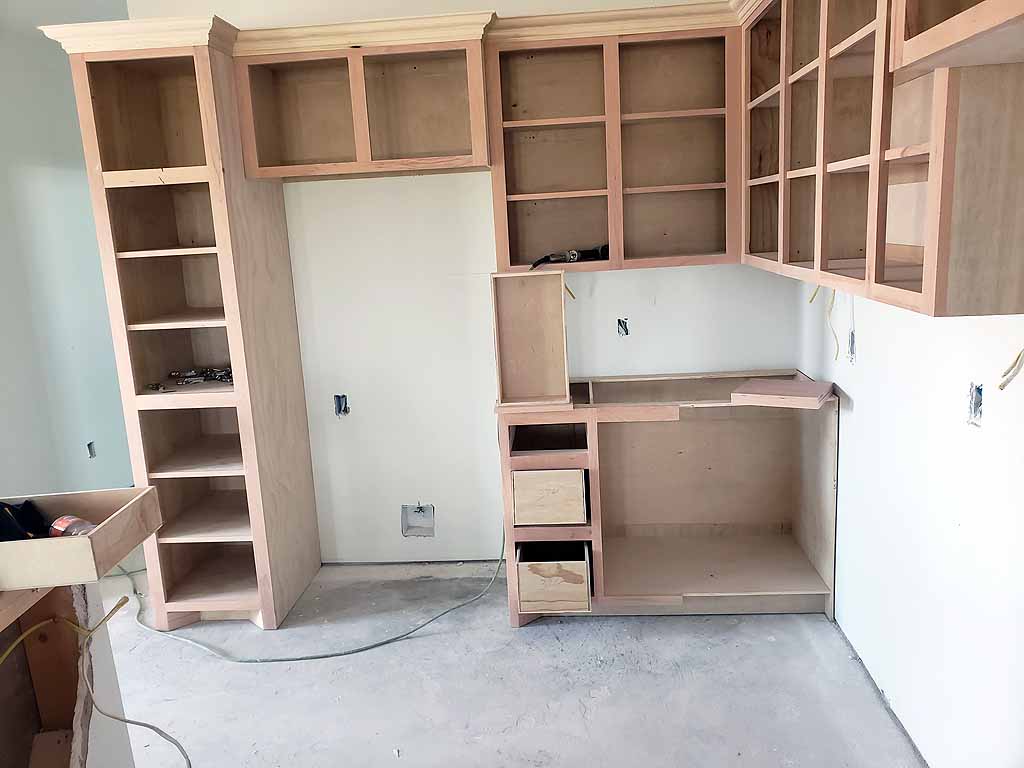
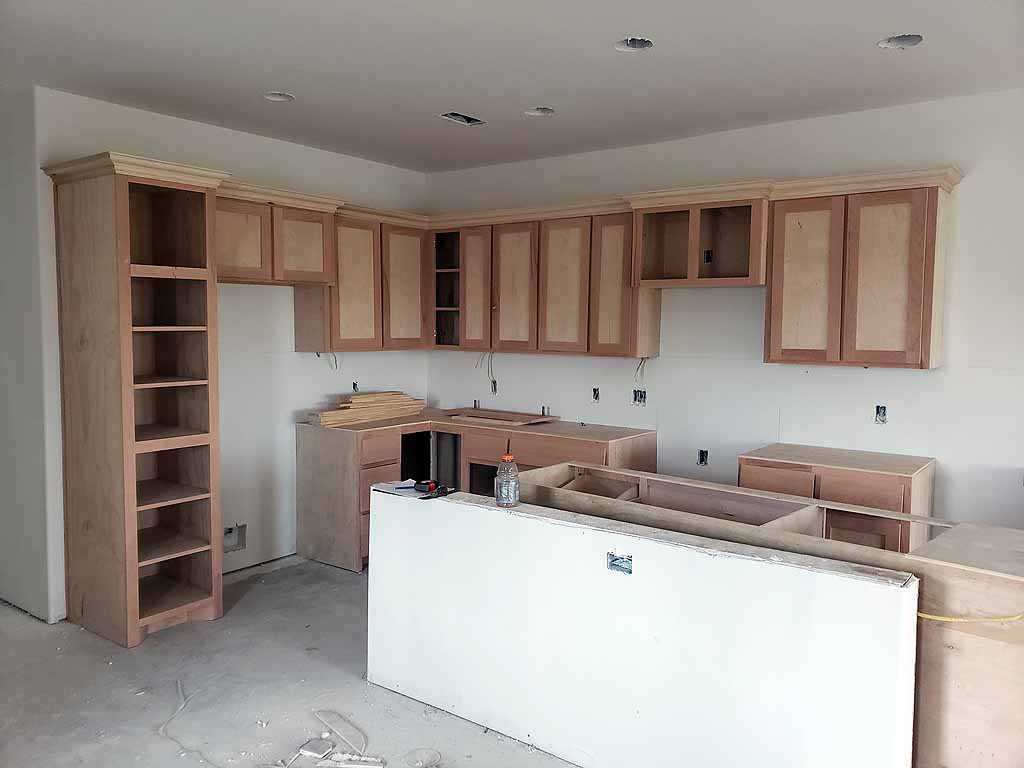
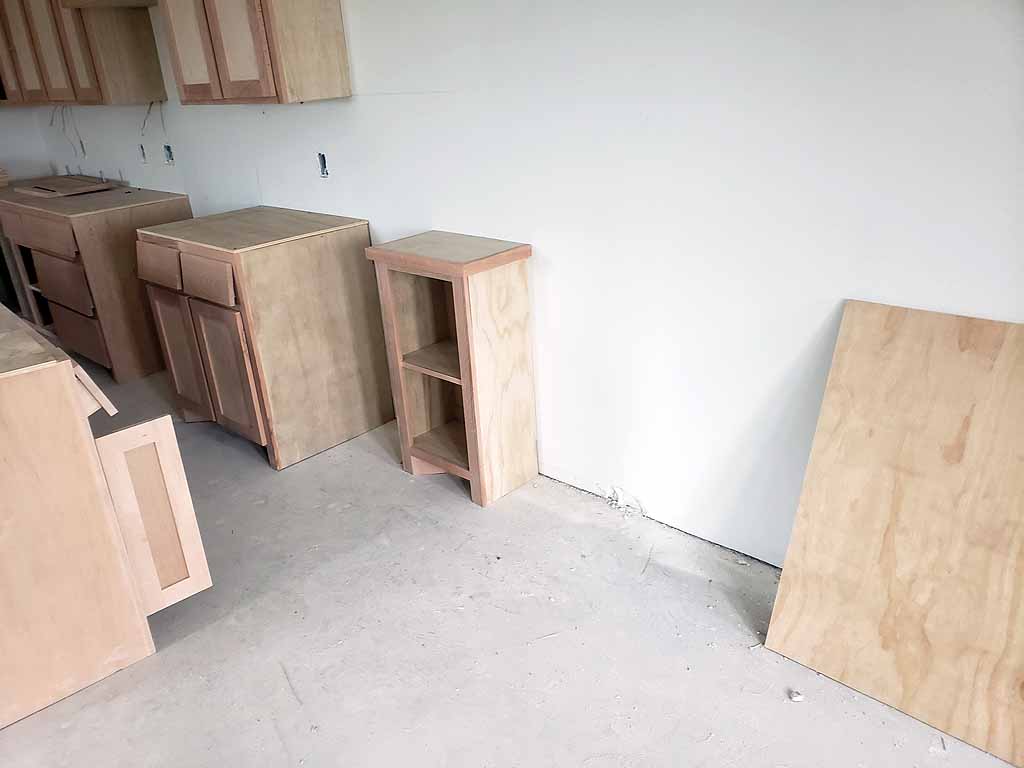
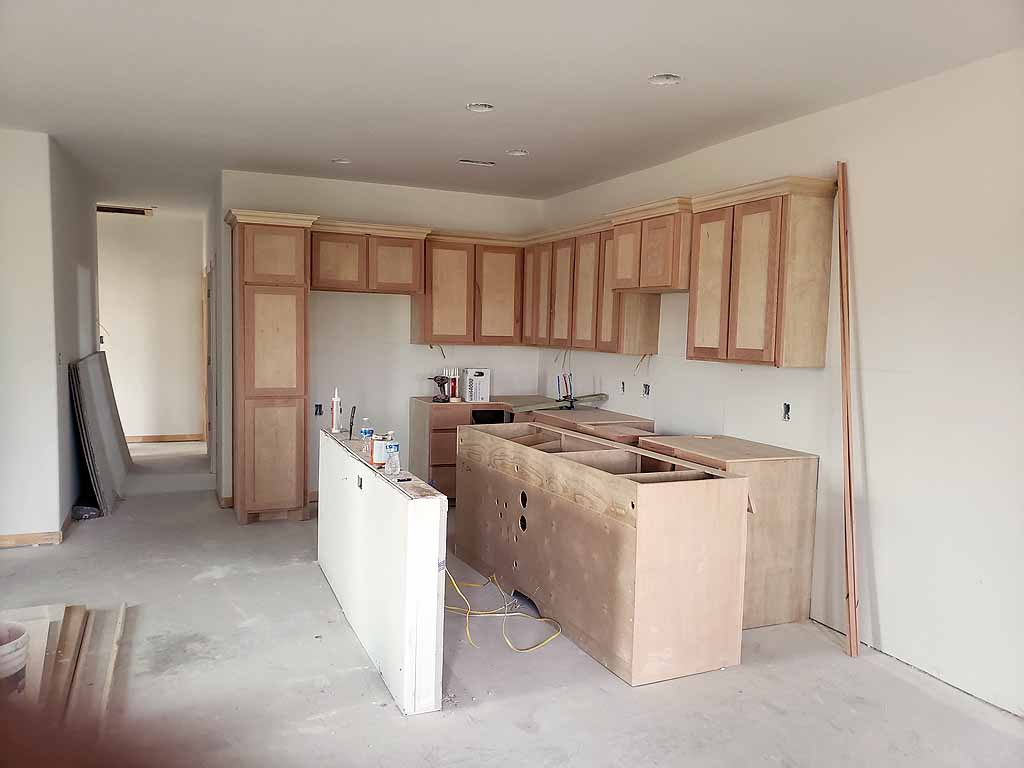
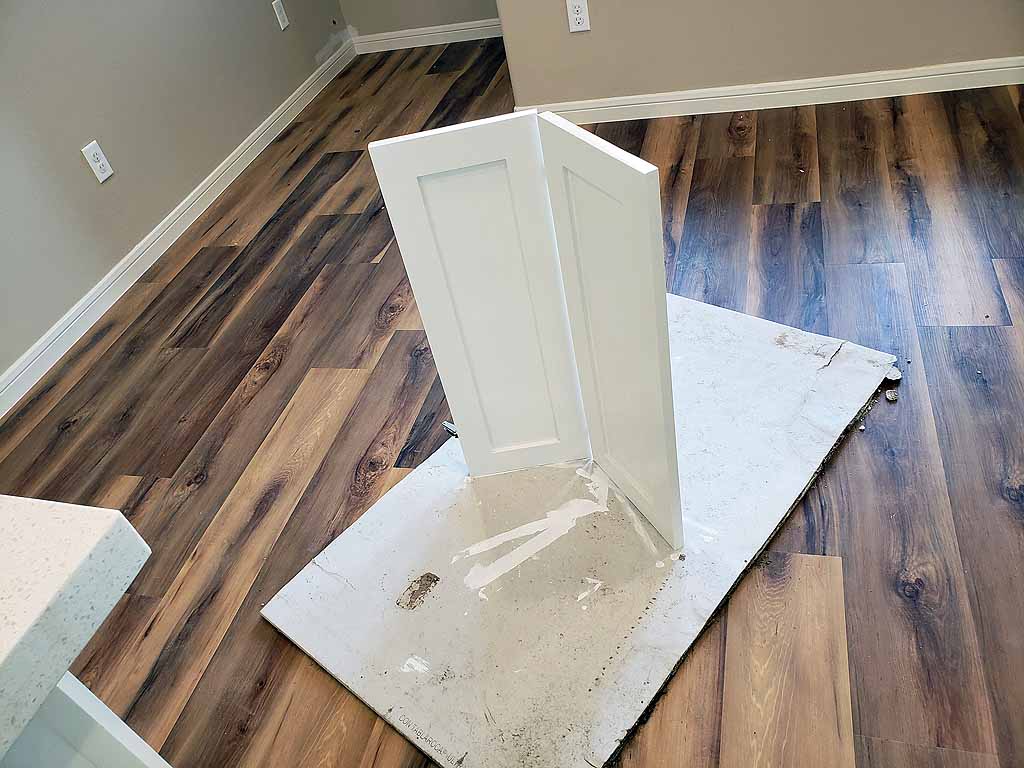
5/7/19 The cabinets were delivered today. |
|
click on images to enlarge |
||
 |
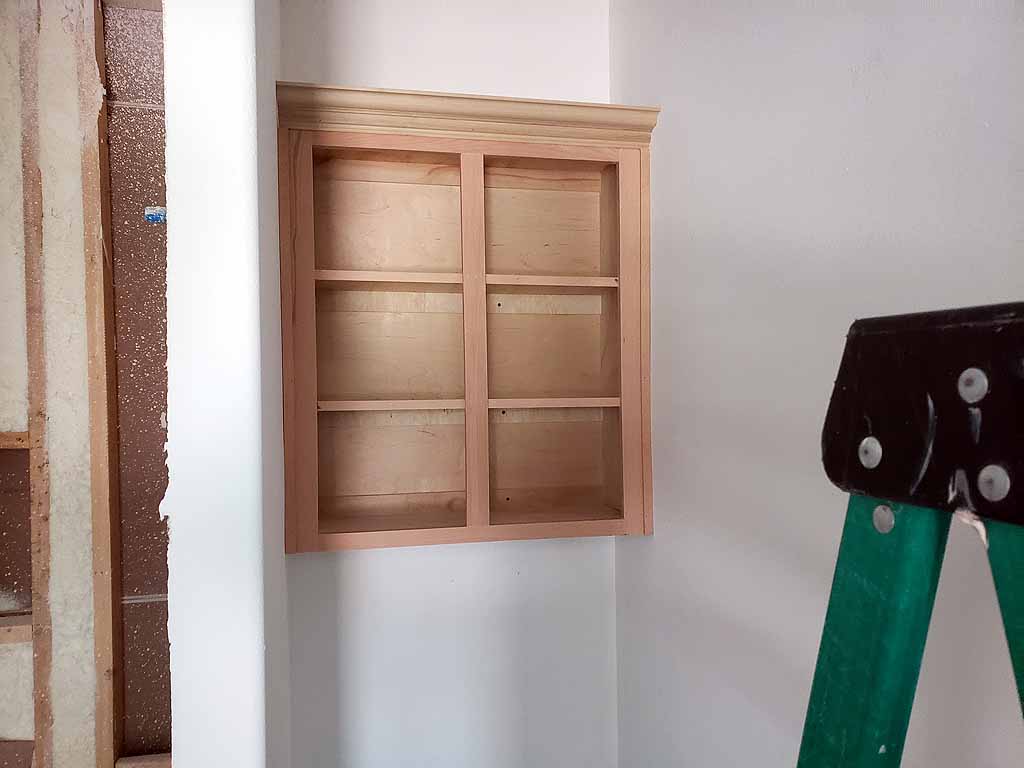
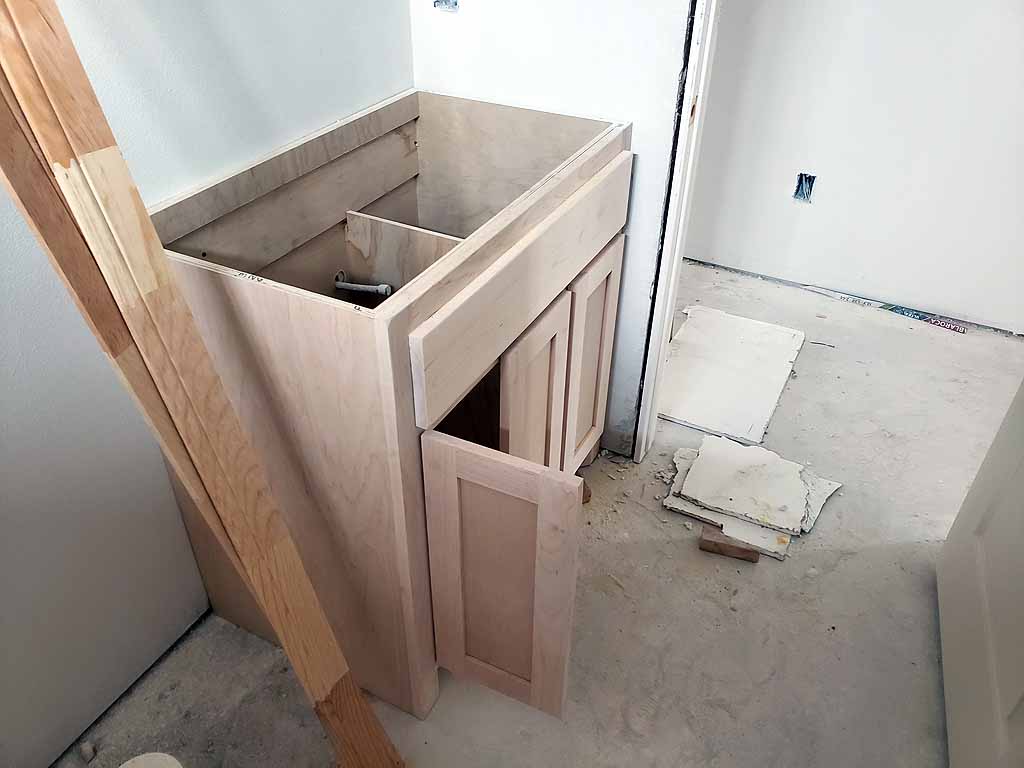
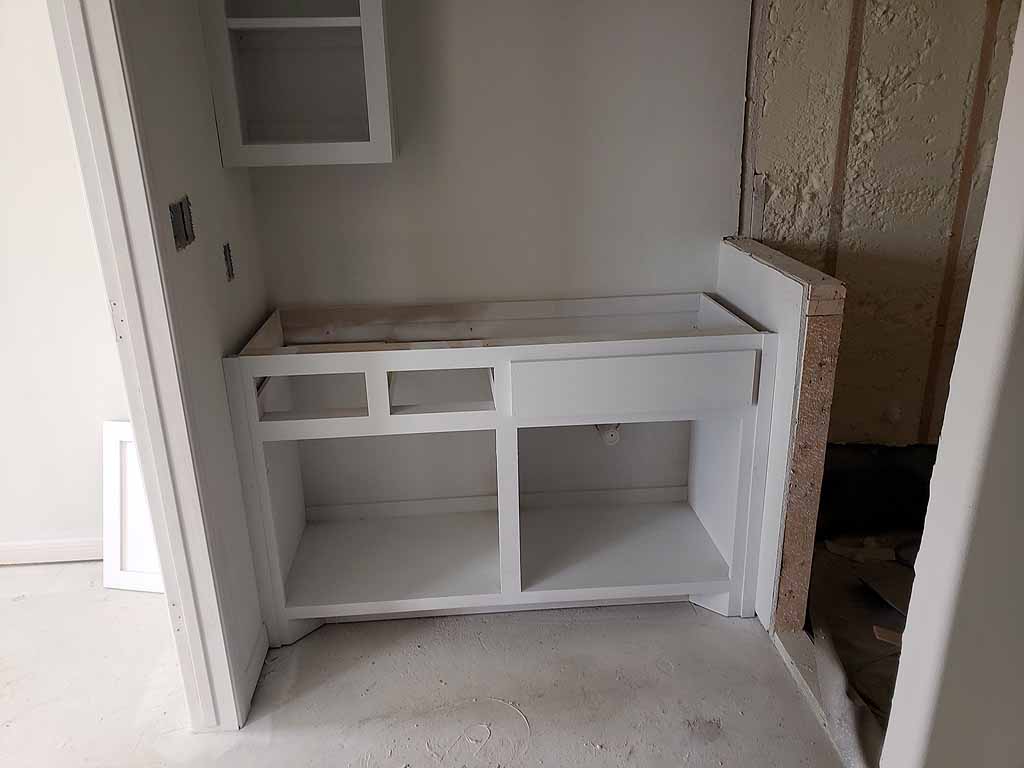
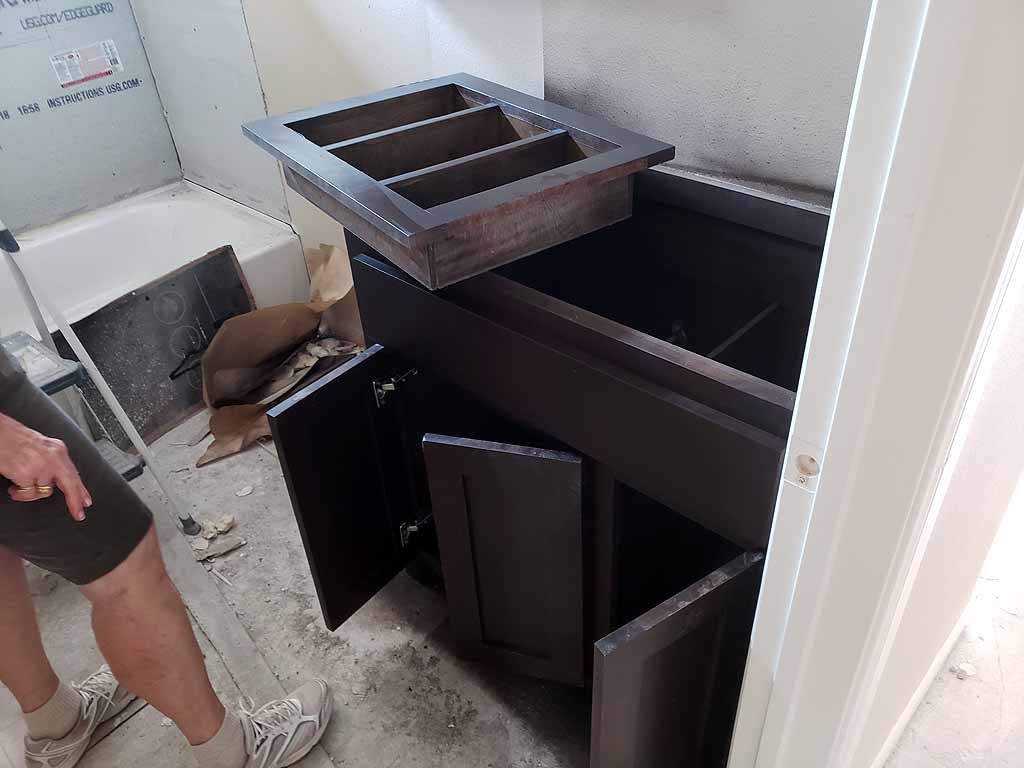
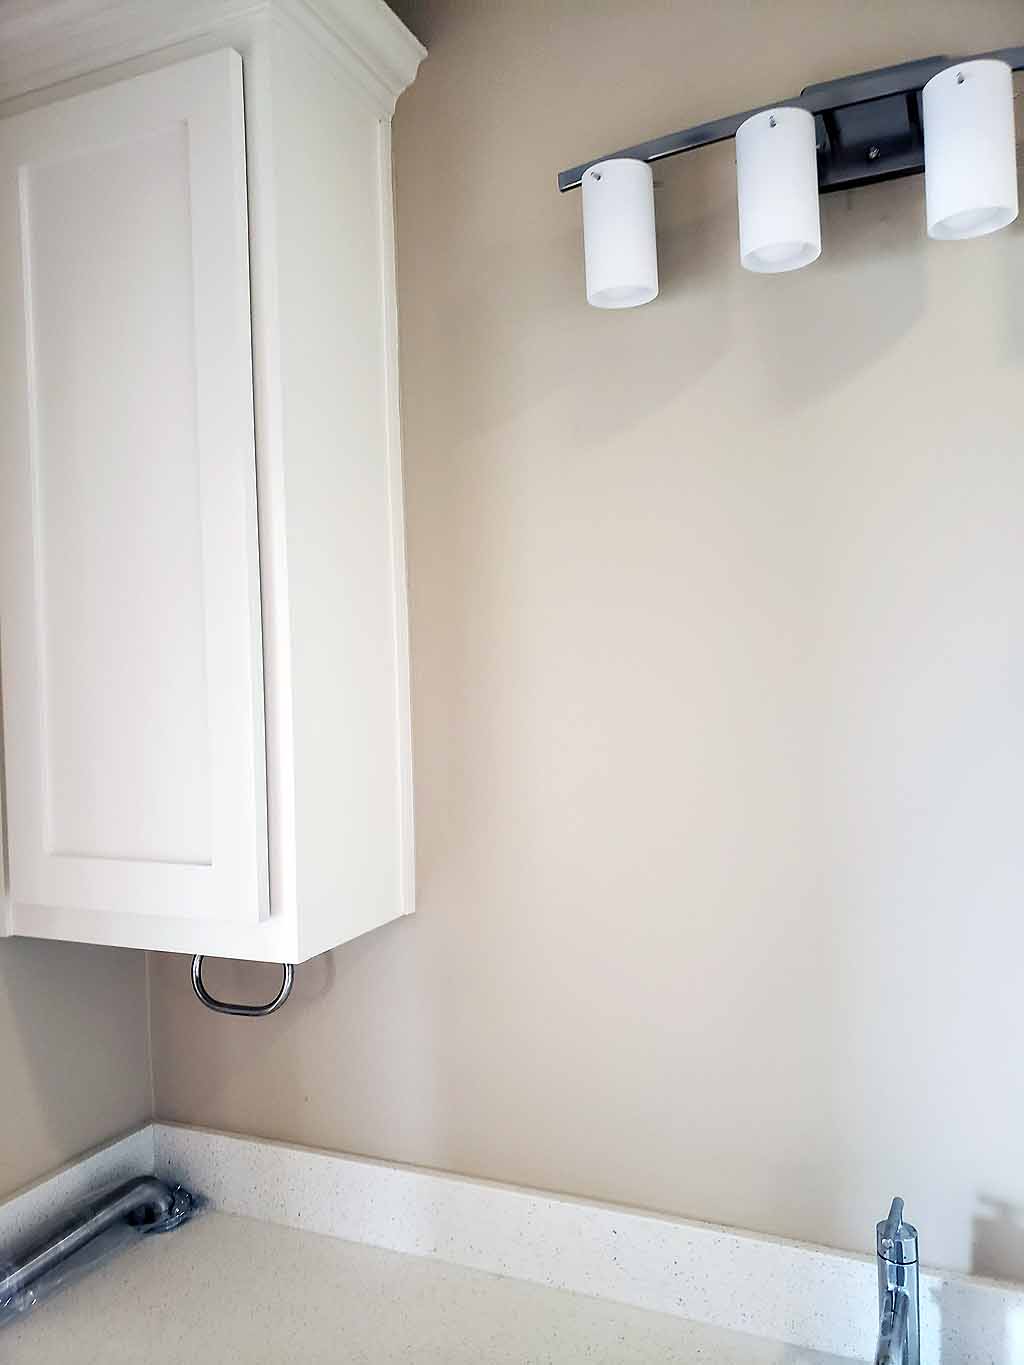
5/8/19 The laundry cabinet. The toilet cabinet in the Master Bathroom. |
 |
 |
The Master Bathroom cabinets |
 |
click on images to enlarge |
click on images to enlarge |
|
 |
The Master
Bathroom cabinets More kitchen cabinets |
 |
 |
 |
 |
click on images to enlarge |
click on images to enlarge |
click on images to enlarge |
 |
The interior doors have been delivered | |
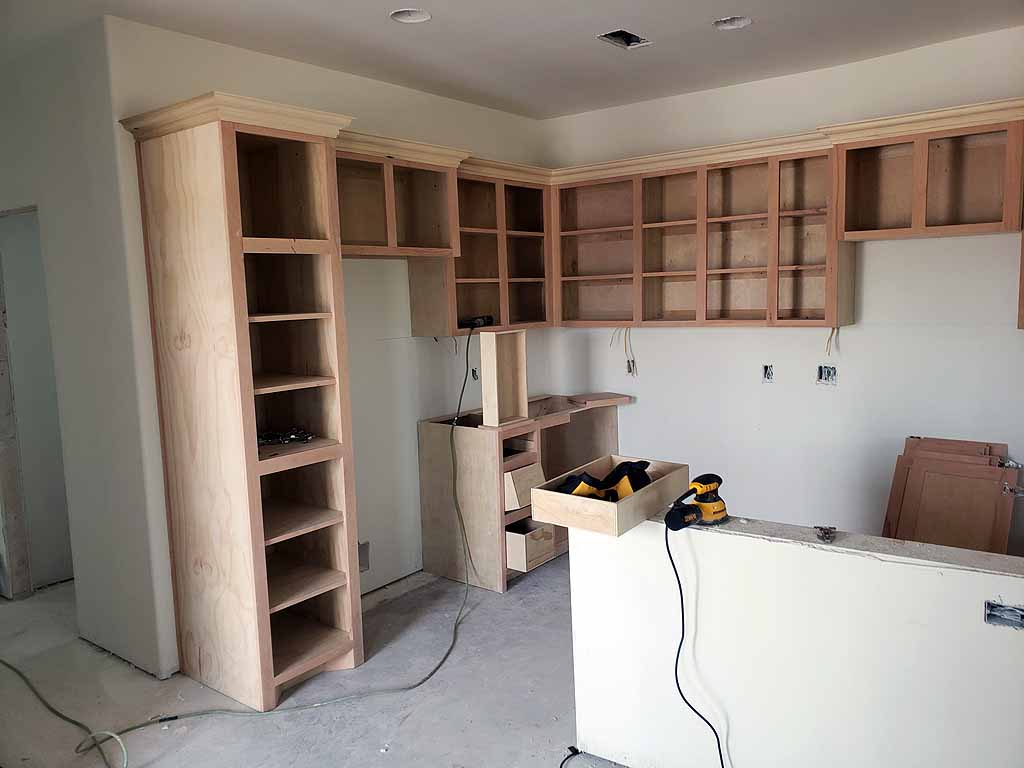
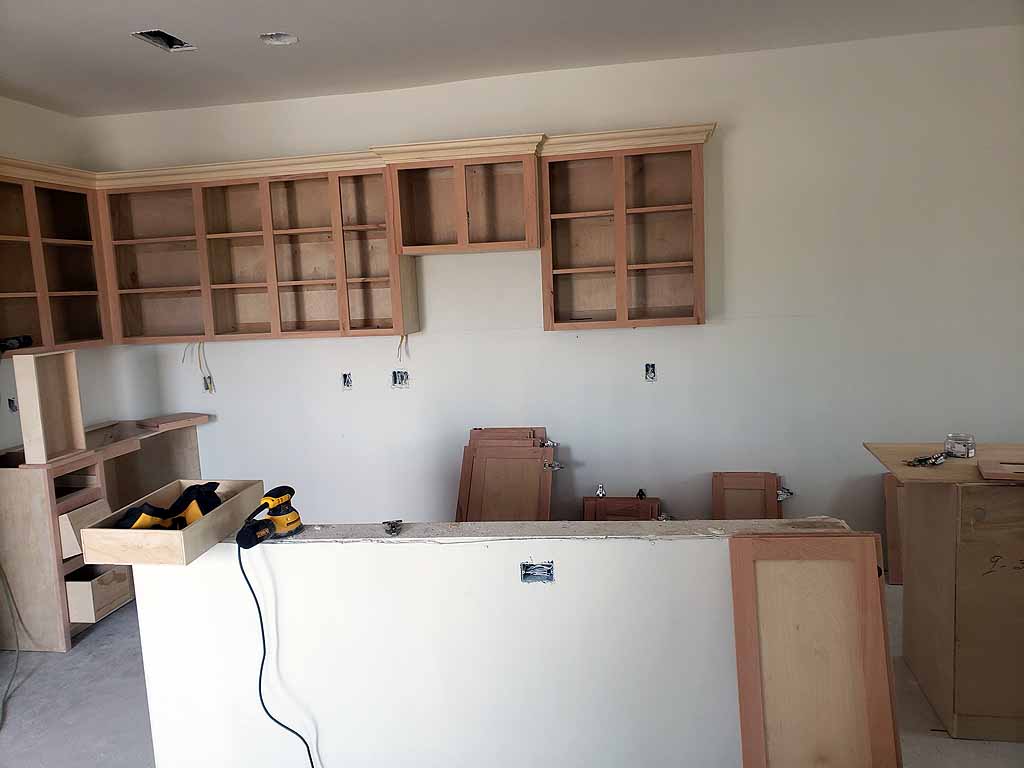
5/9/19 More of the cabinets in the kitchen. |
||
 |
 |
 |
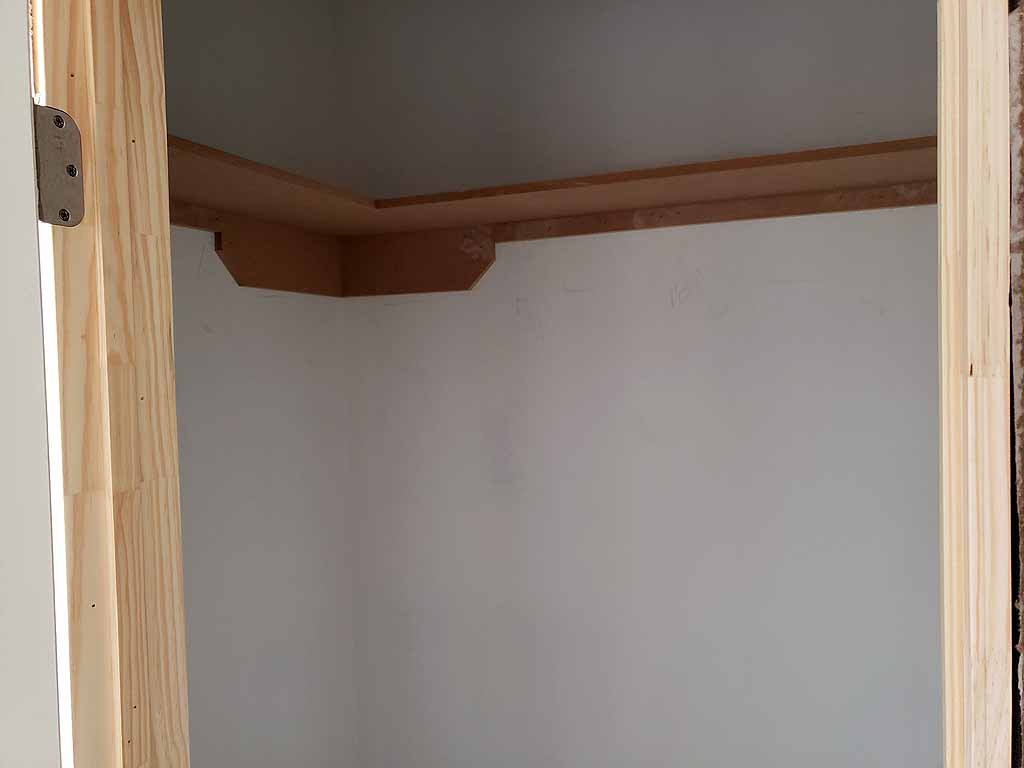 |
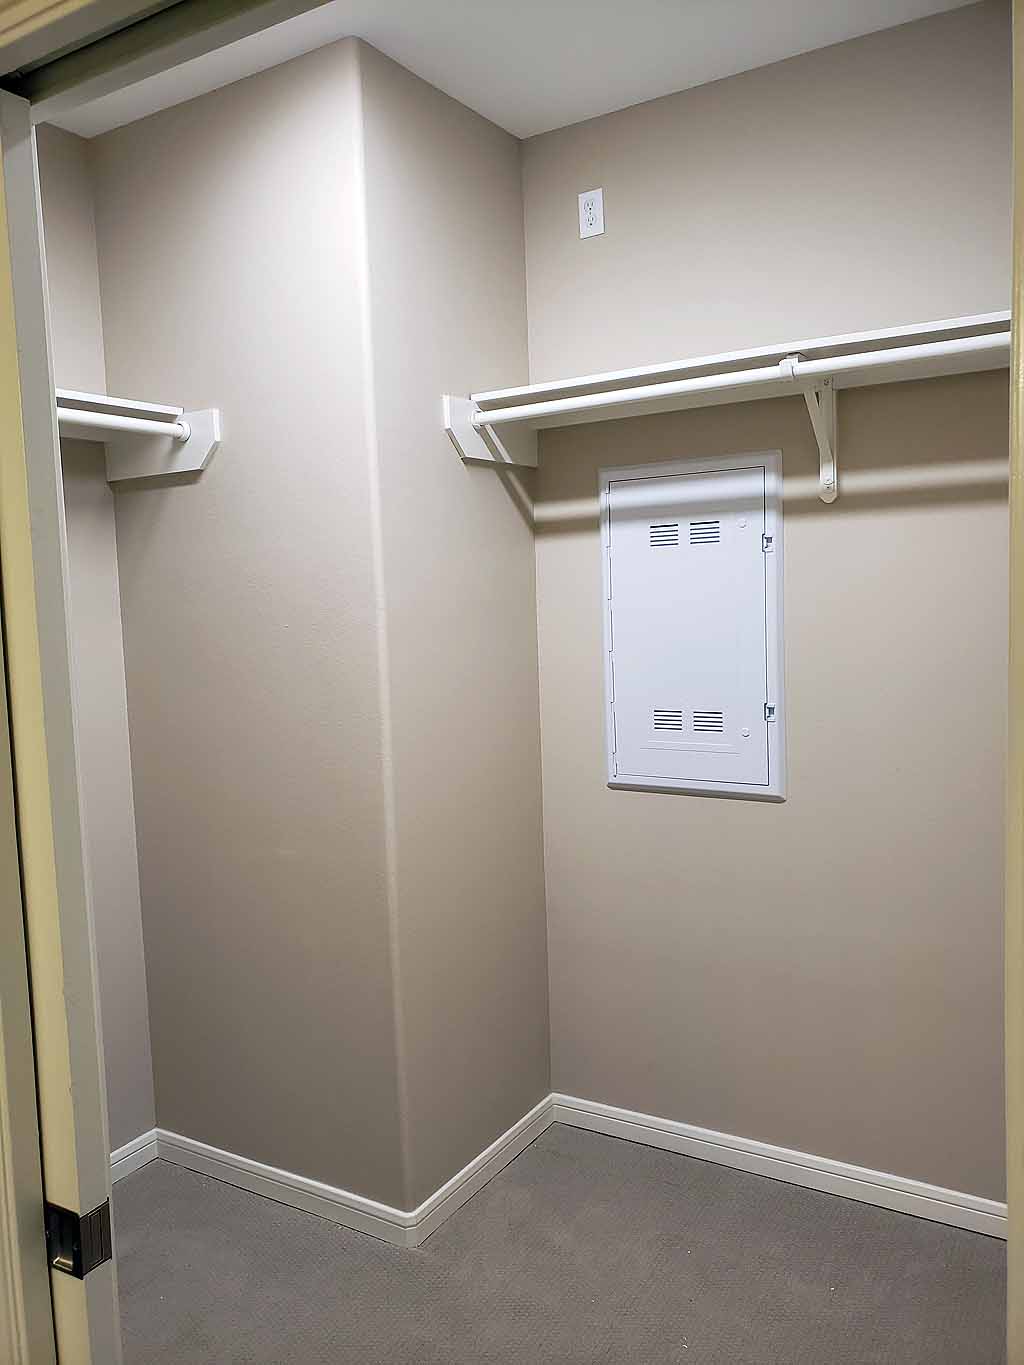
The closet shelves in Bedroom2. Still need the closet rod. |
|
click on images to enlarge |
||
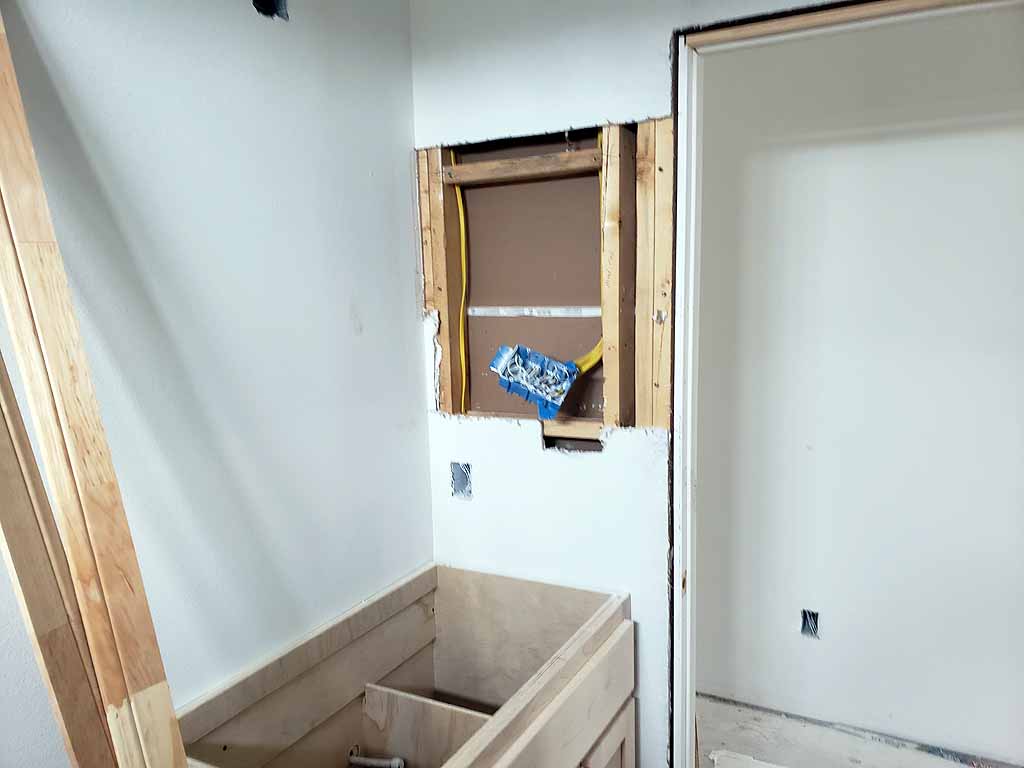 |
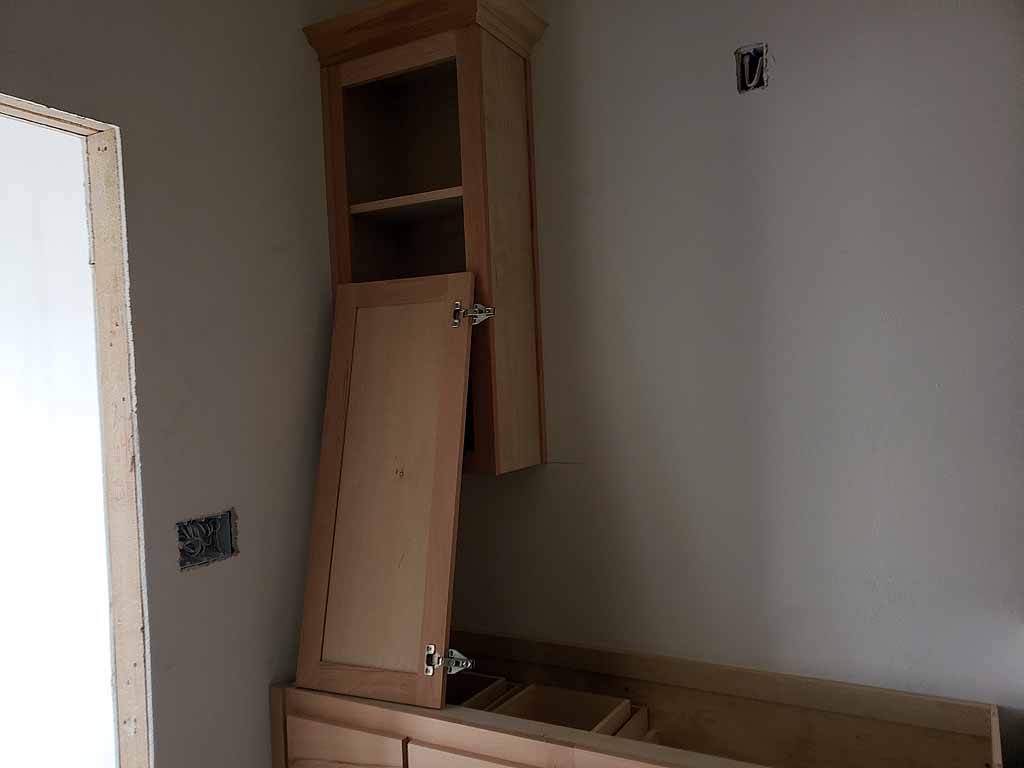
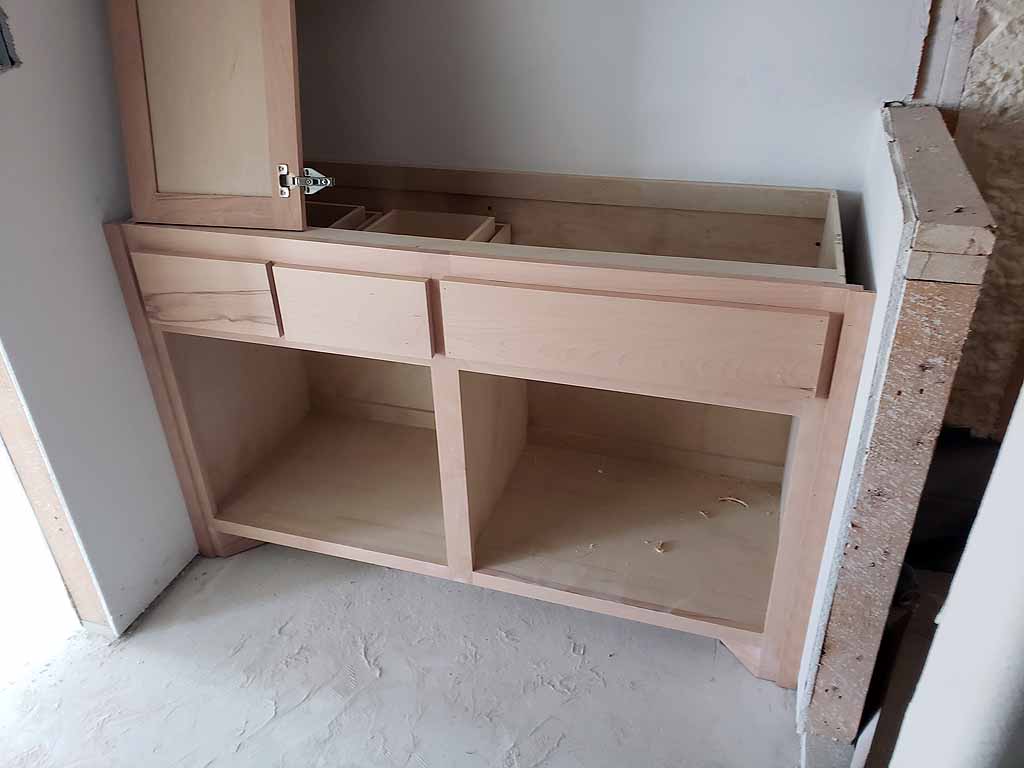
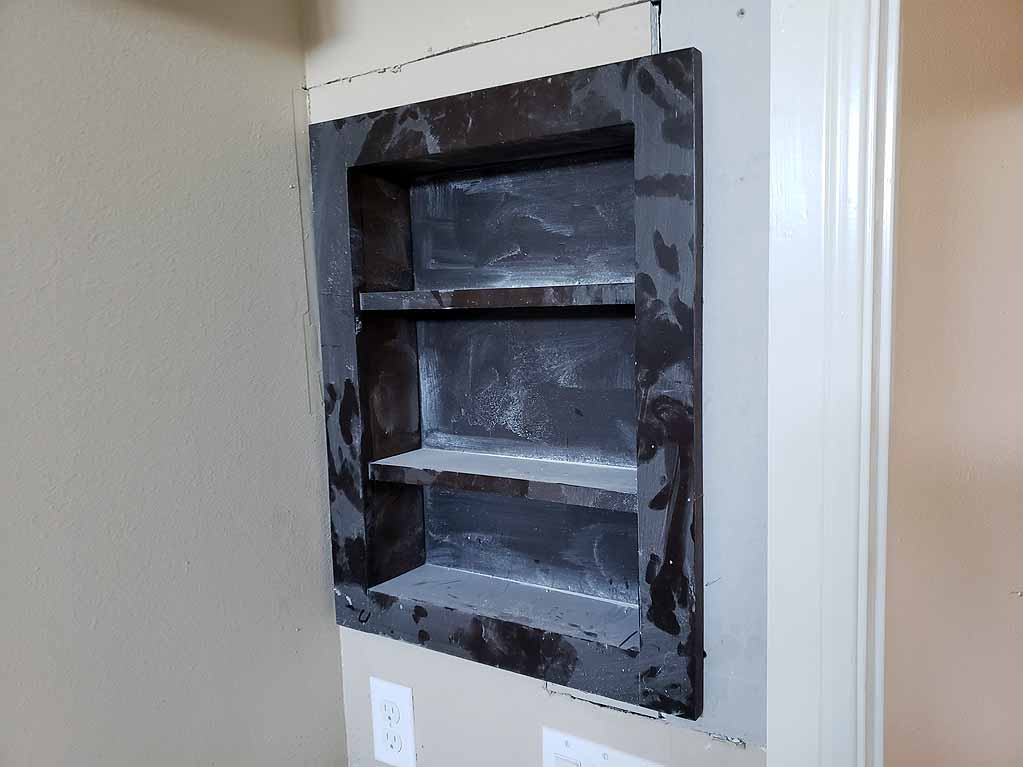
The Bathroom needed the wall
opened for the medicine cabinet The Bathroom cabinet. |
 |
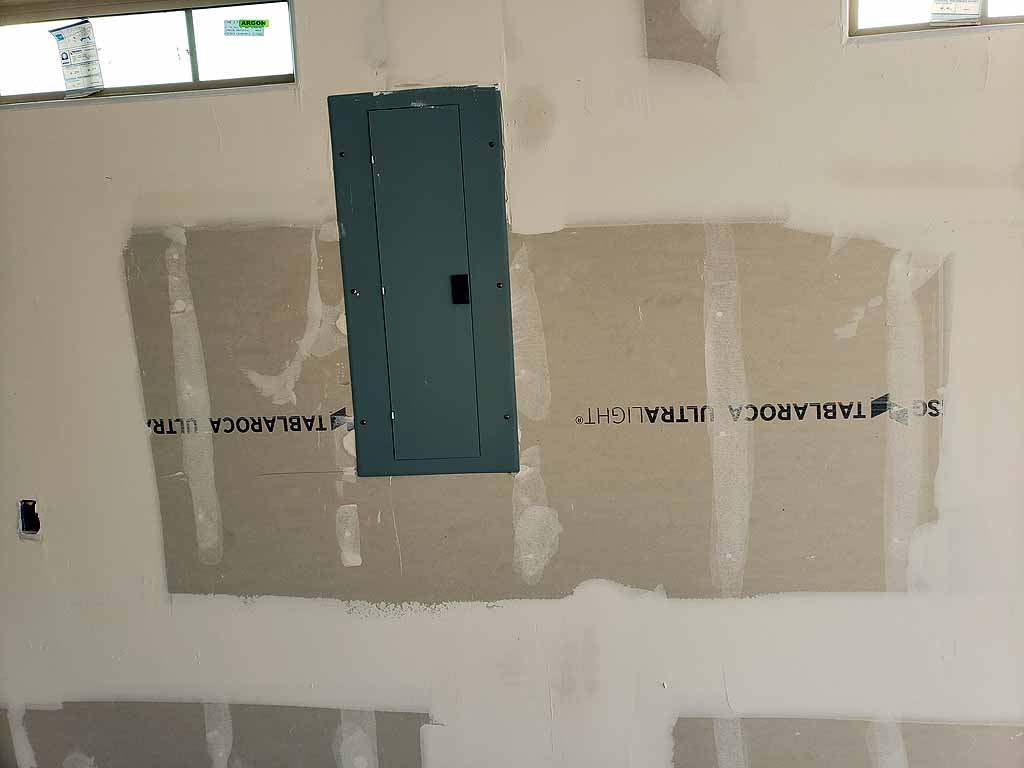 |
In the garage, the circuit breaker panel cover was installed. | |
click on images to enlarge |
||
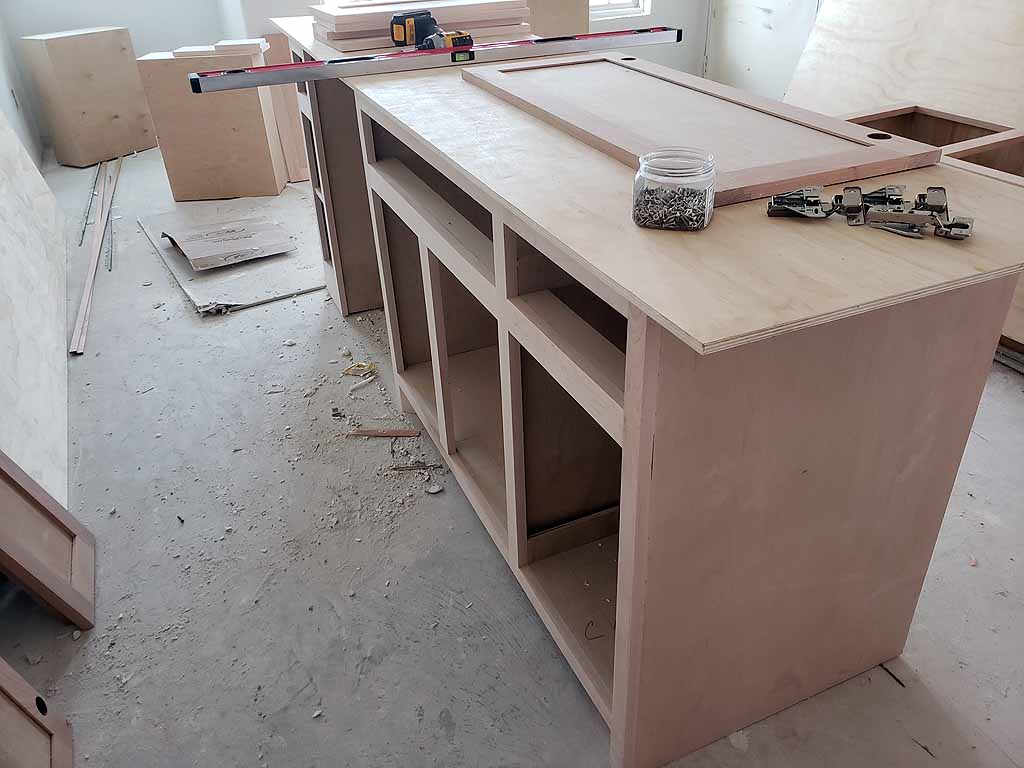
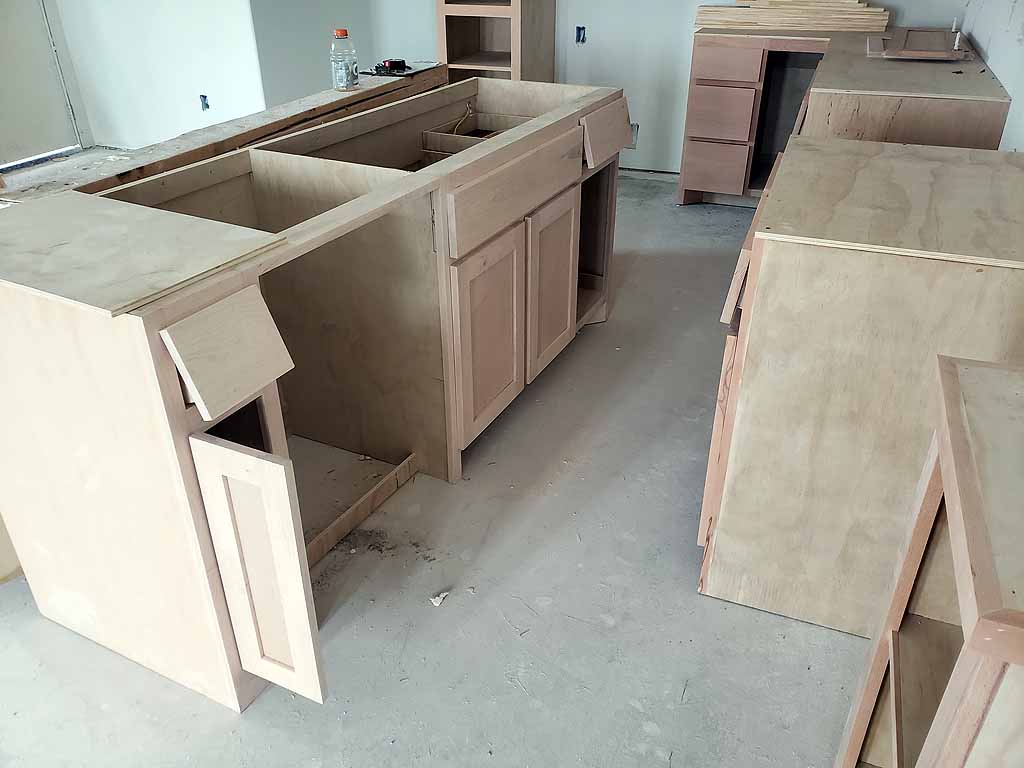
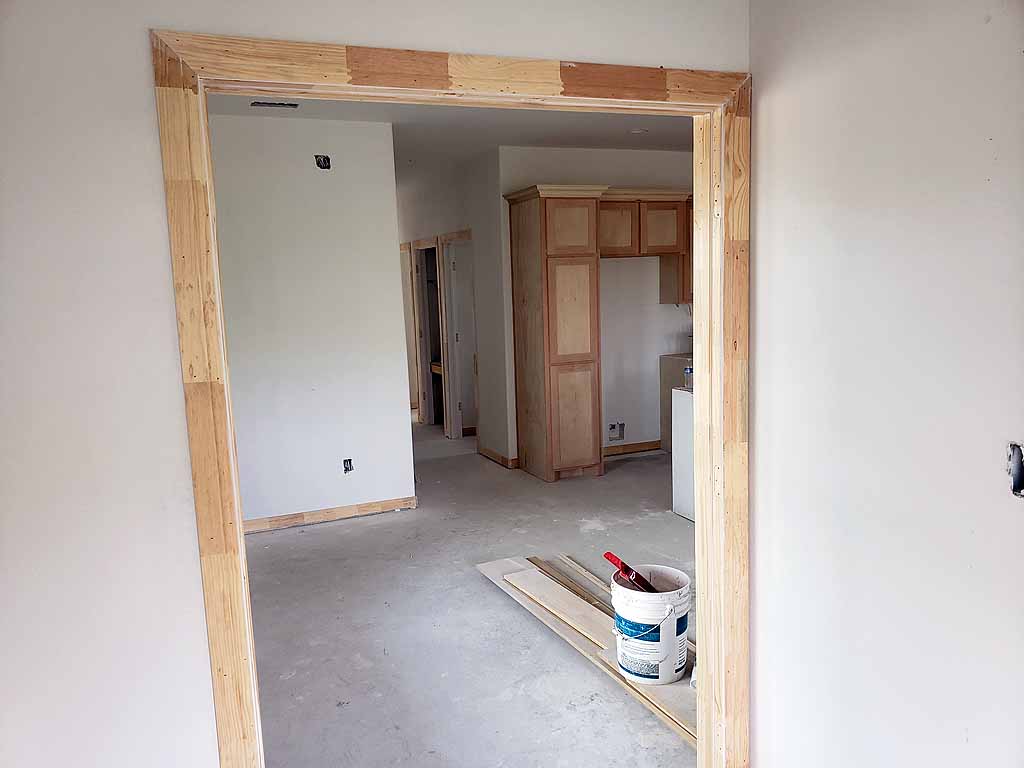
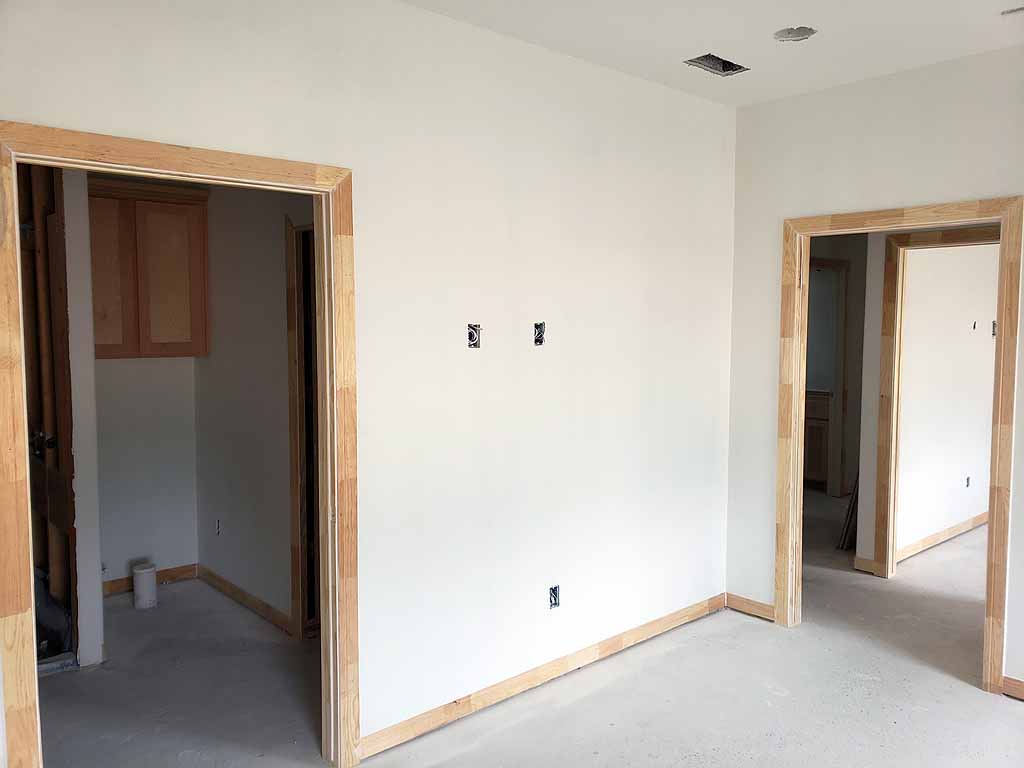
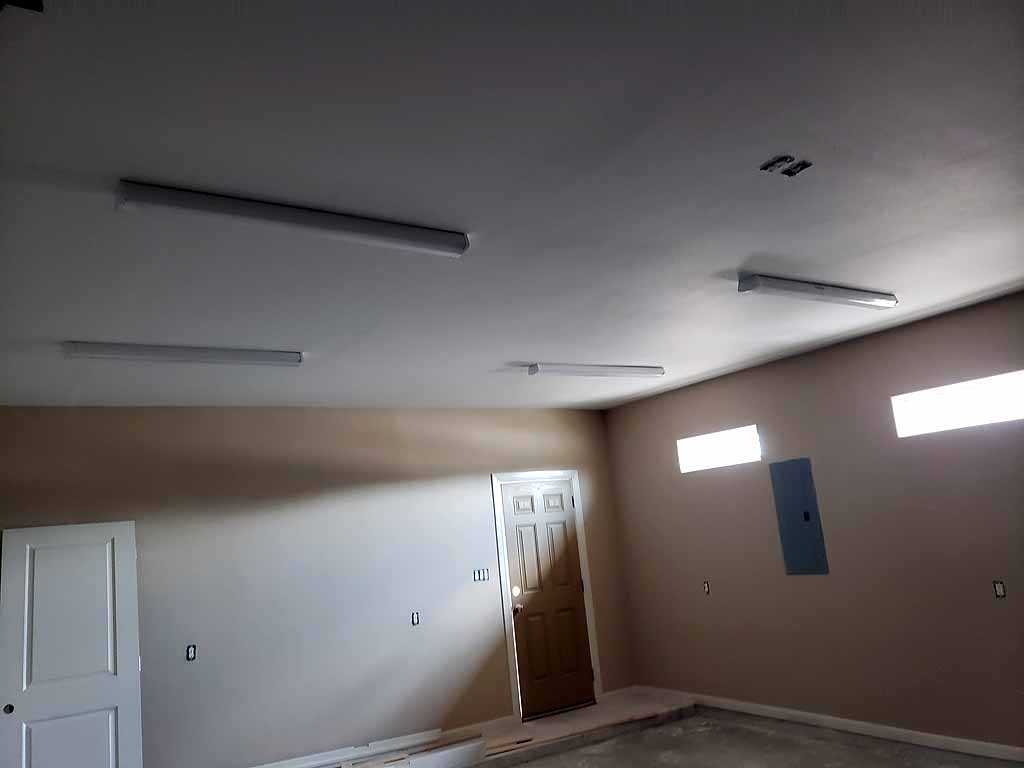
5/13/19 The garage has been given the prime paint coat. The interior baseboard and door trim is almost finished. Only the island cabinet needs to be placed. |
||
 |
 |
 |
 |
 |
 |
click on images to enlarge |
click on images to enlarge | click on images to enlarge |
 |
5/15/19 The cabinets were primed today. |
 |
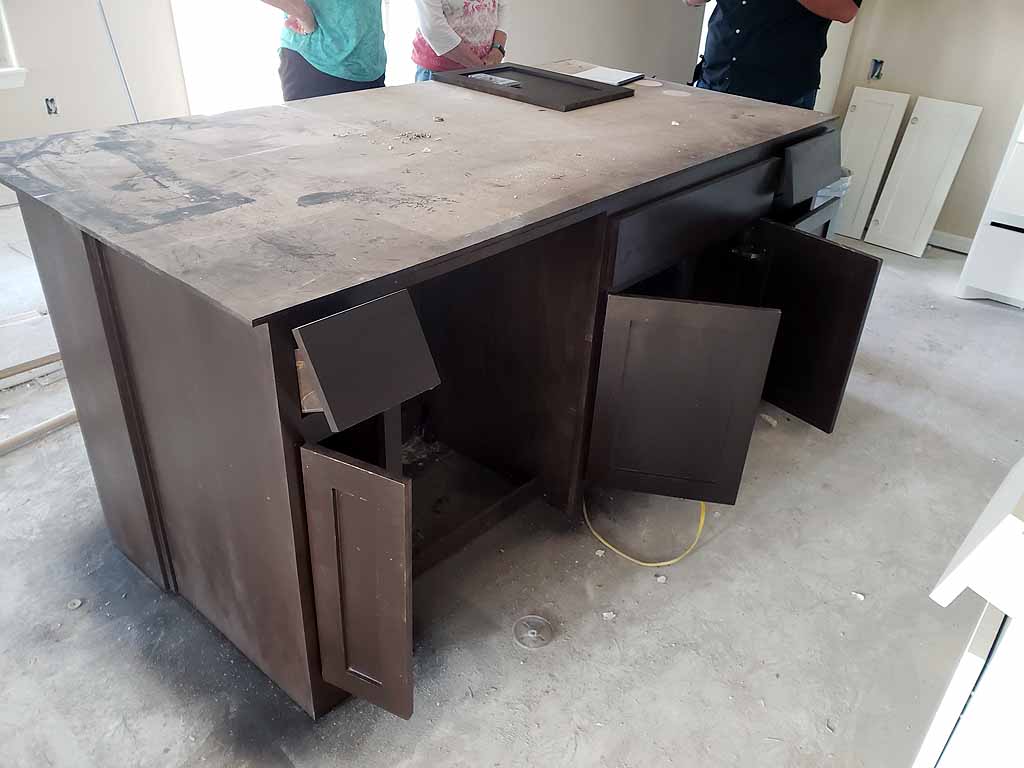 |
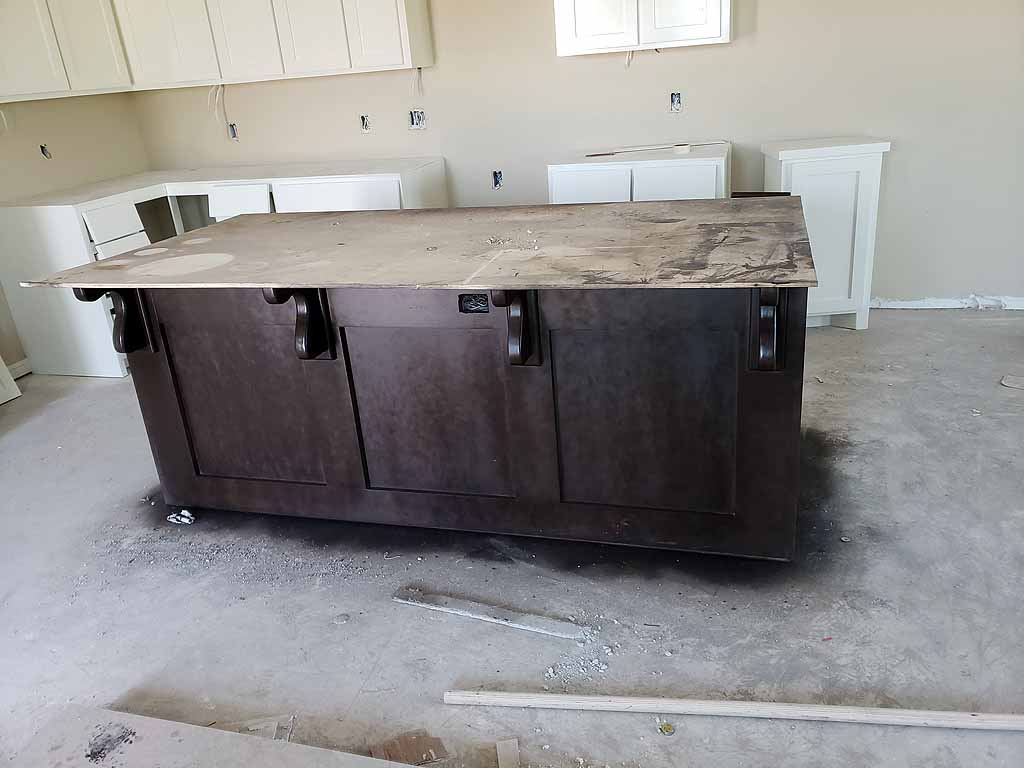
5/21/19 The island cabinet was stained. |
 |
click on images to enlarge |
click on images to enlarge |
|
 |
The vanity and medicine cabinet were also stained. | |
click on images to enlarge |
||
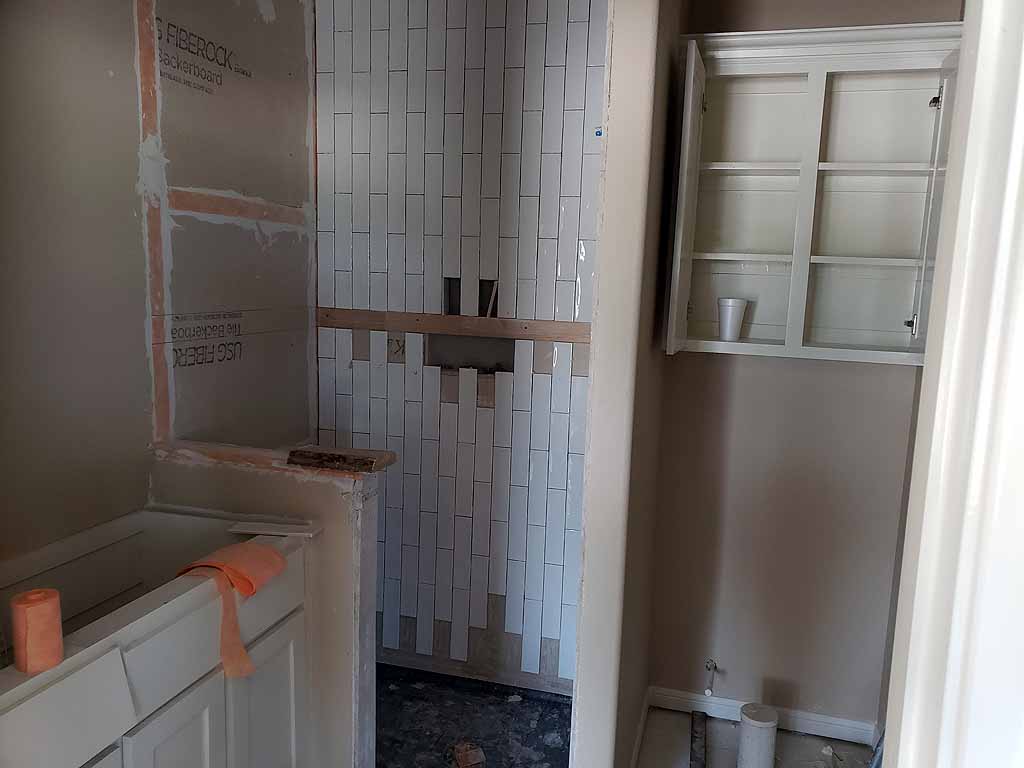 |
The tiling in the bathrooms has been started. |
 |
 |
5/22/19 The tiling in the bathrooms is moving along. |
 |
click on images to enlarge |
click on images to enlarge |
|
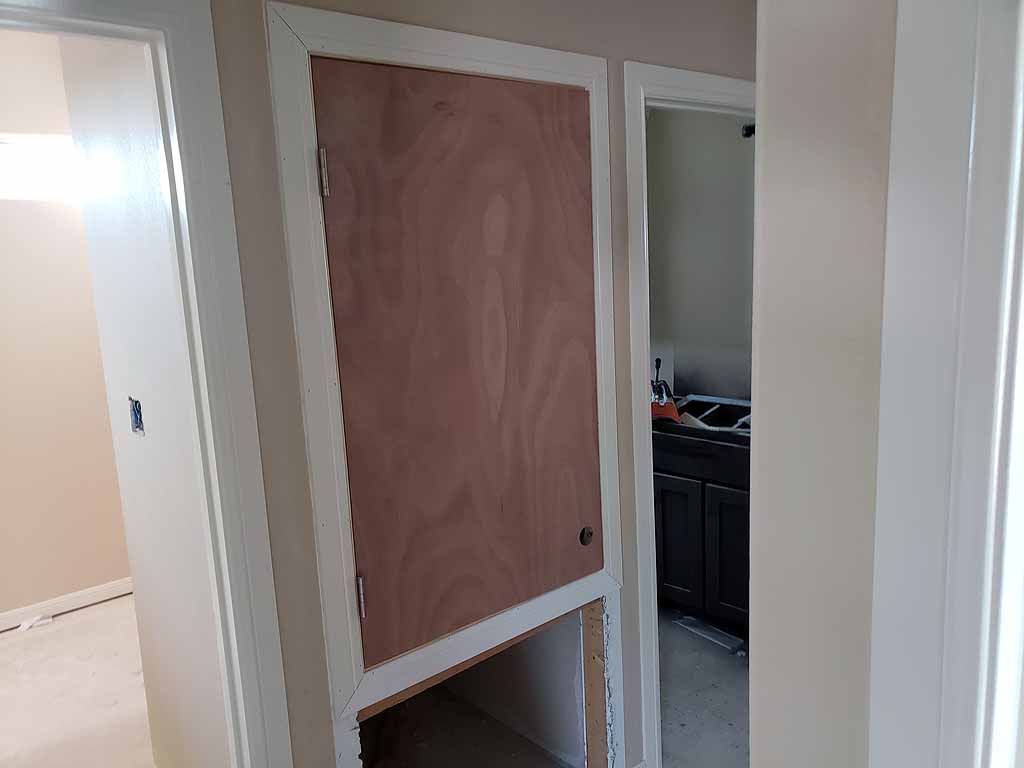 |
The door for the AC closet is finally here. | |
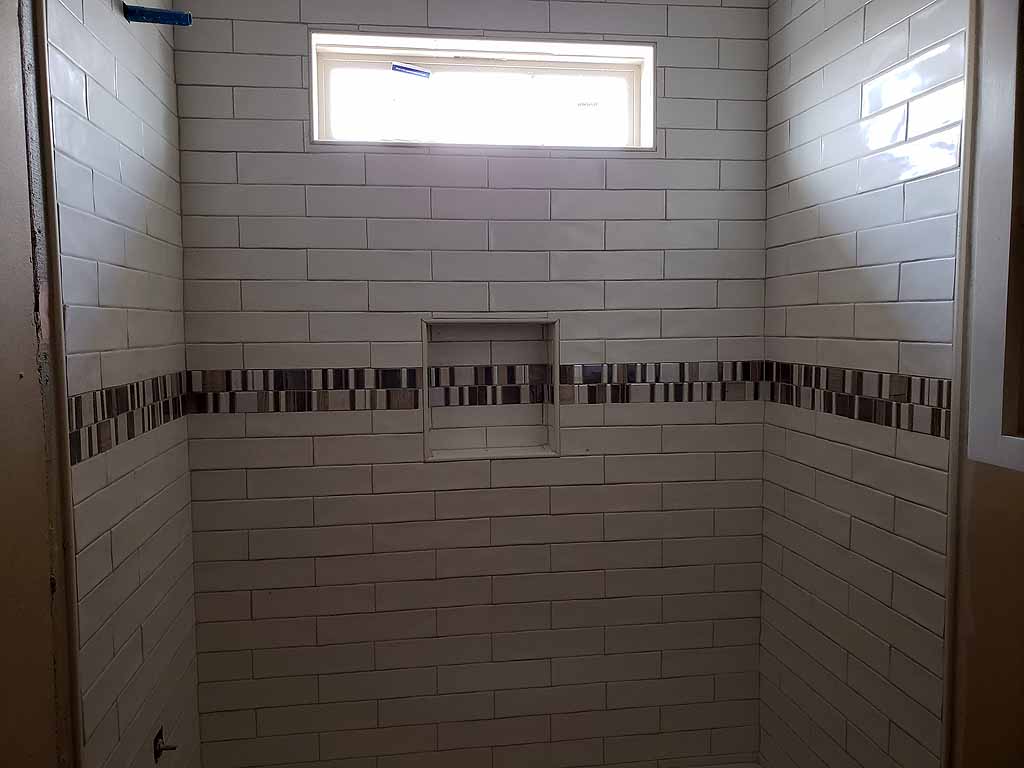 |
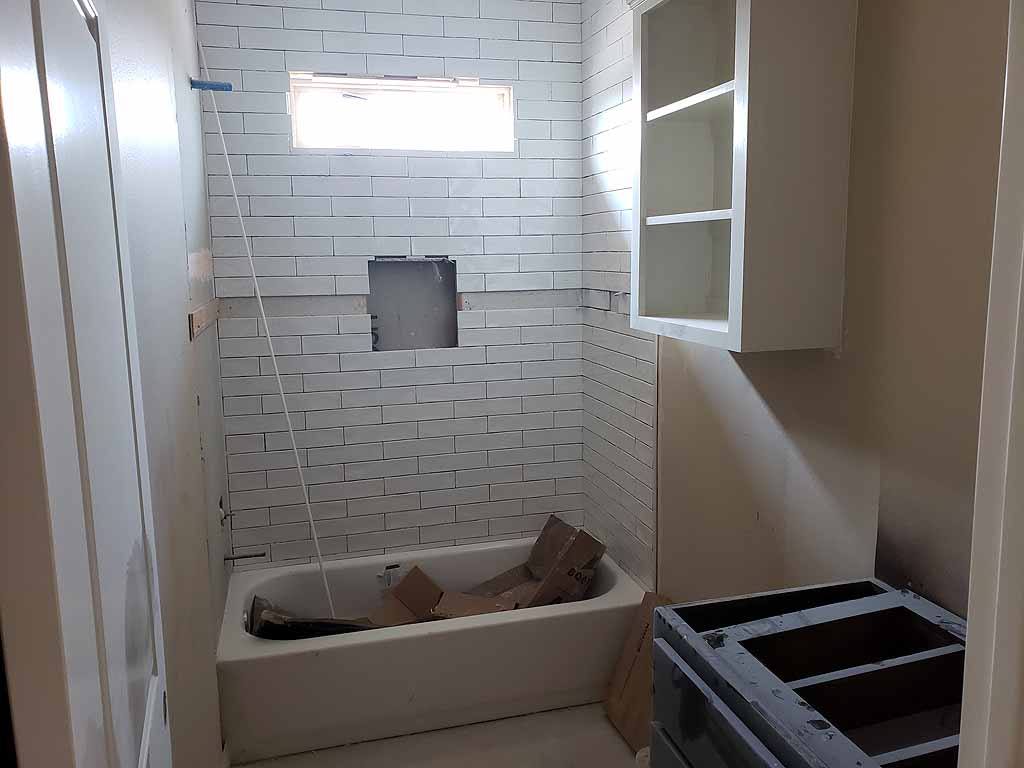
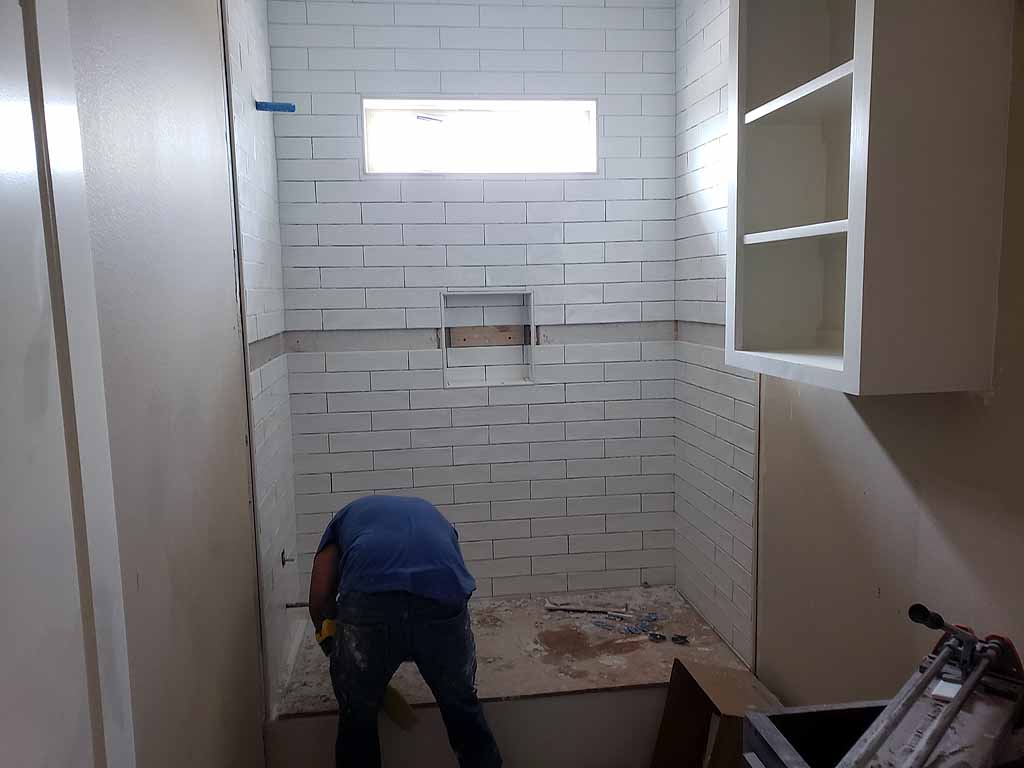
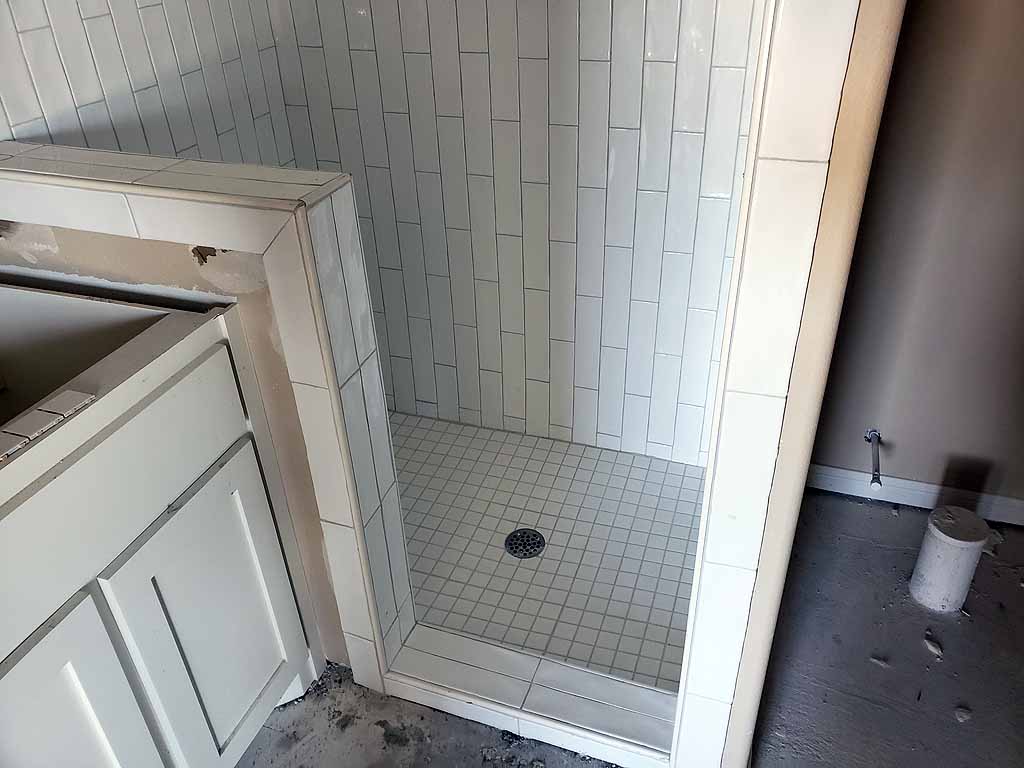
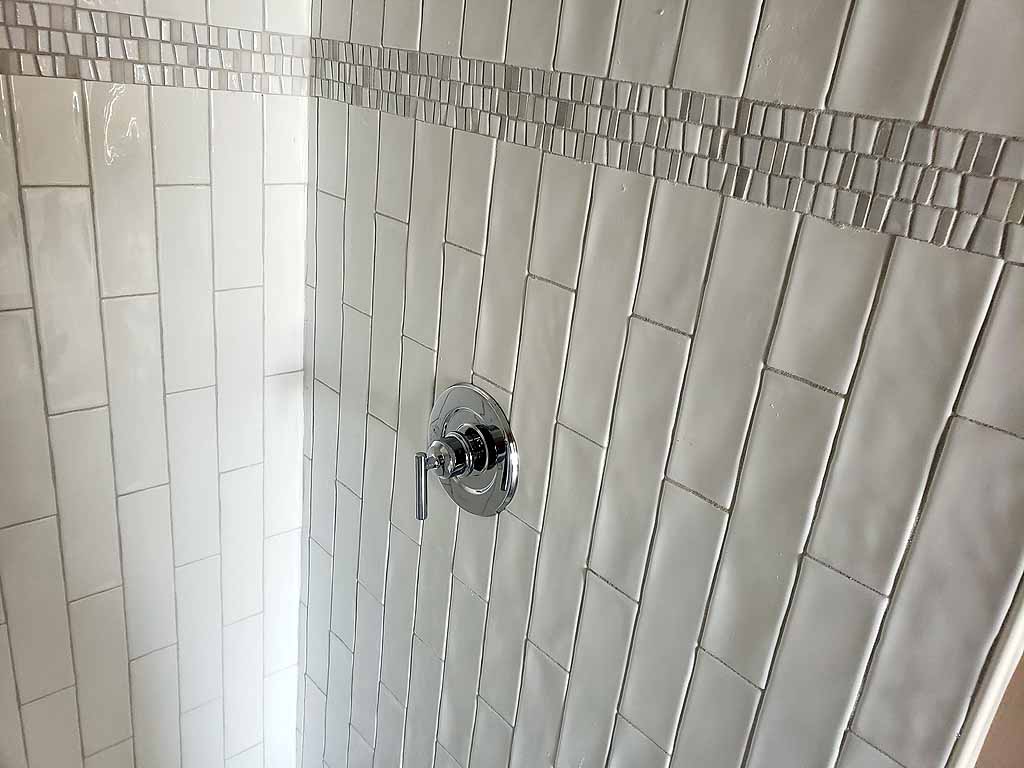
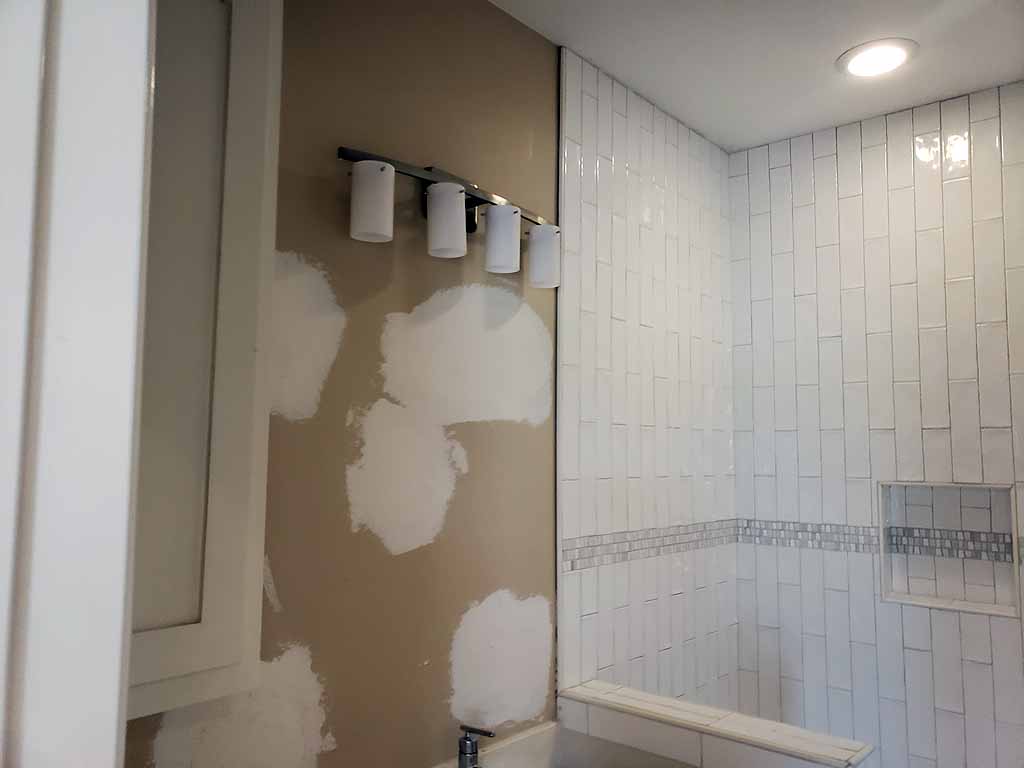
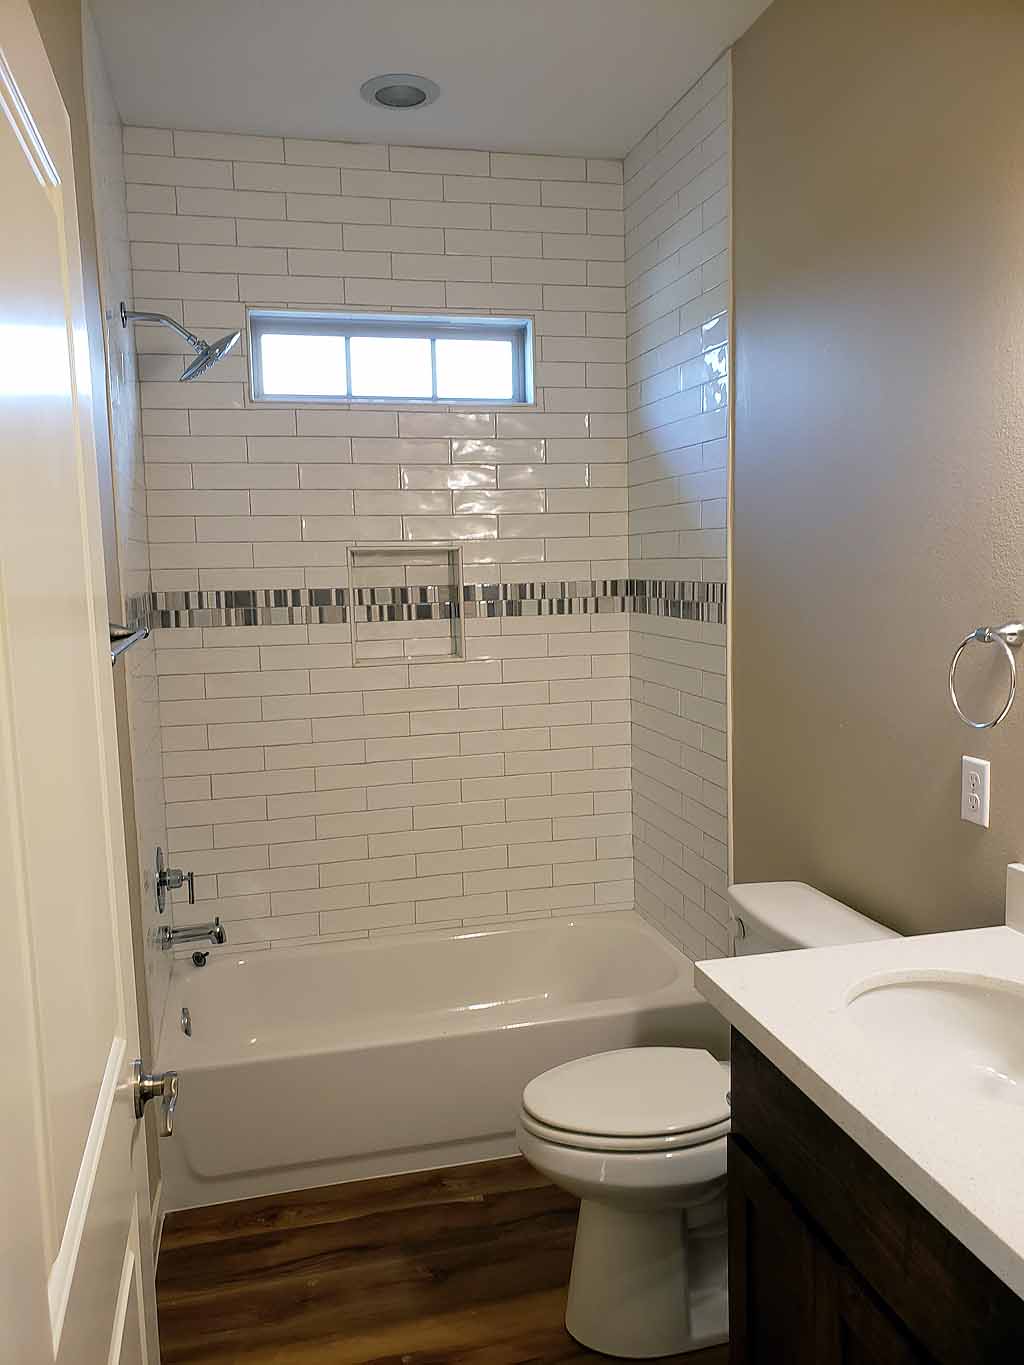
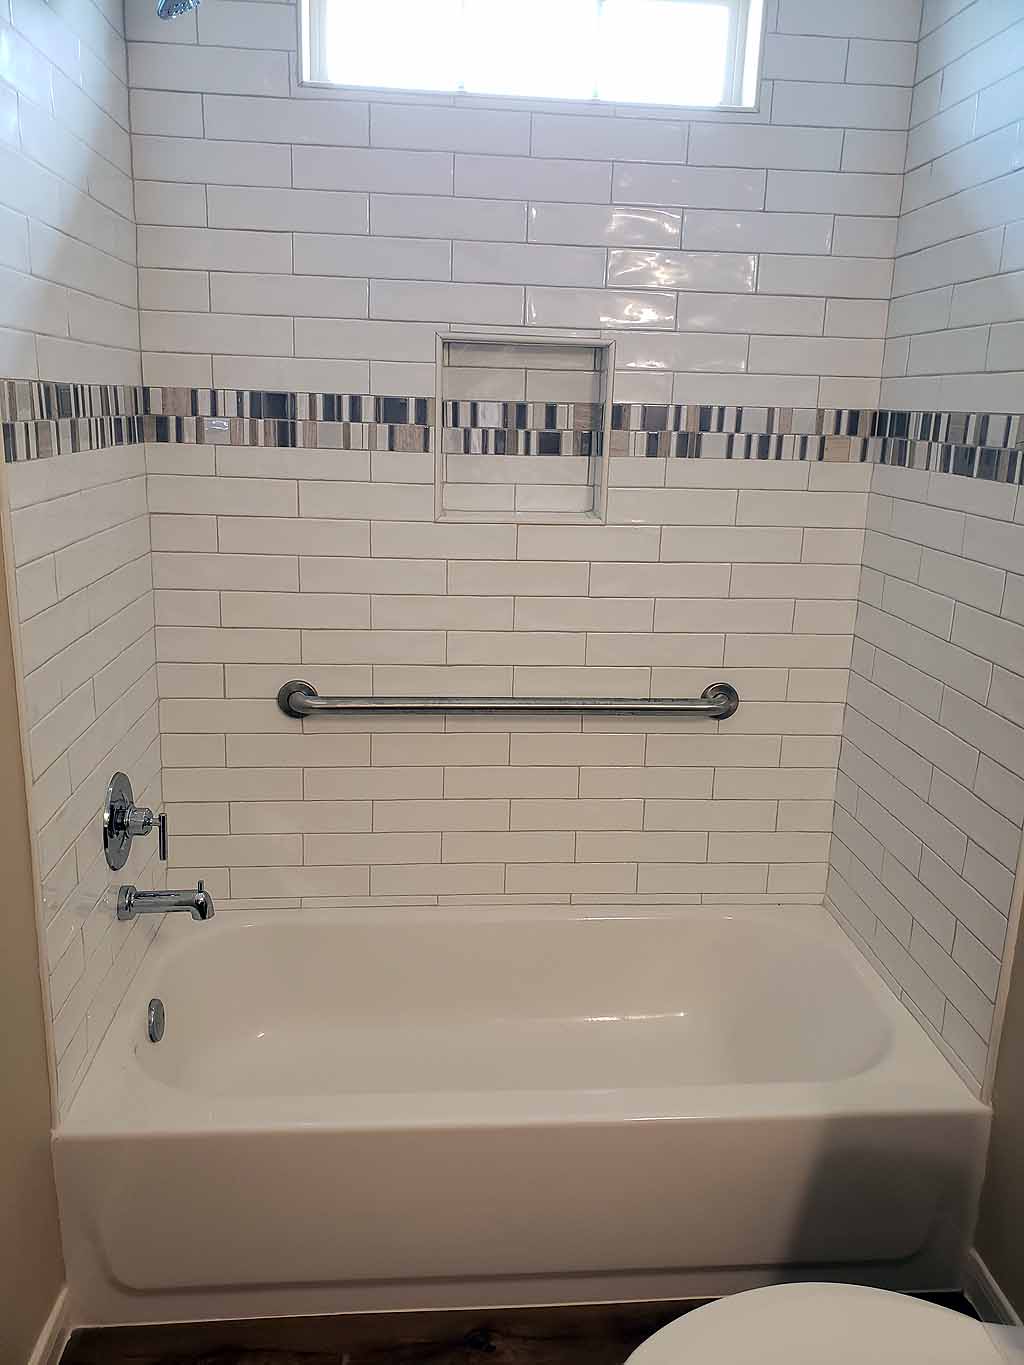
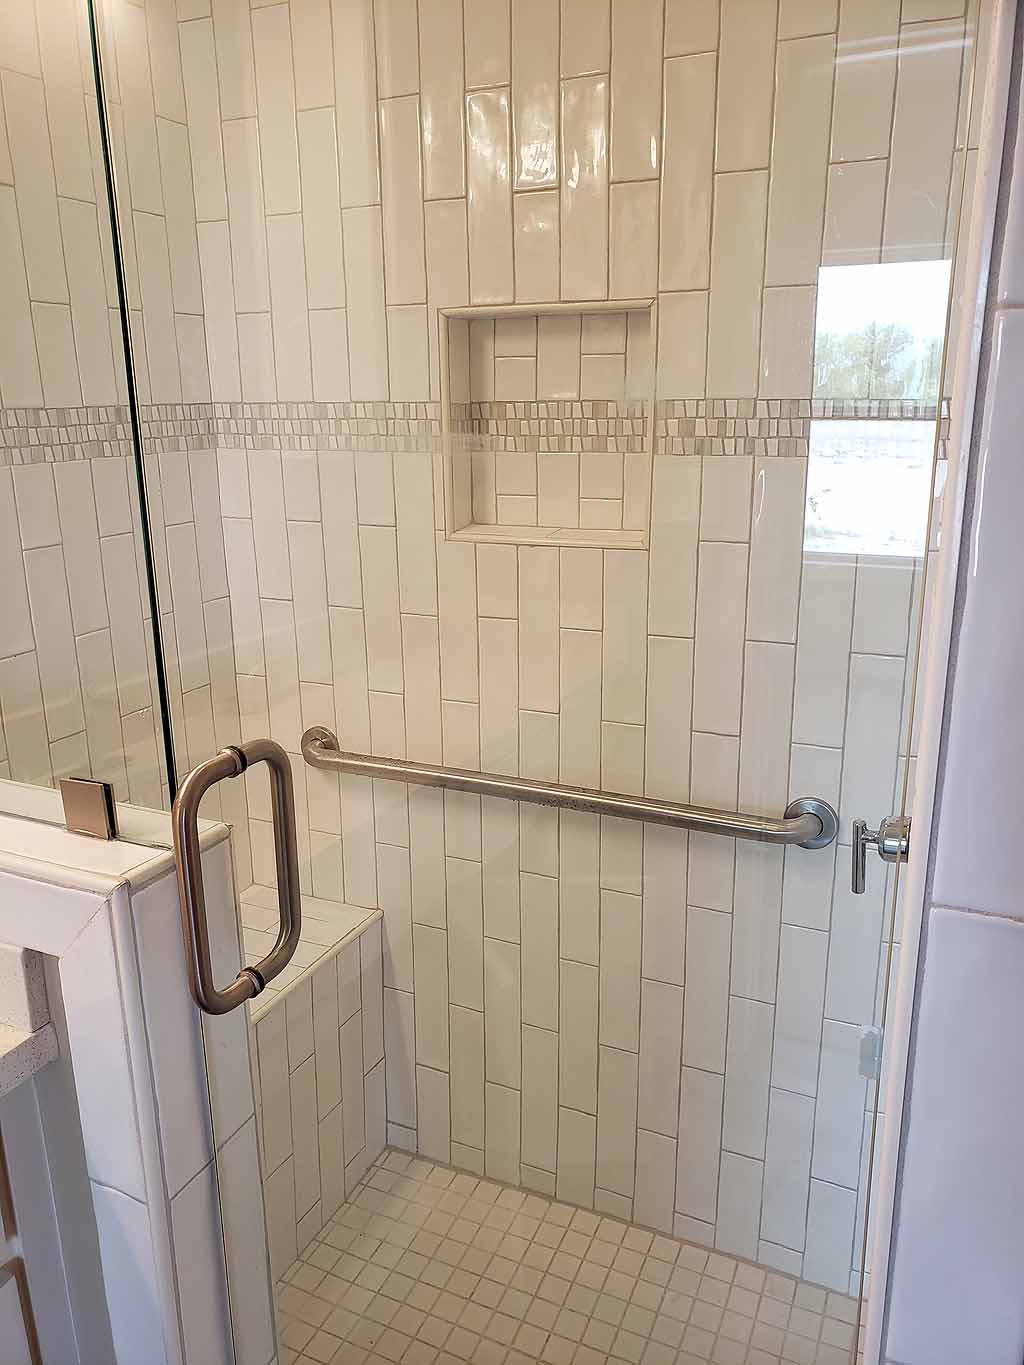
5/24/19 The tiling in the bathrooms is almost done. |
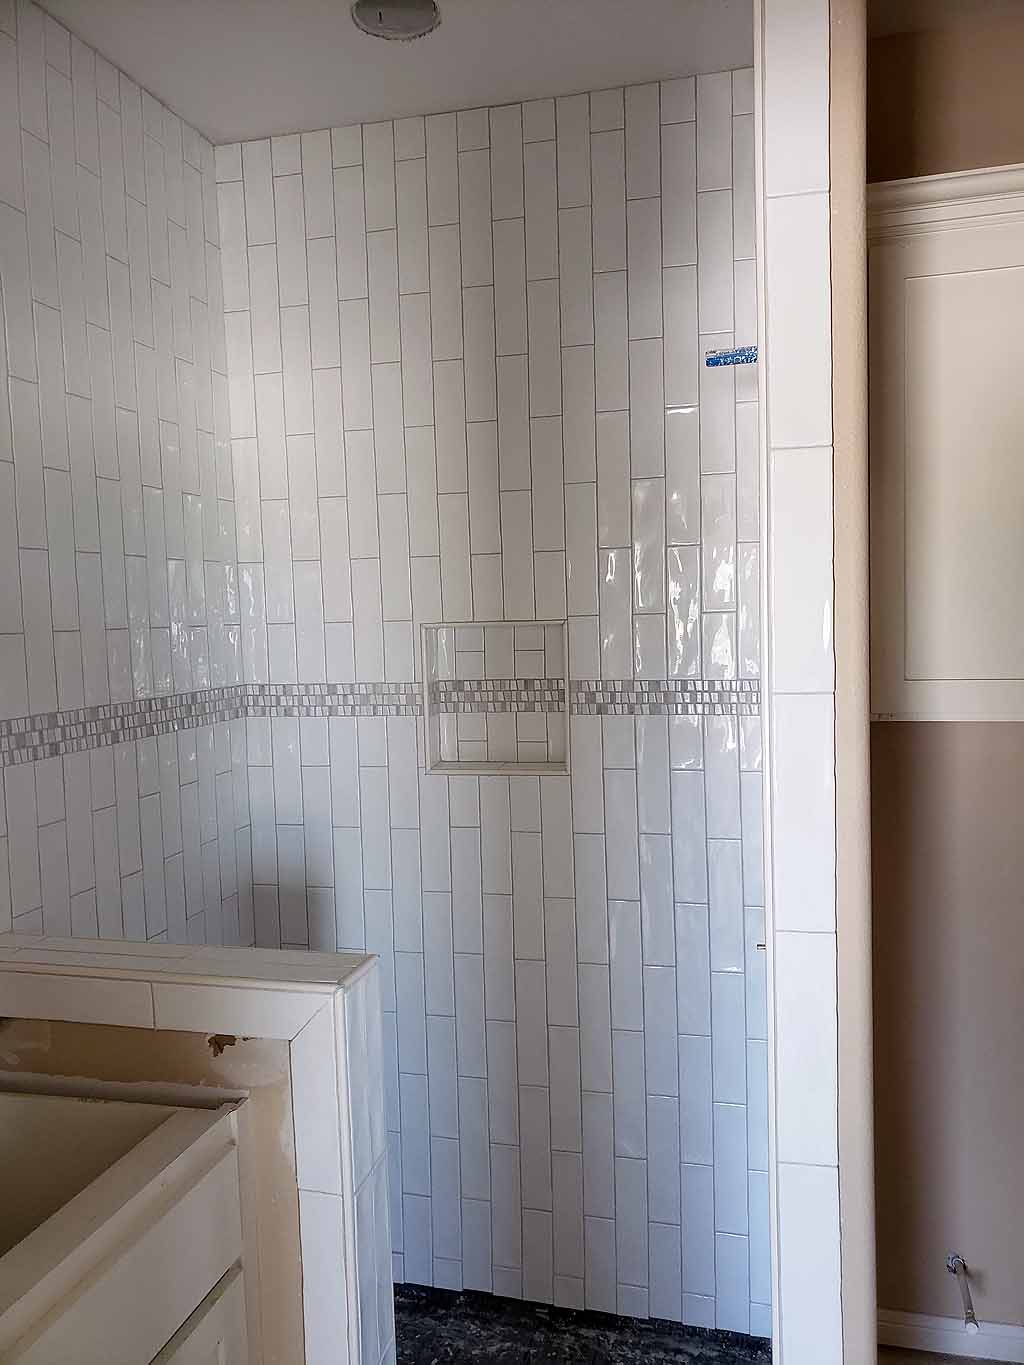 |
click on images to enlarge |
click on images to enlarge |
|
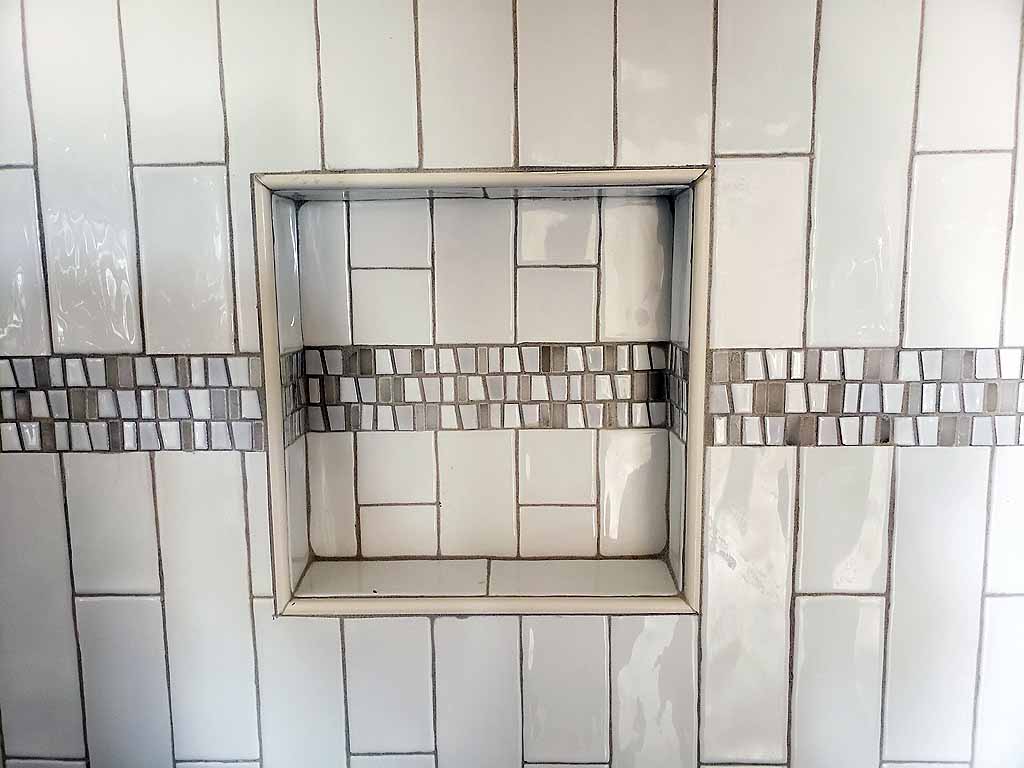 |
Detail of the trim lines in the bathrooms. |
 |
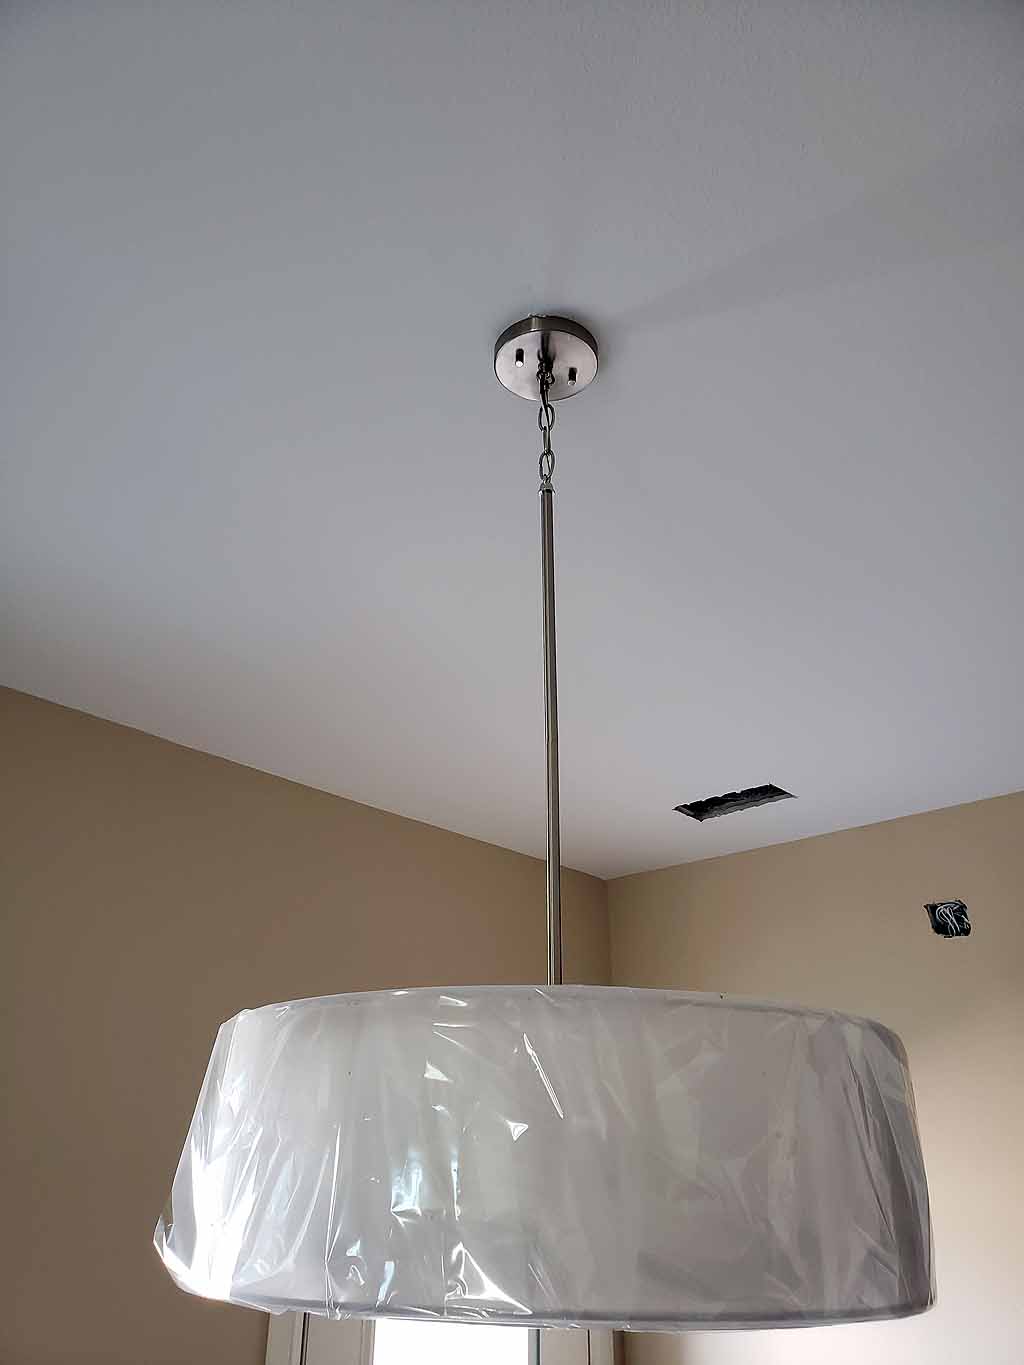
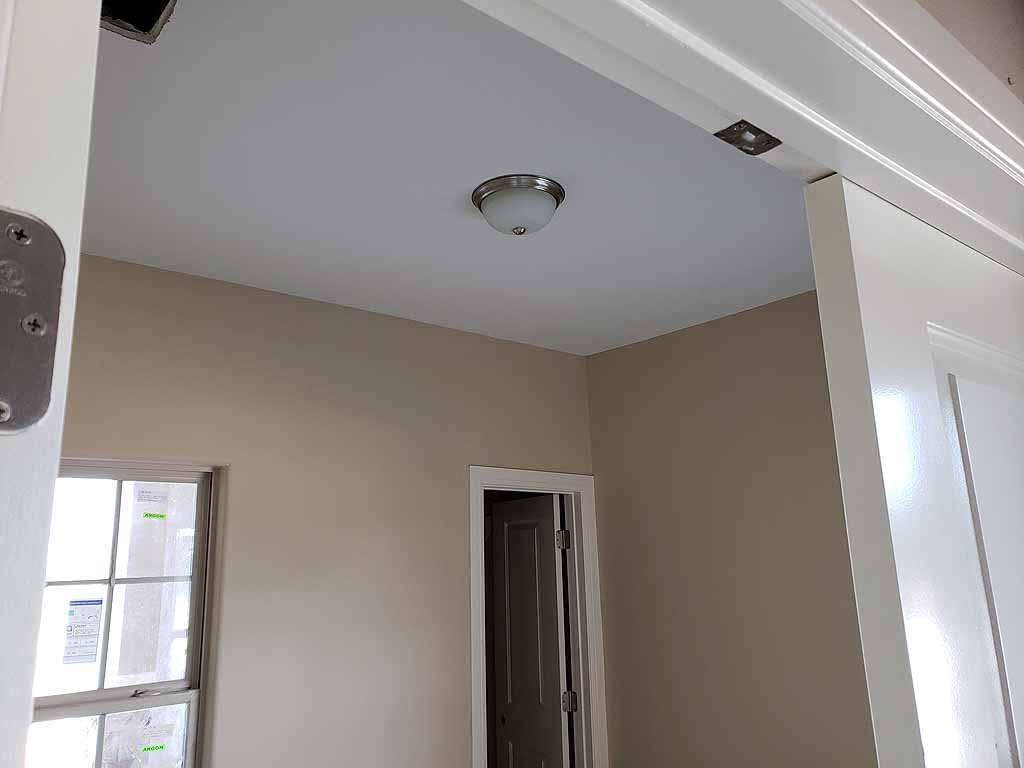
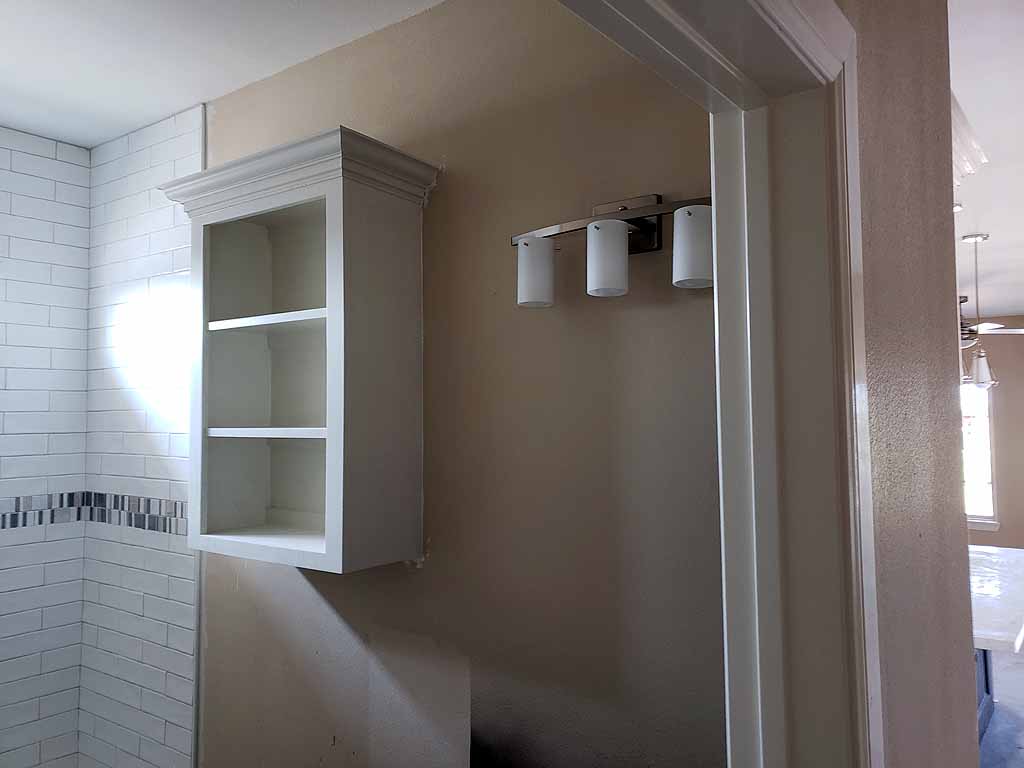
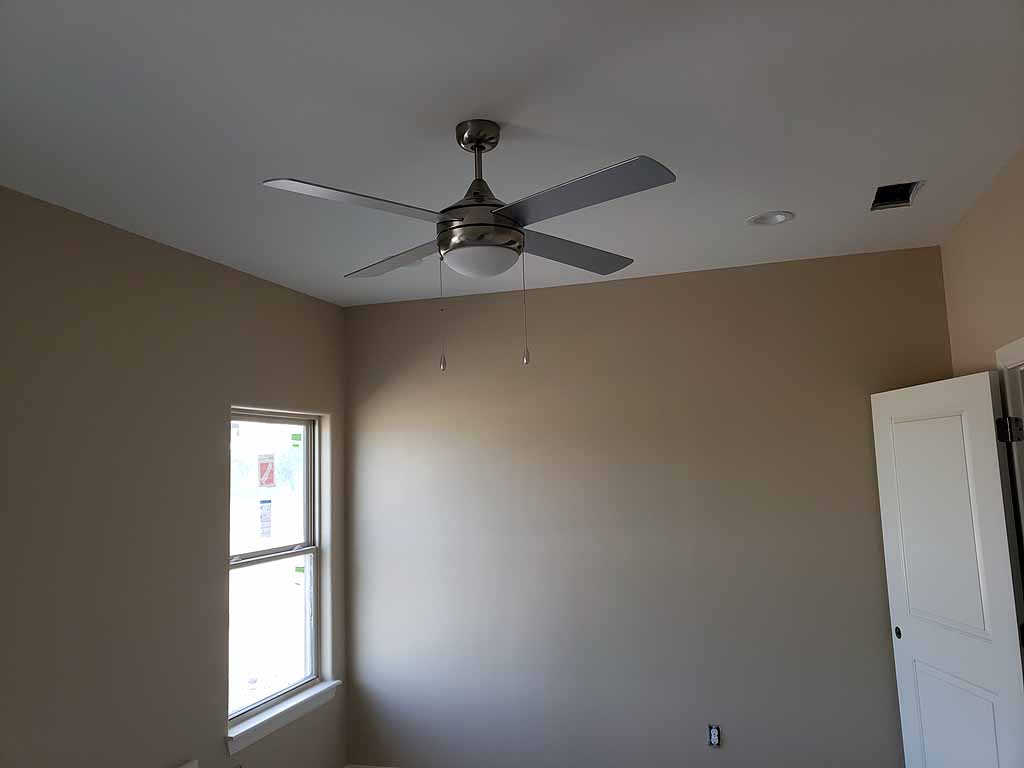
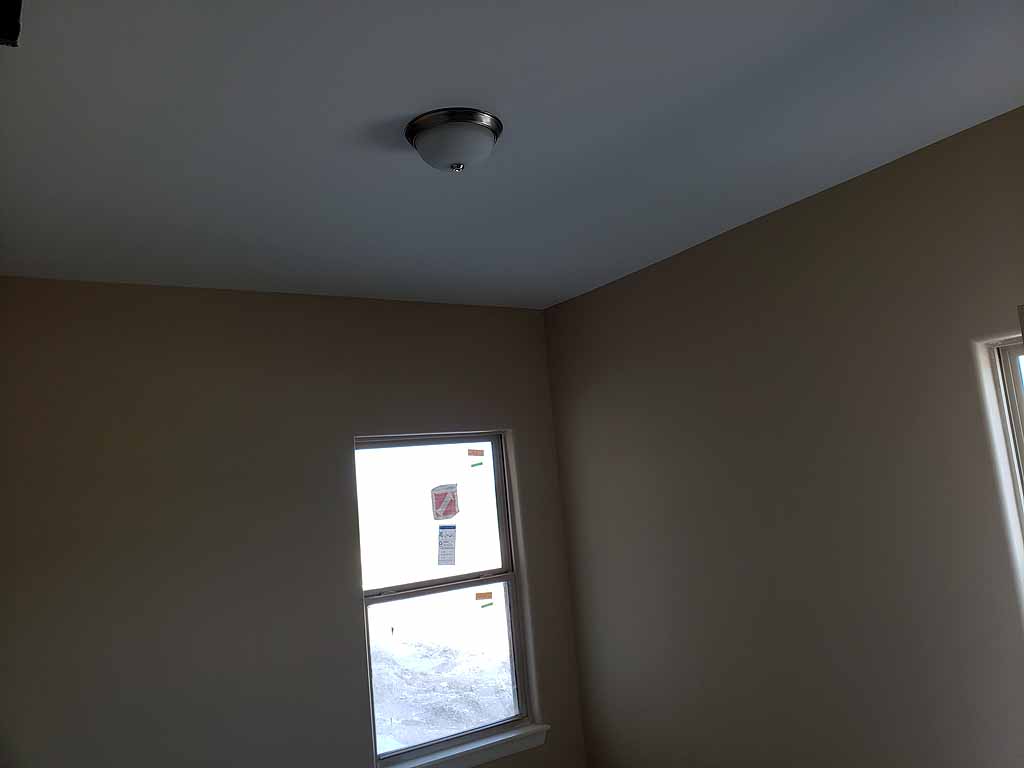
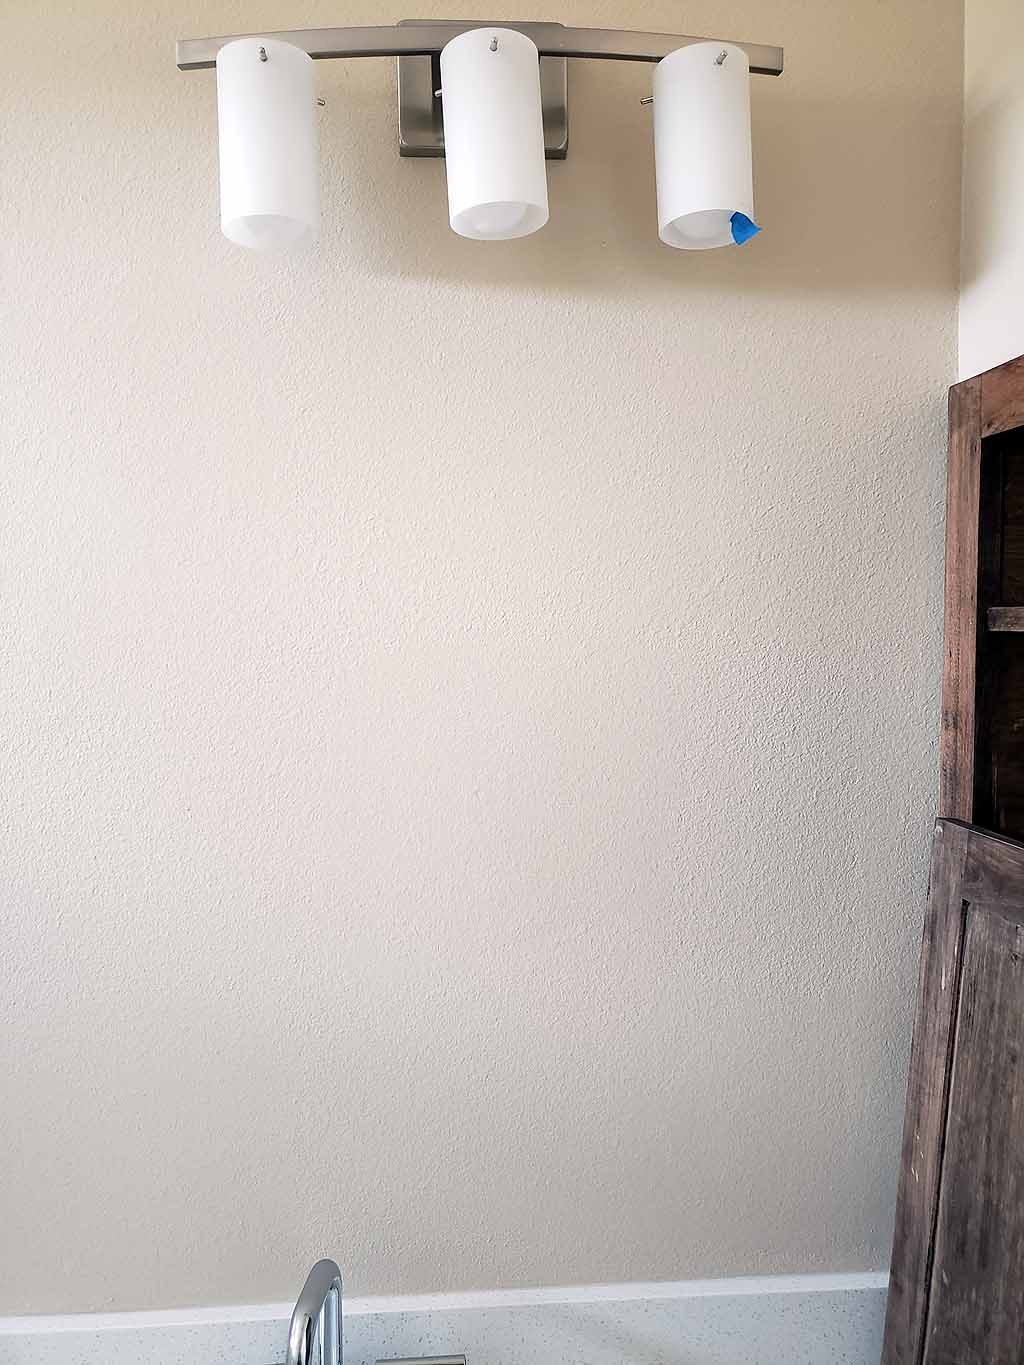
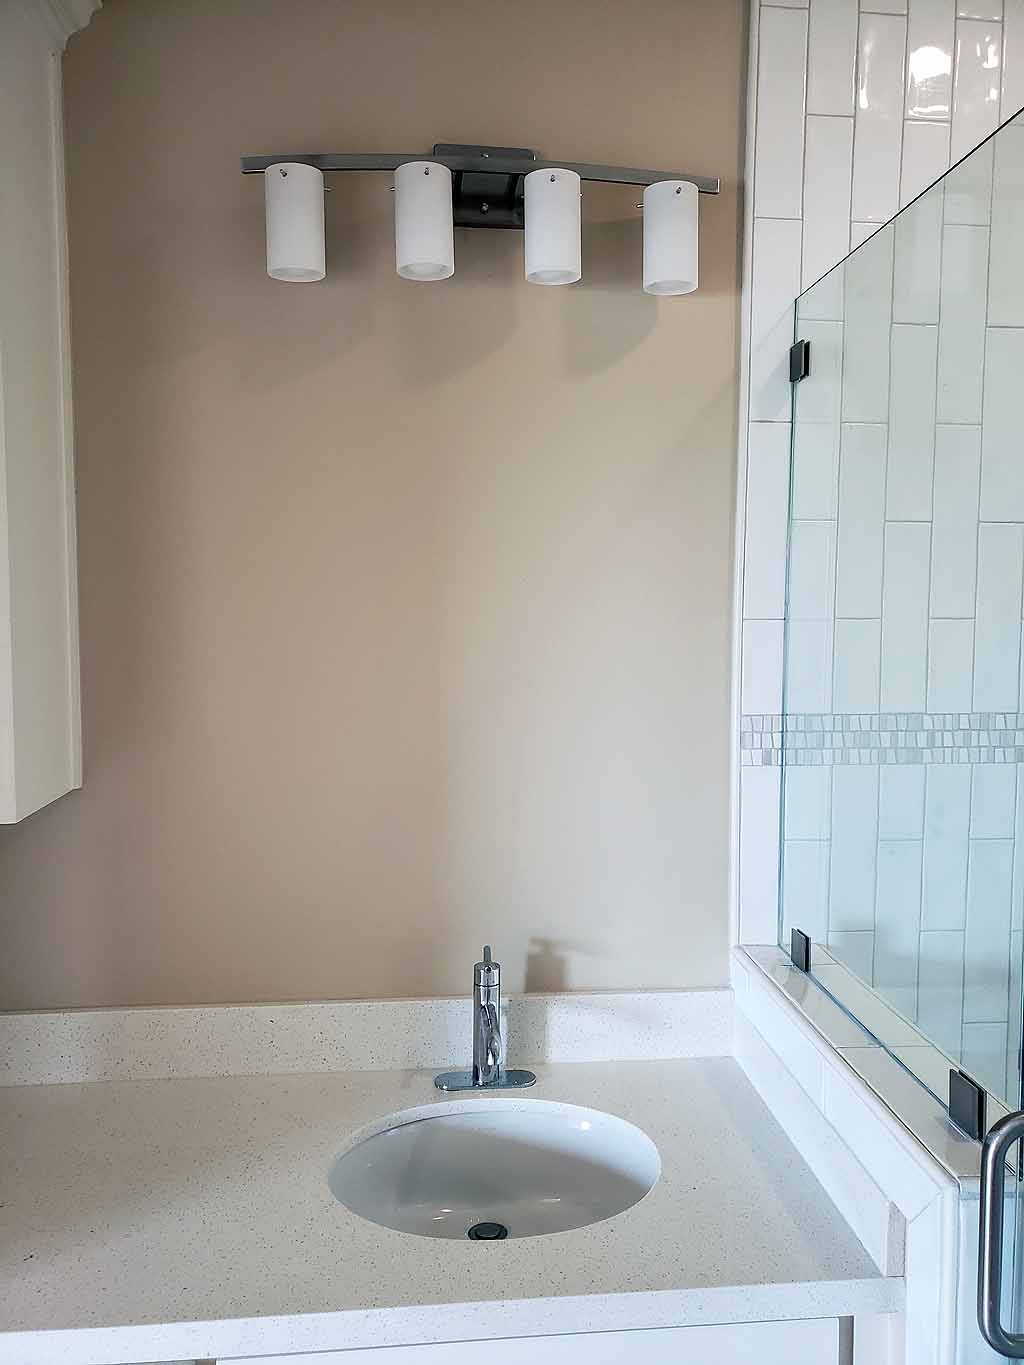
The lighting fixtures are being installed. |
||
 |
 |
|
click on images to enlarge |
click on images to enlarge |
click on images to enlarge |
 |
 |
 |
 |
 |
 |
click on images to enlarge |
click on images to enlarge |
click on images to enlarge |
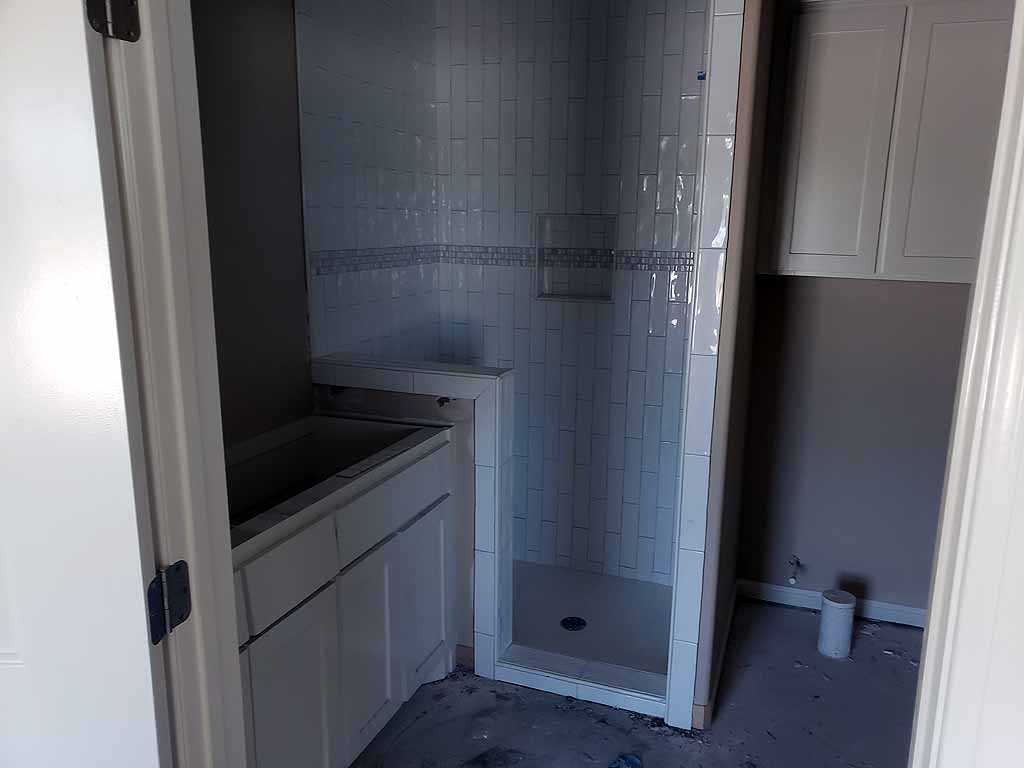 |
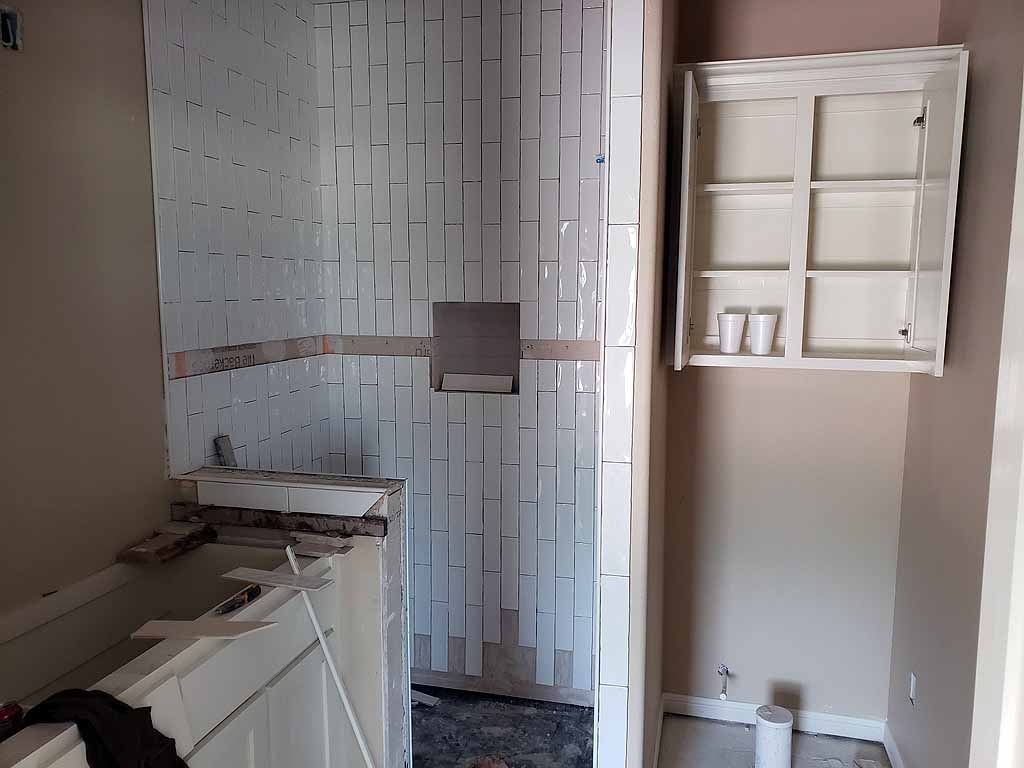
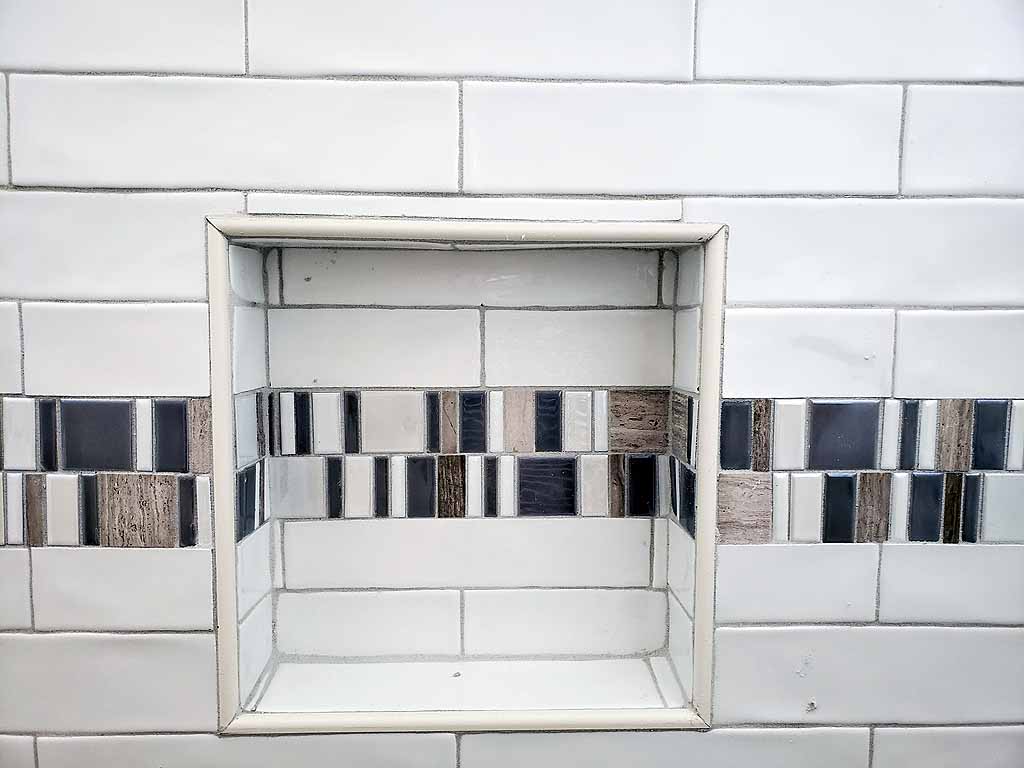
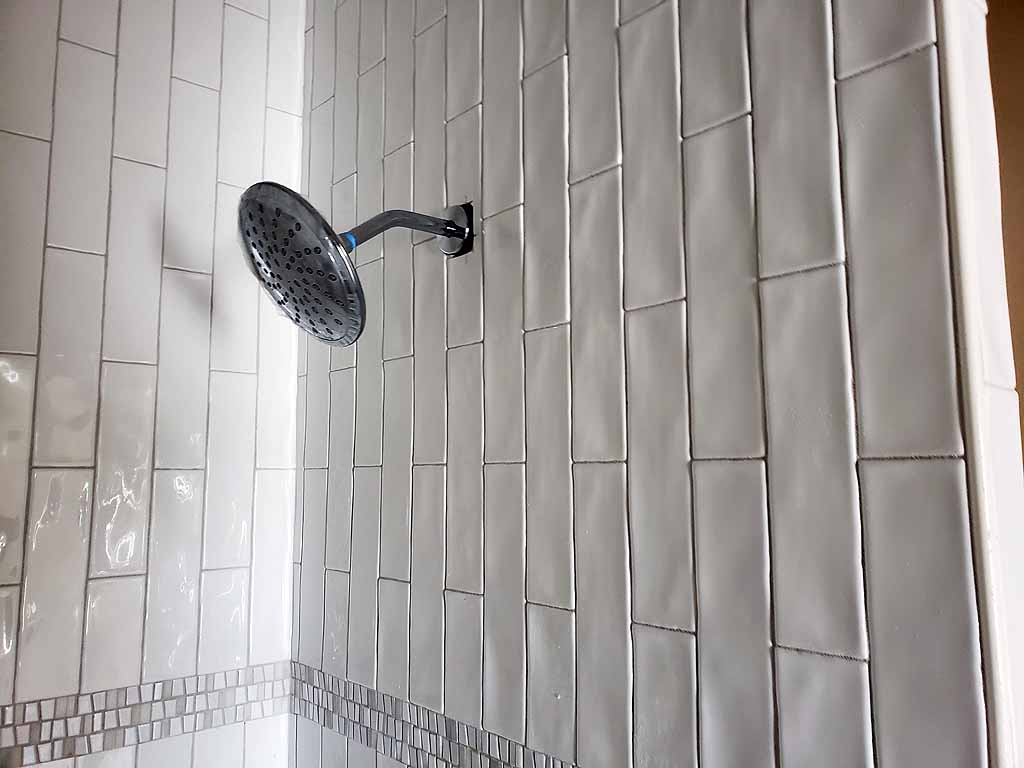
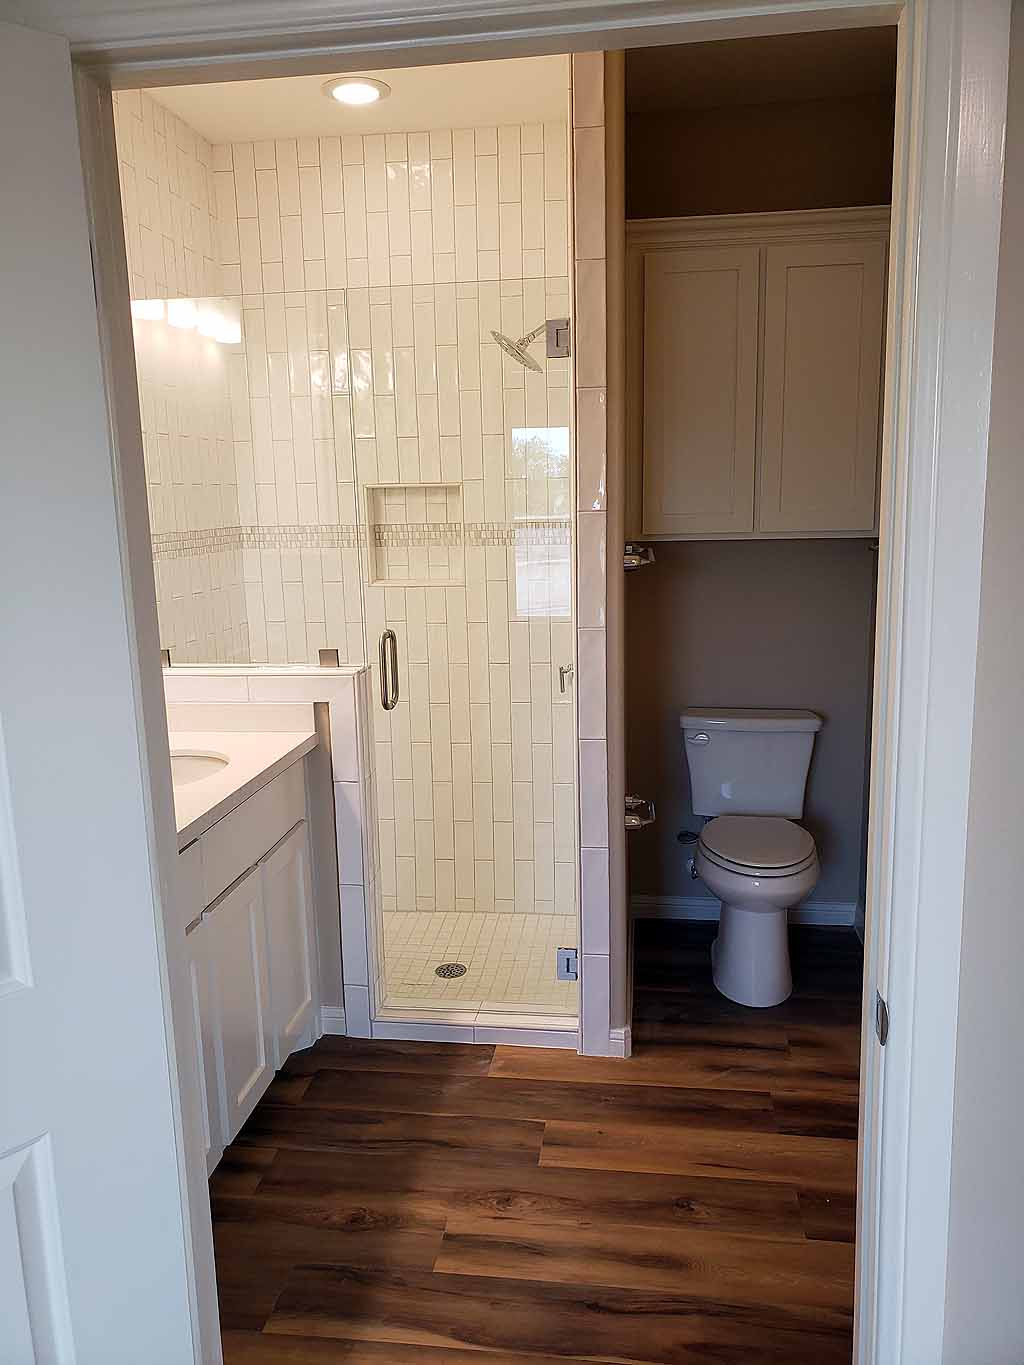
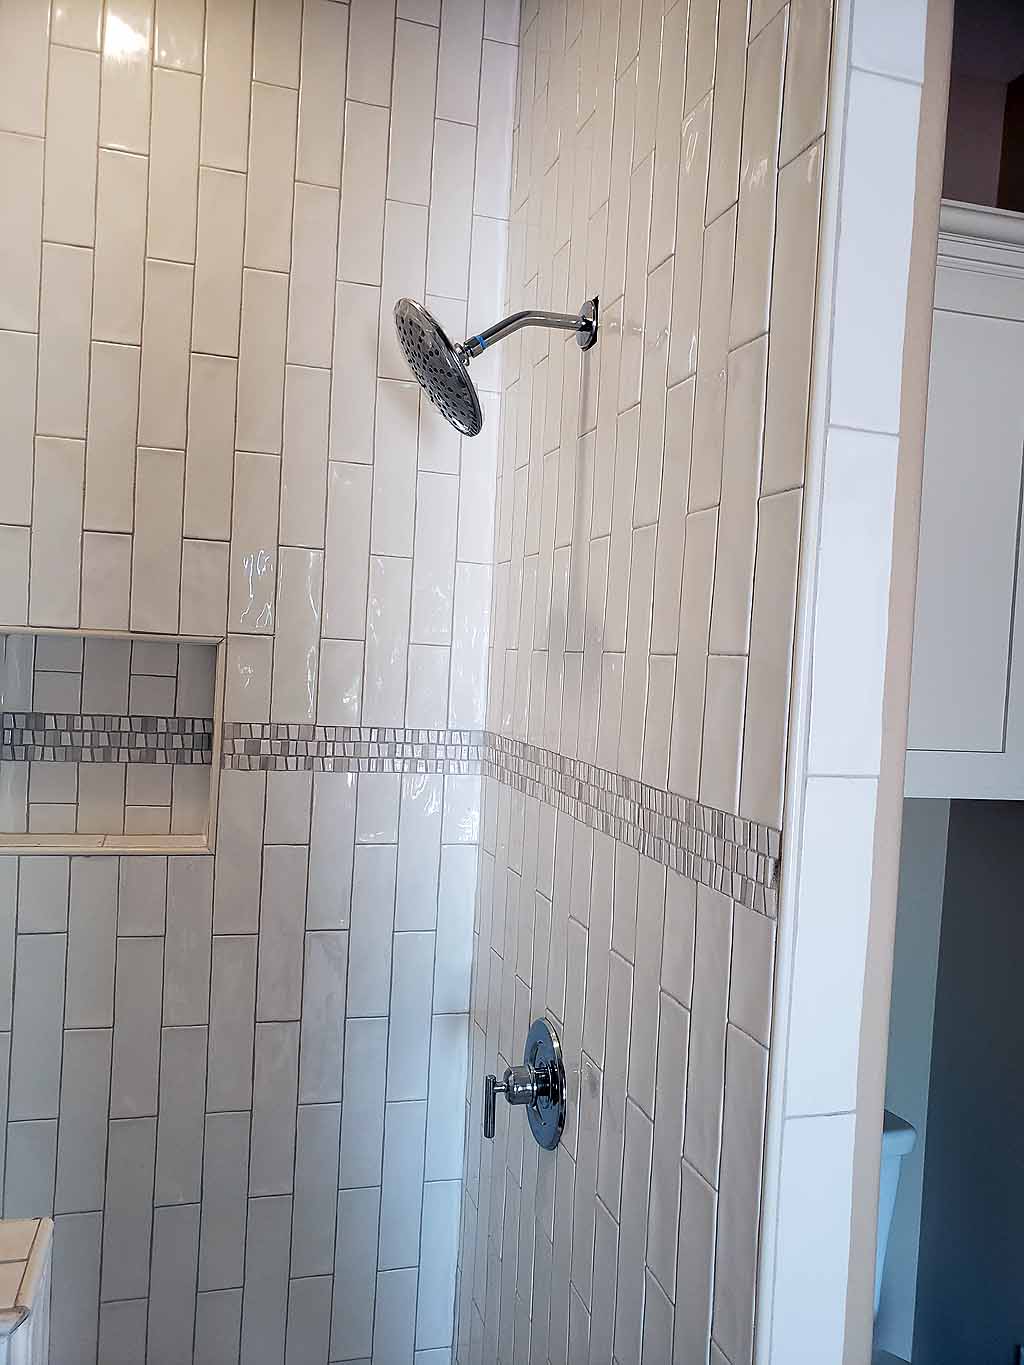
5/31/19 The Master Bath shower tiling is finished.. |
|
 |
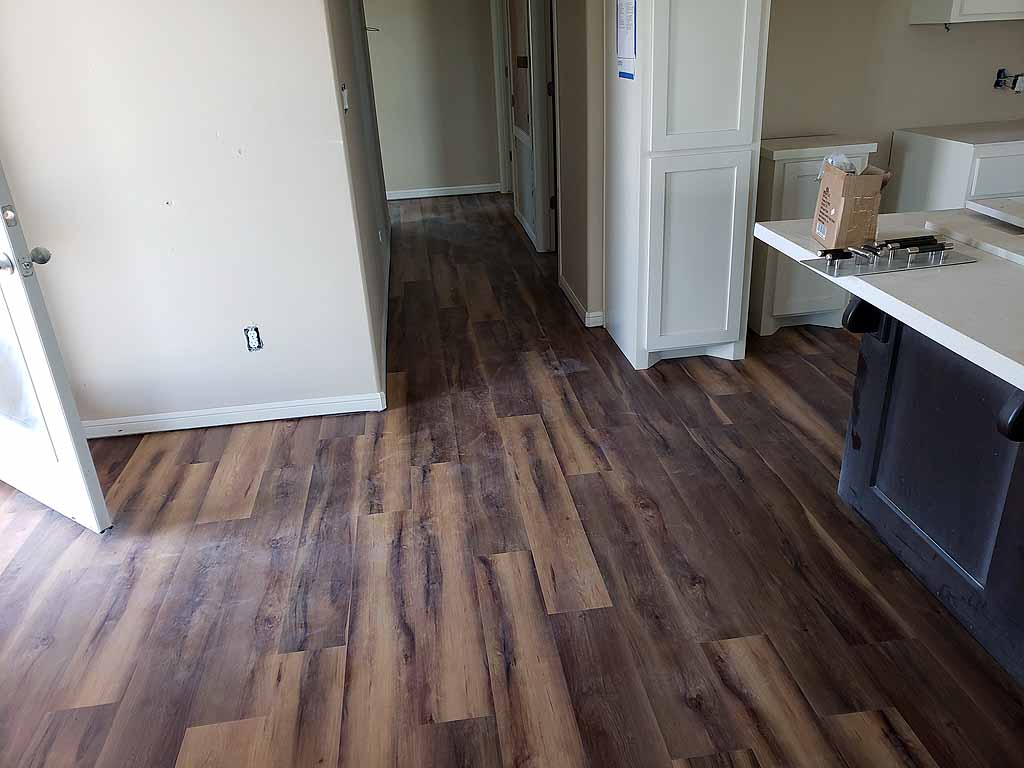
The vinyl flooring has been installed. |
 |
click on images to enlarge |
click on images to enlarge |
|
 |
|
 |
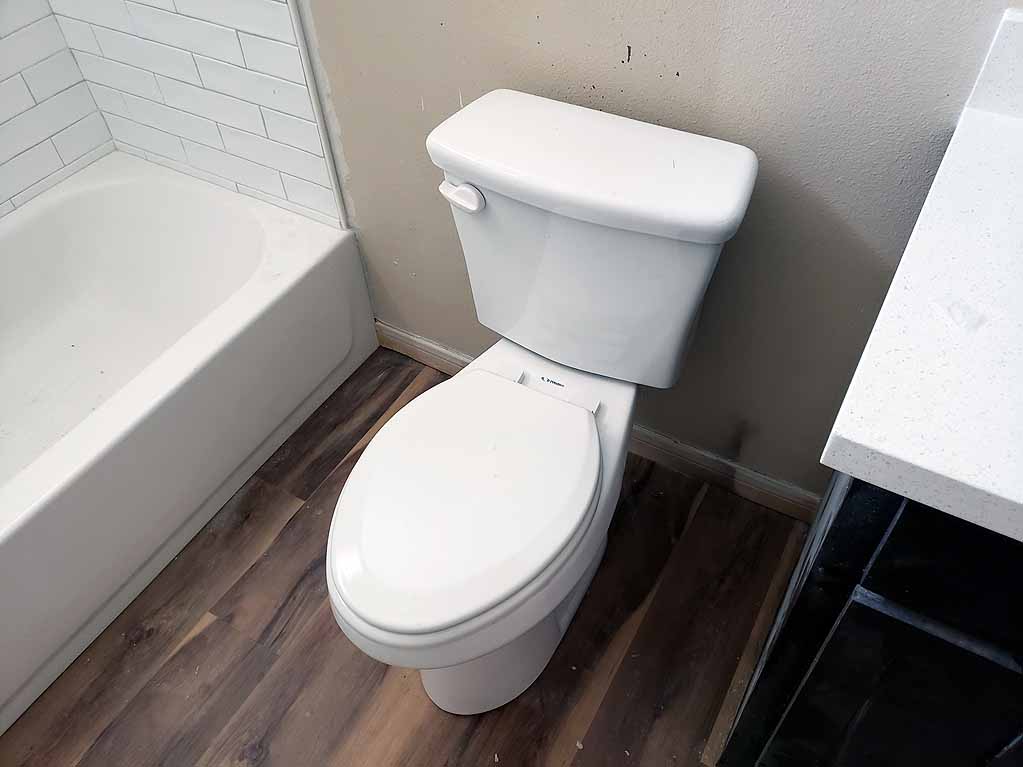 |
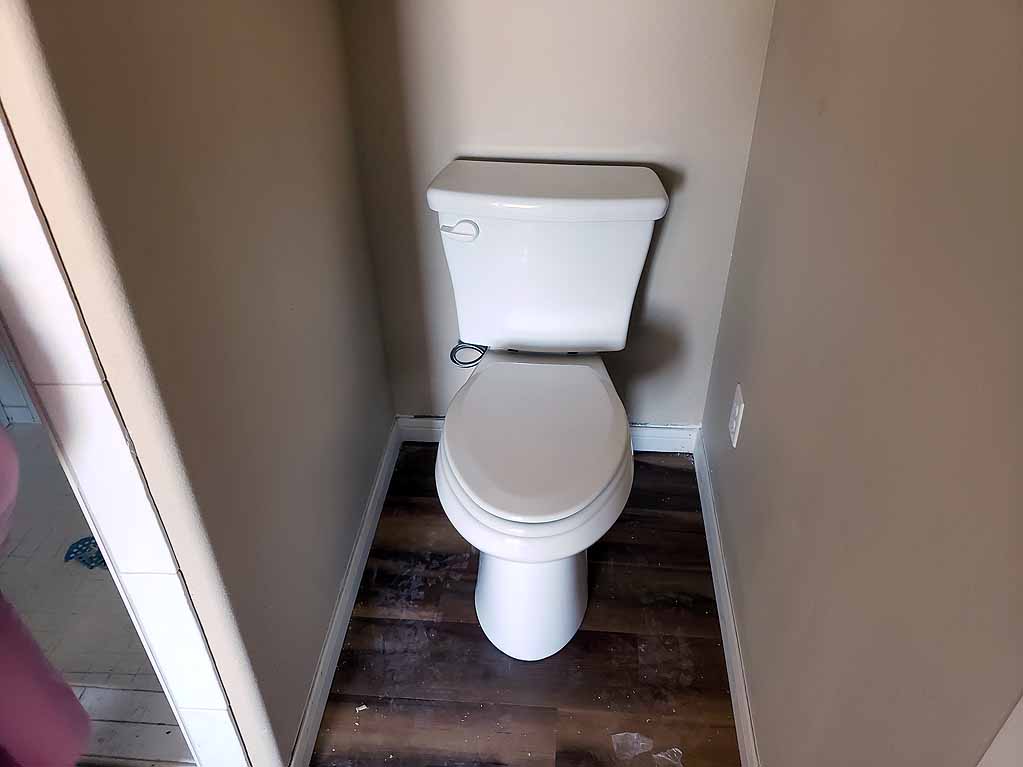
6/6/2019 Bathroom toilet installed. Medicine cabinet in place waiting for finish. |
 |
click on images to enlarge |
click on images to enlarge |
|
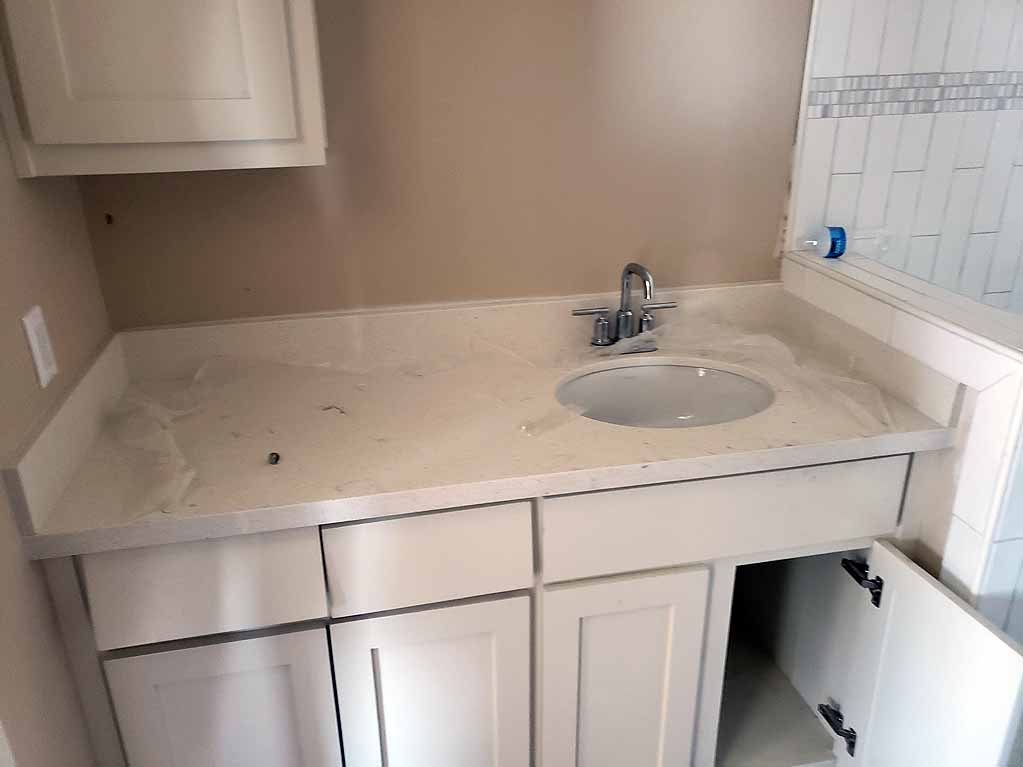 |
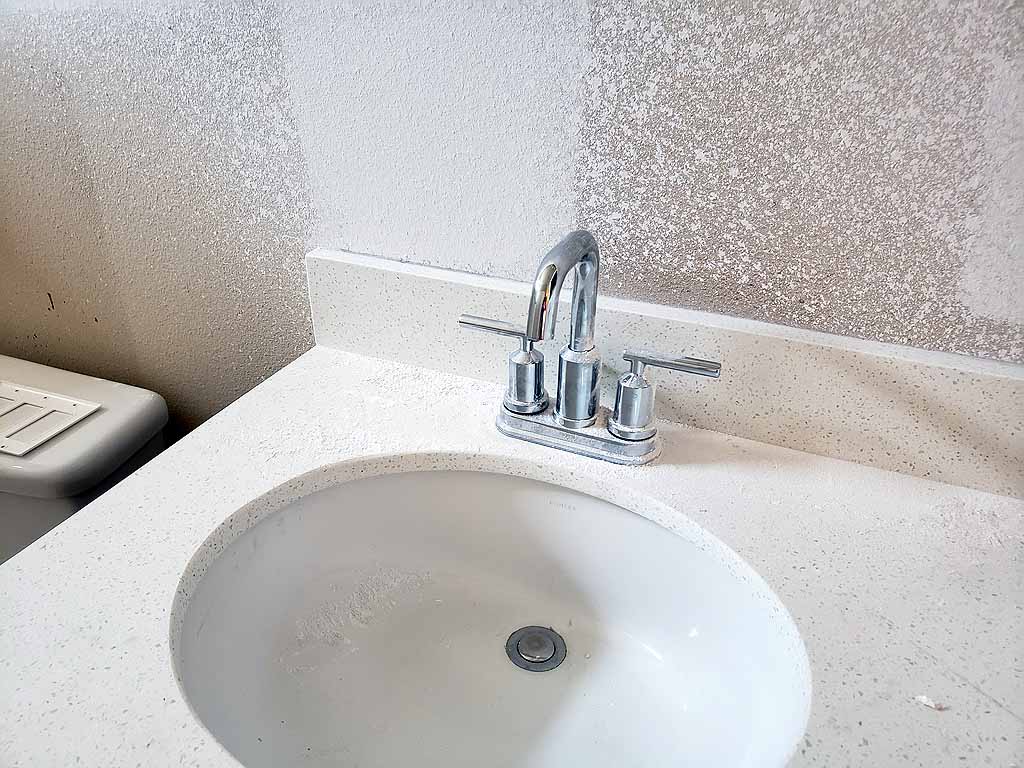
Master
Bathroom sink installed. Master Bath toilet installed. |
 |
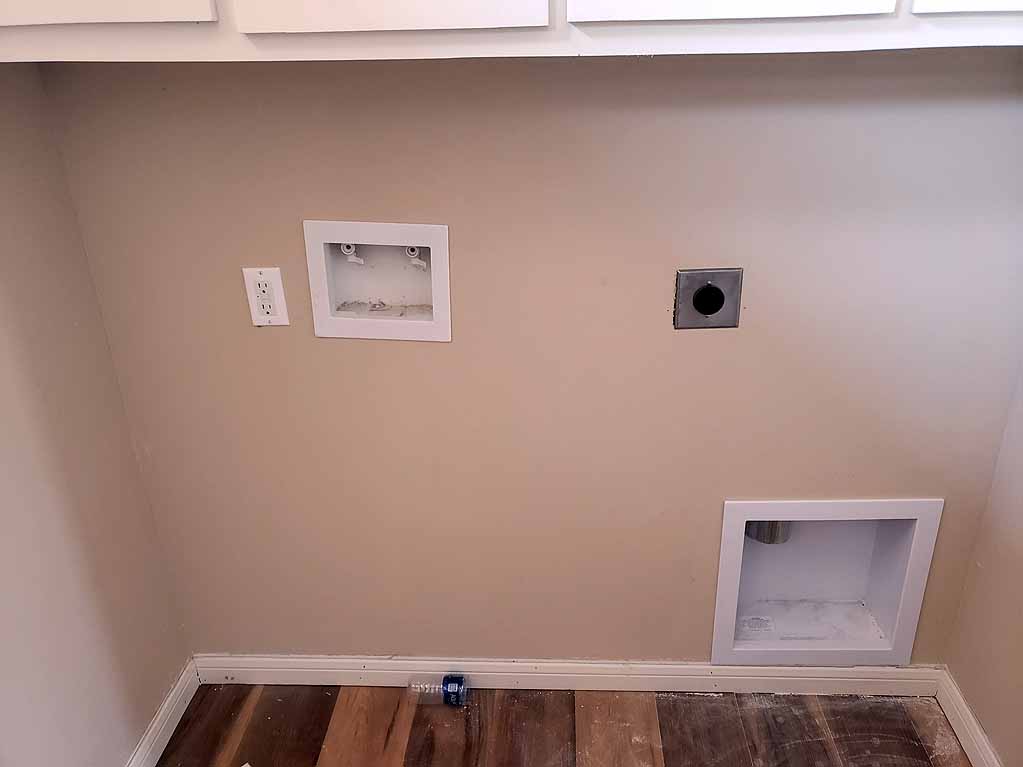 |
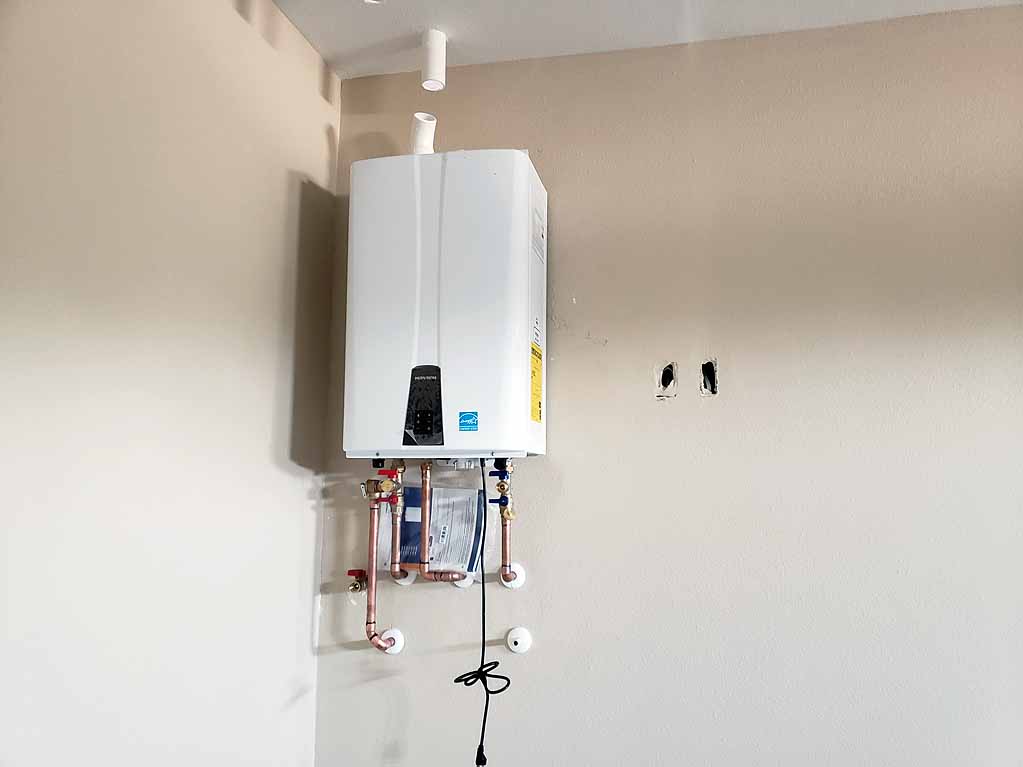
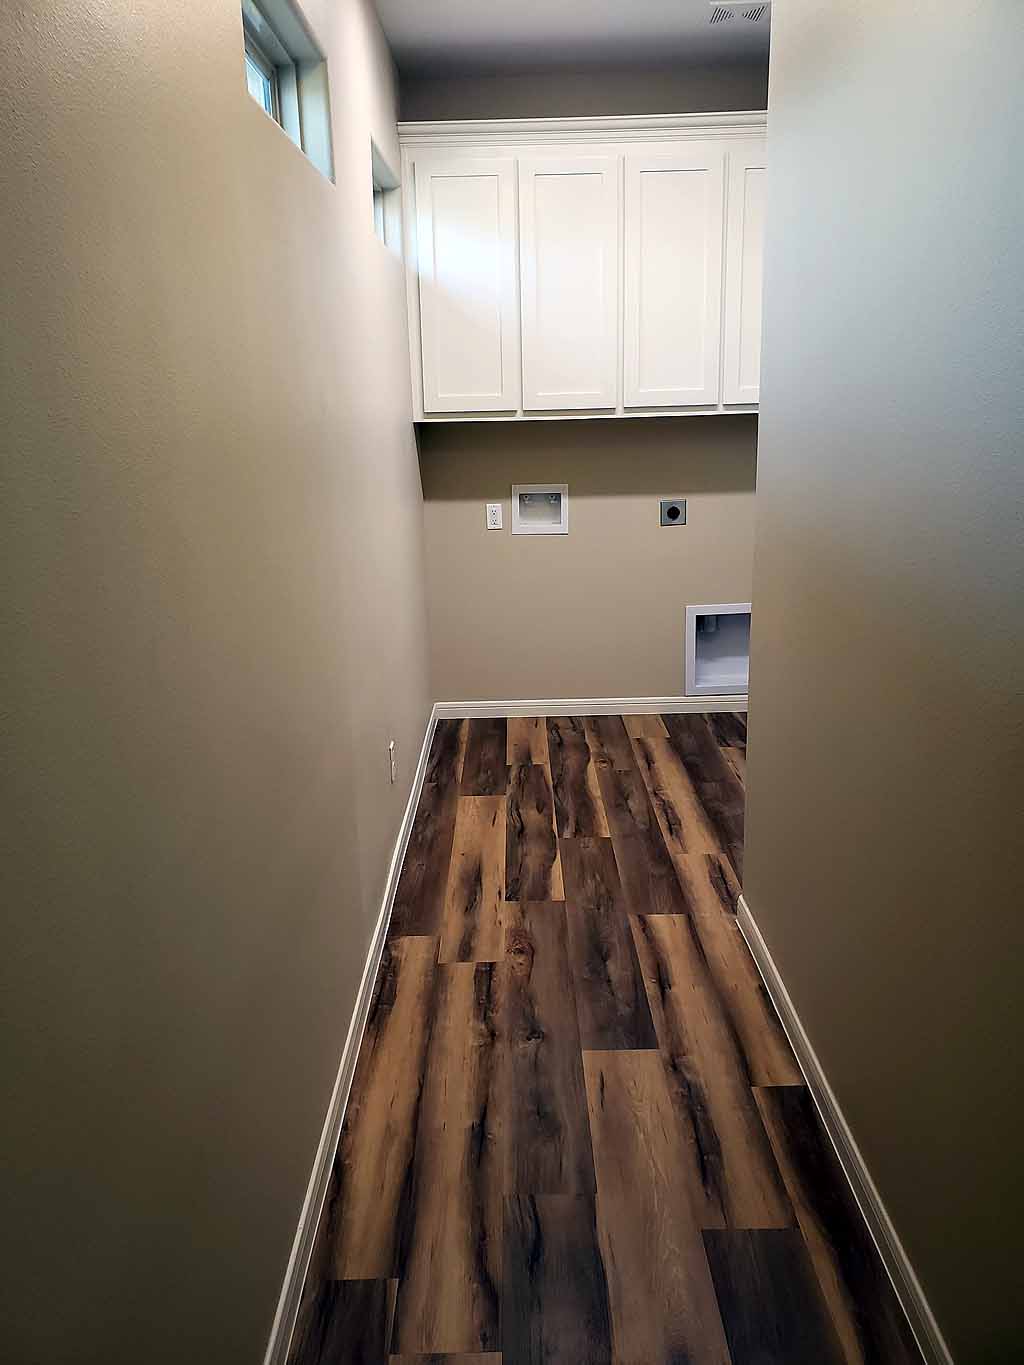
Laundry receptacles
installed. Tankless water heater installed. |
 |
click on images to enlarge |
click on images to enlarge |
|
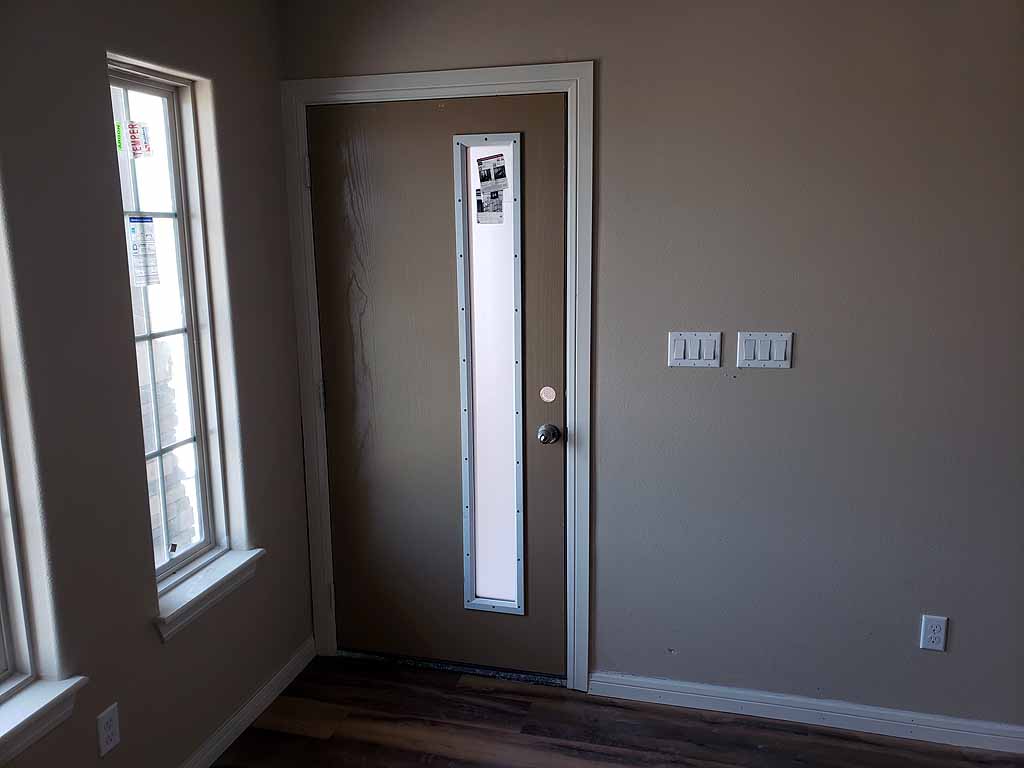 |
6/10/19 The correct front door is finally installed |
|
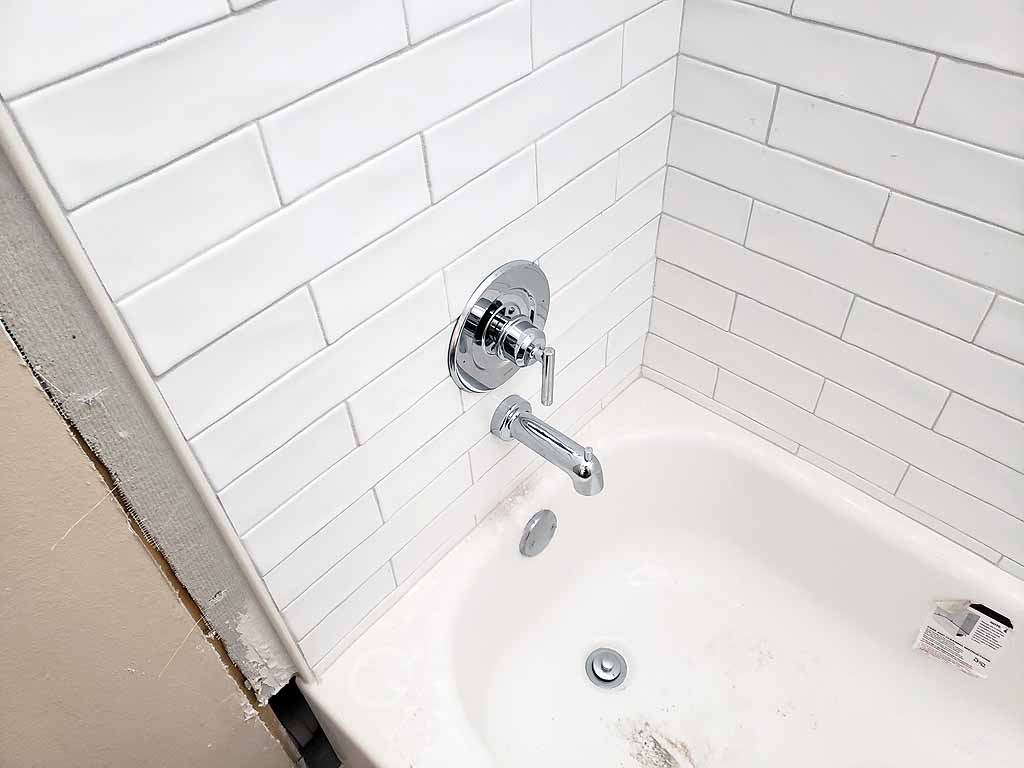 |
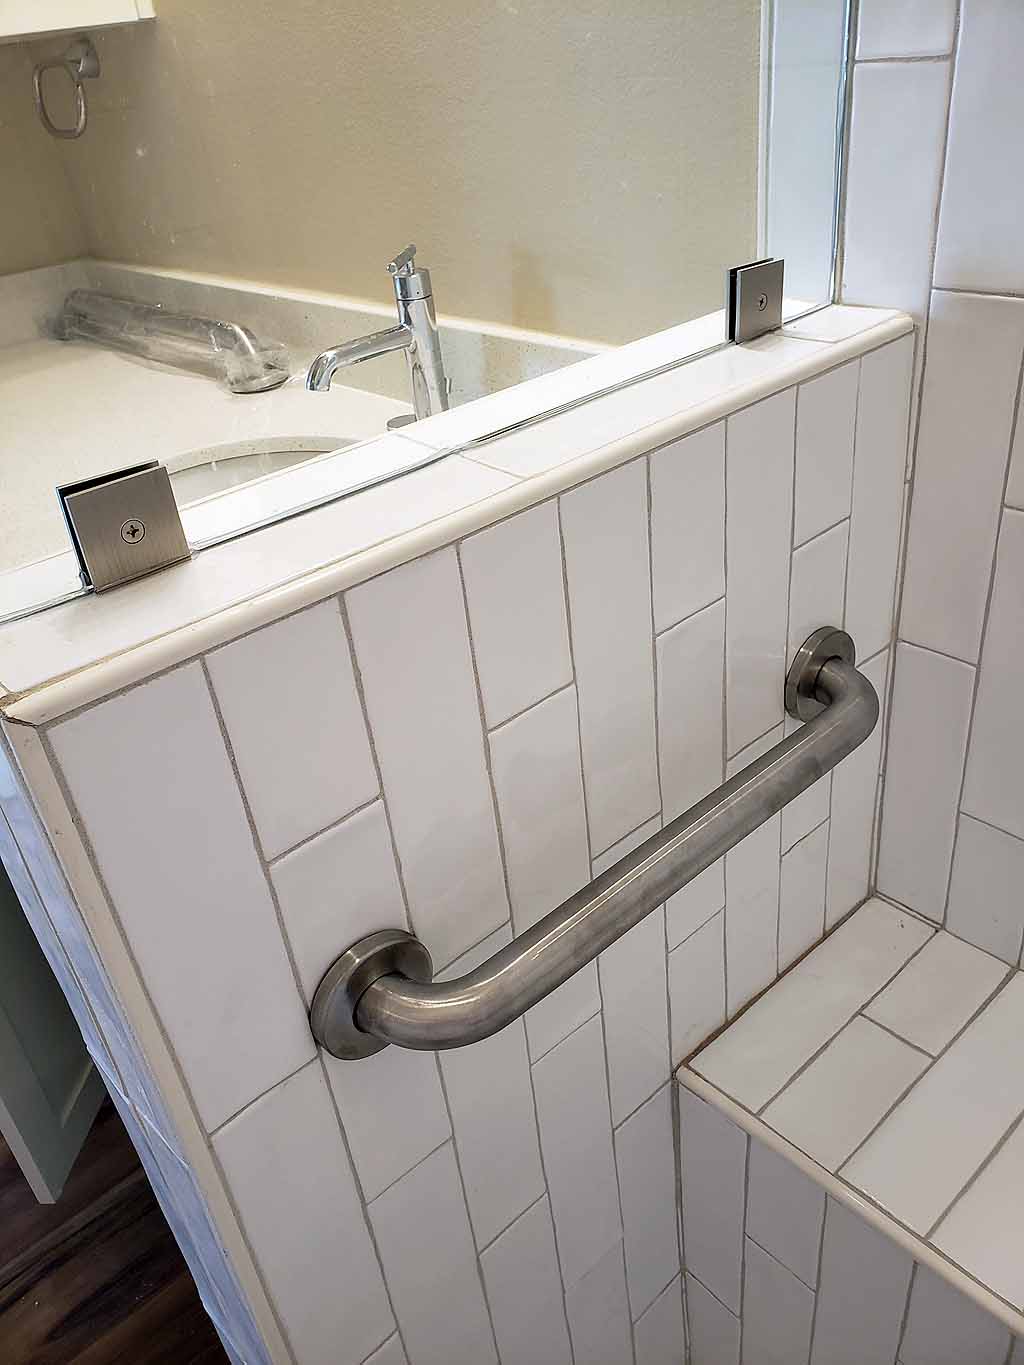
Bathroom tub fixture. Bathroom Shower |
 |
click on images to enlarge |
click on images to enlarge |
|
 |
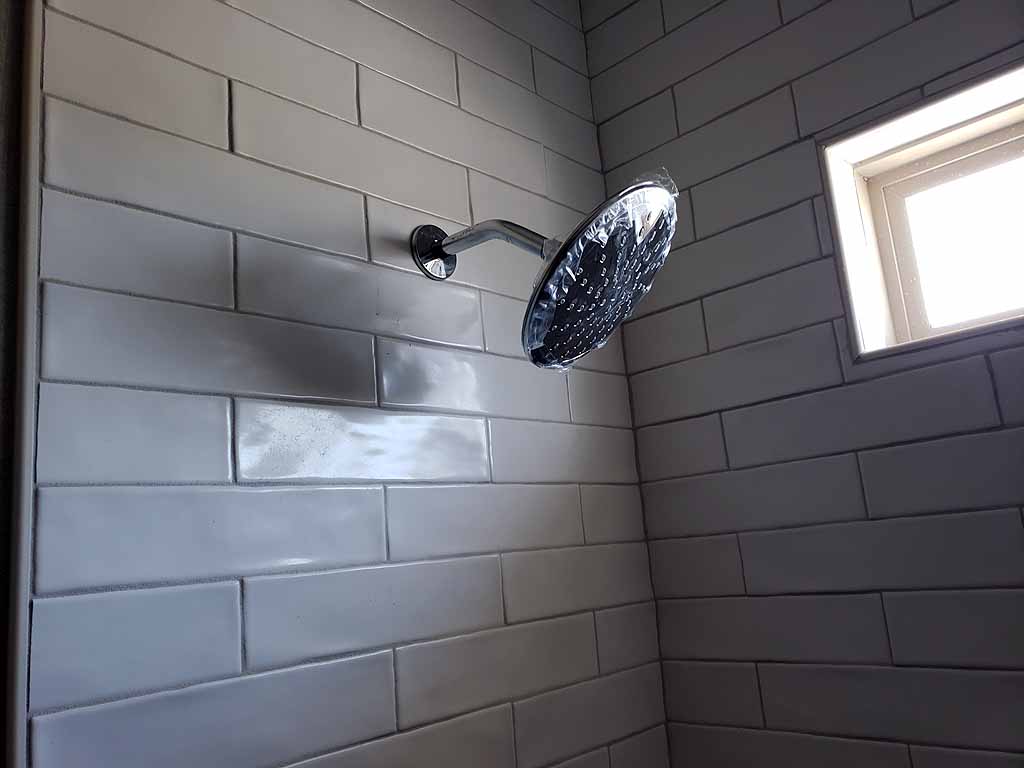
Master Bath shower
valve Master Bath shower head. |
 |
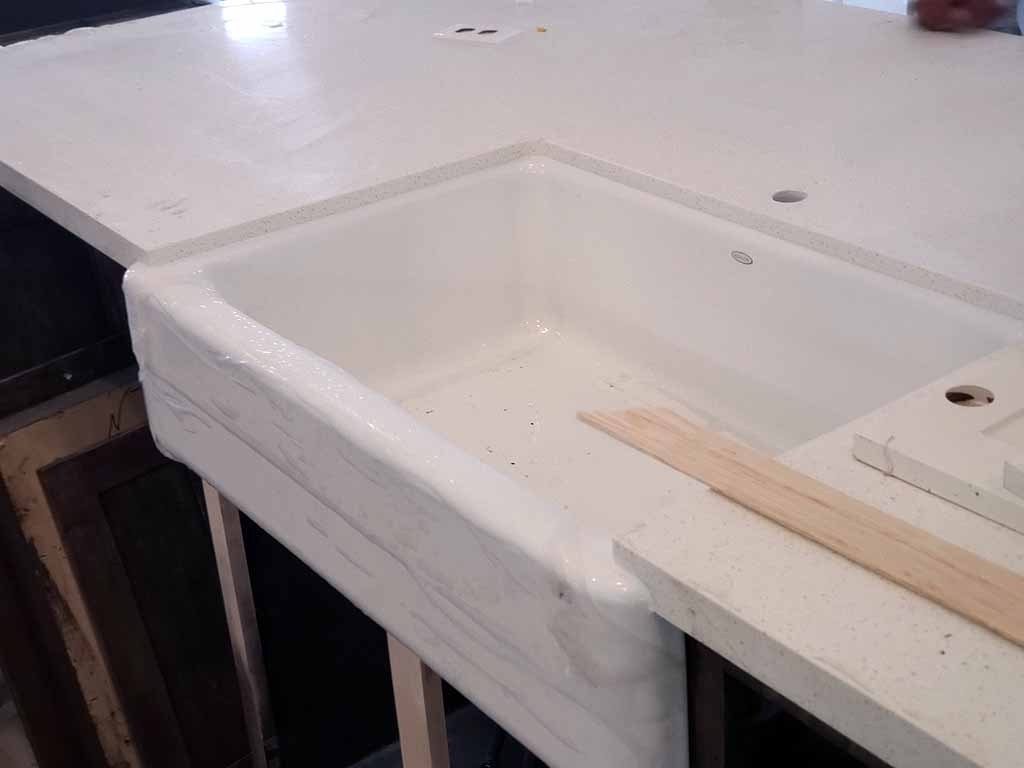 |
6/18/19 The farm apron sink has been installed. |
|
click on images to enlarge |
||
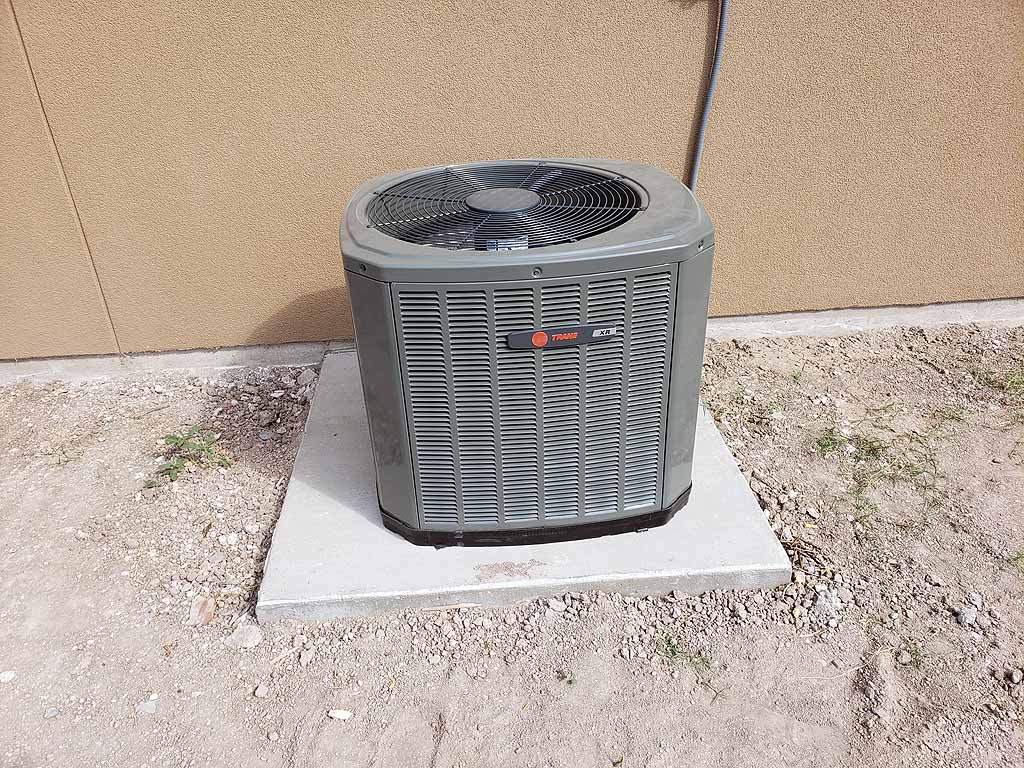
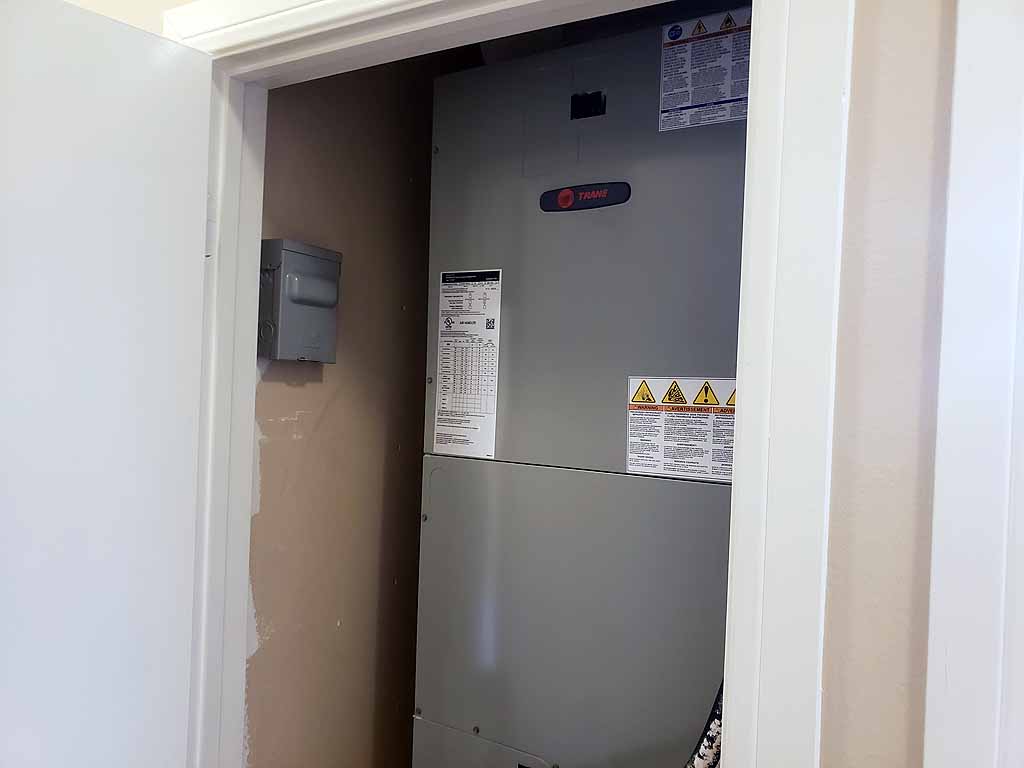
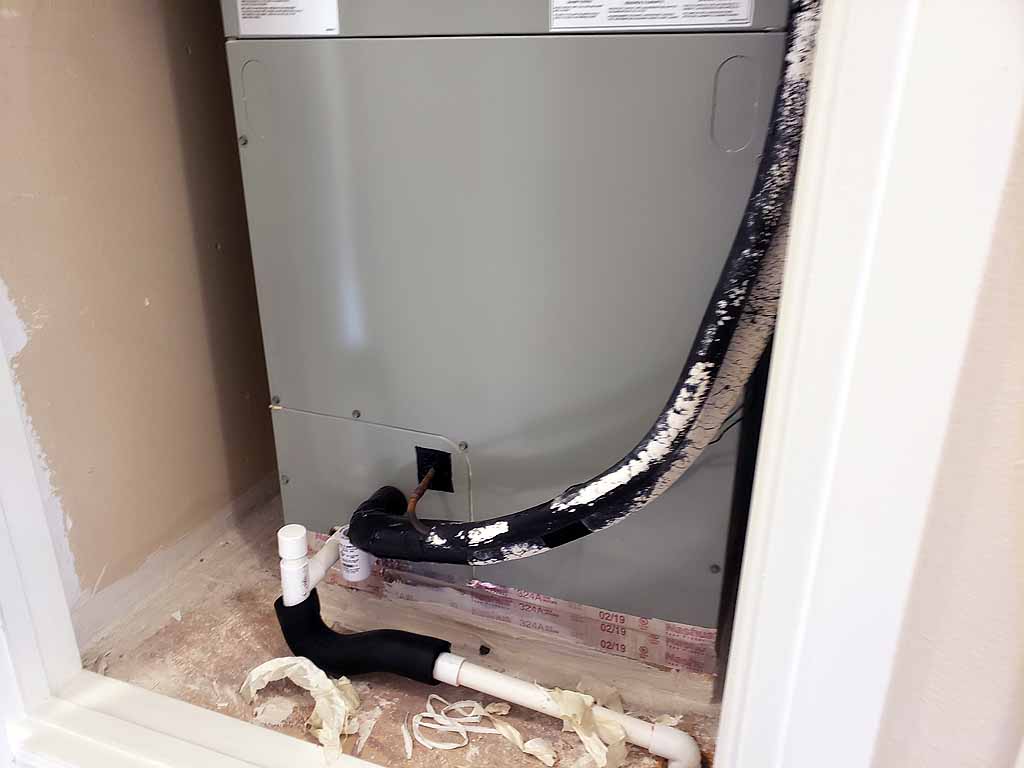
06/18/19 Since we now have electricity, the Heat Pump has been installed |
||
 |
 |
 |
 |
The Master Bath fixture |
|
click on images to enlarge |
||
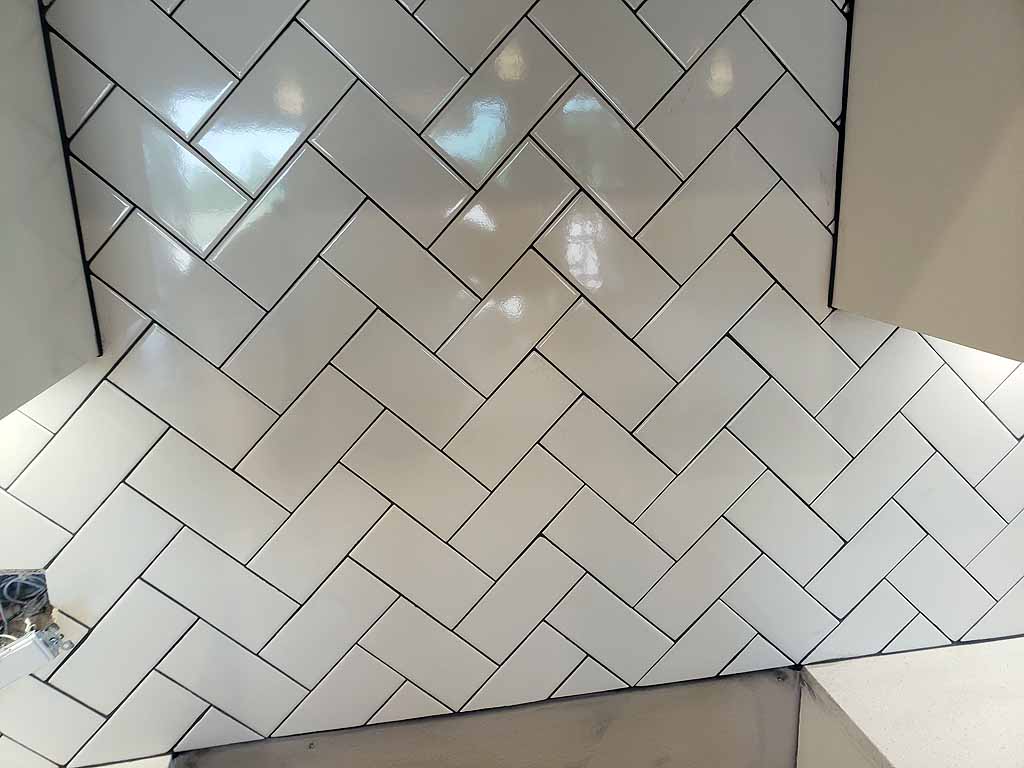 |
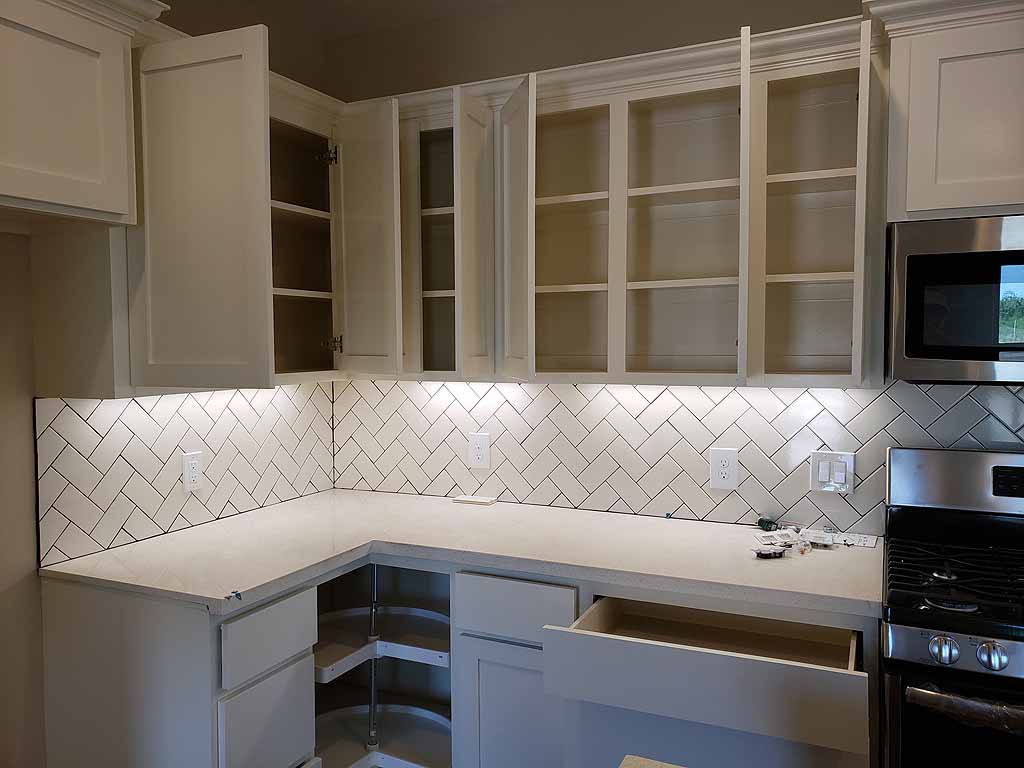
The
kitchen backsplash tiling. |
|
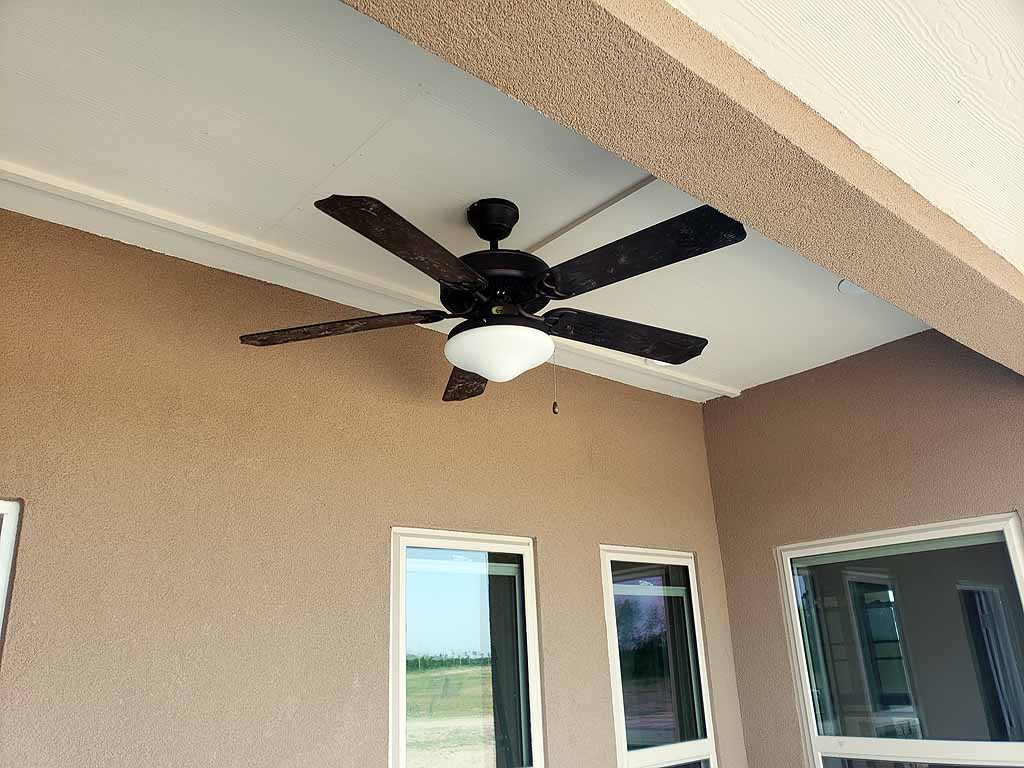 |
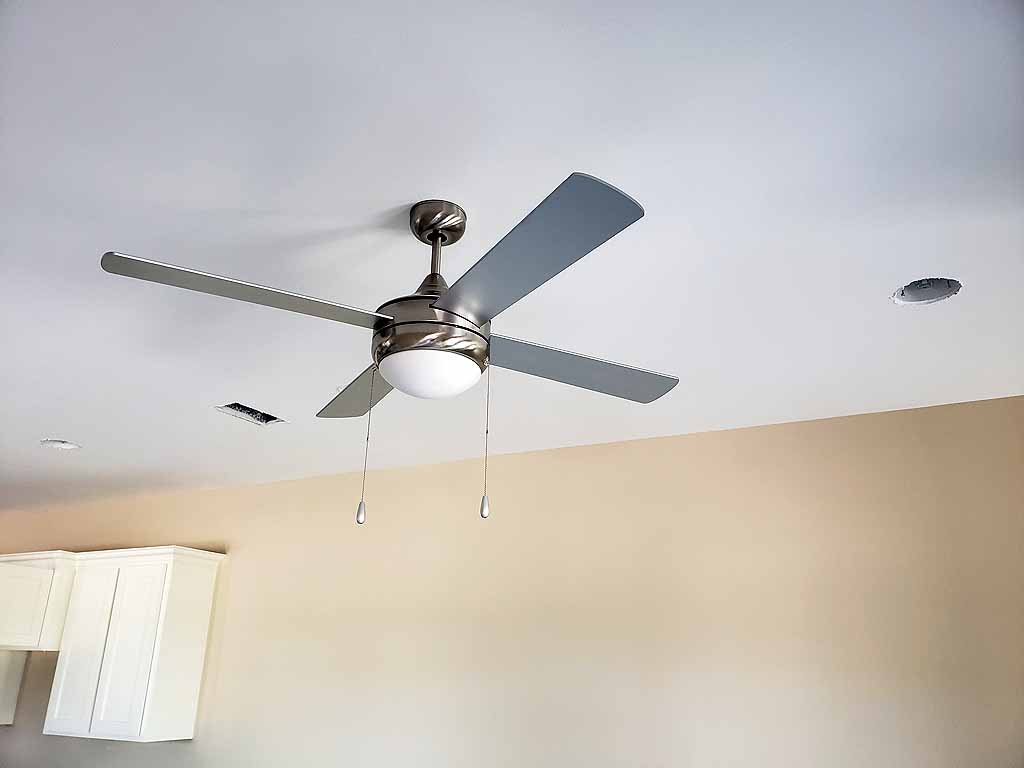
The
patio fan. |
|
click on images to enlarge |
||
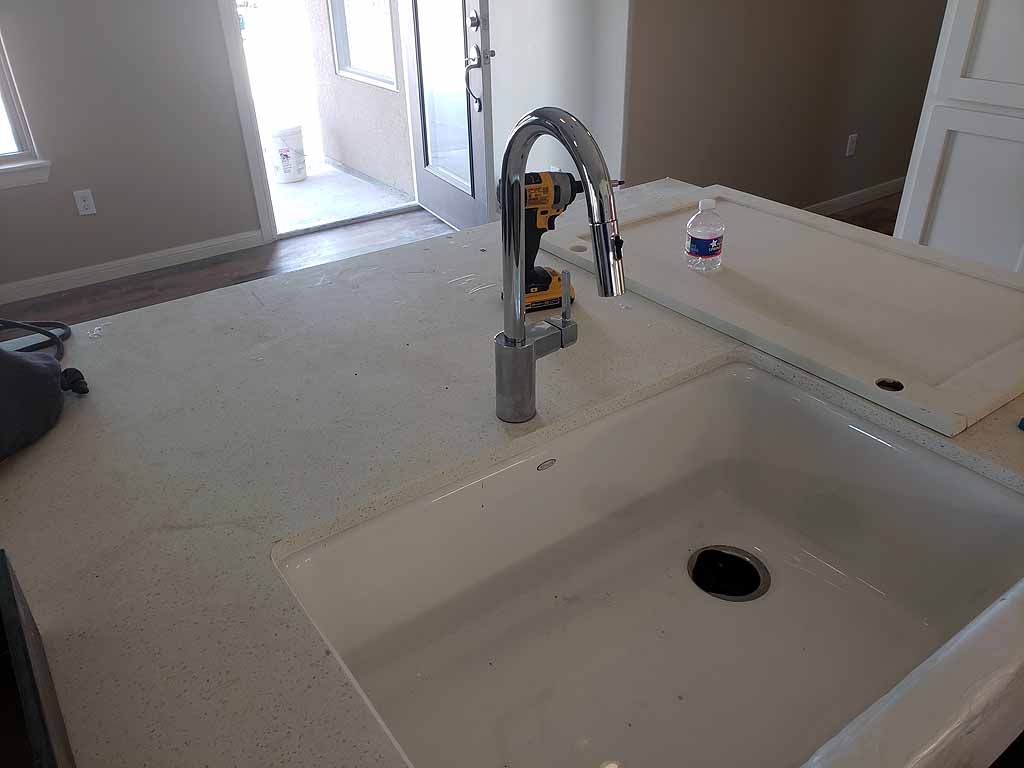 |
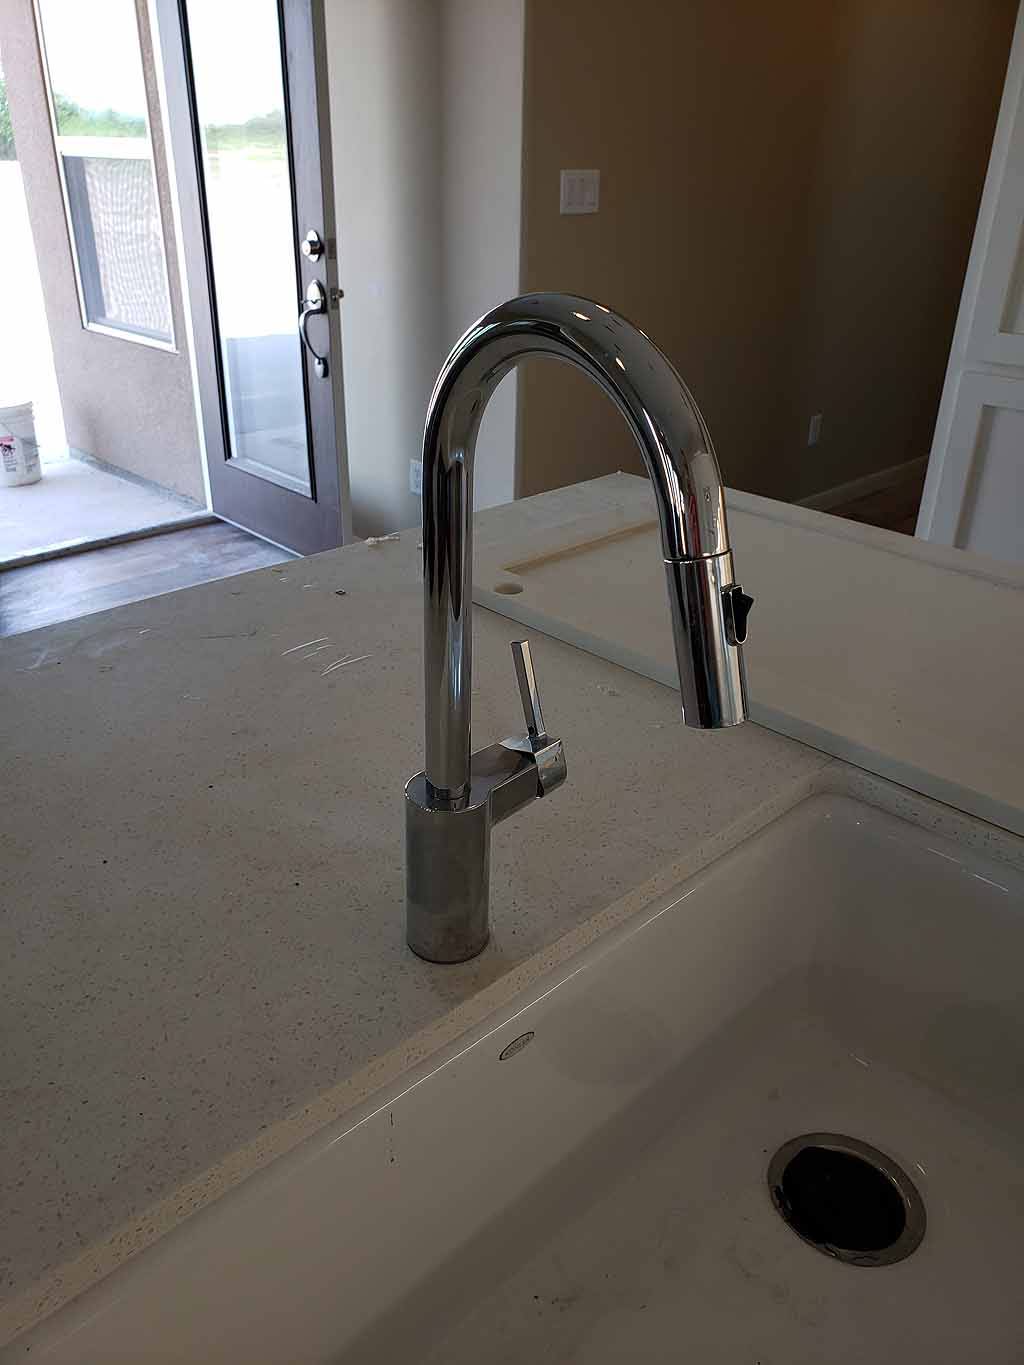
6/22/19 The Kitchen faucet has been installed. |
|
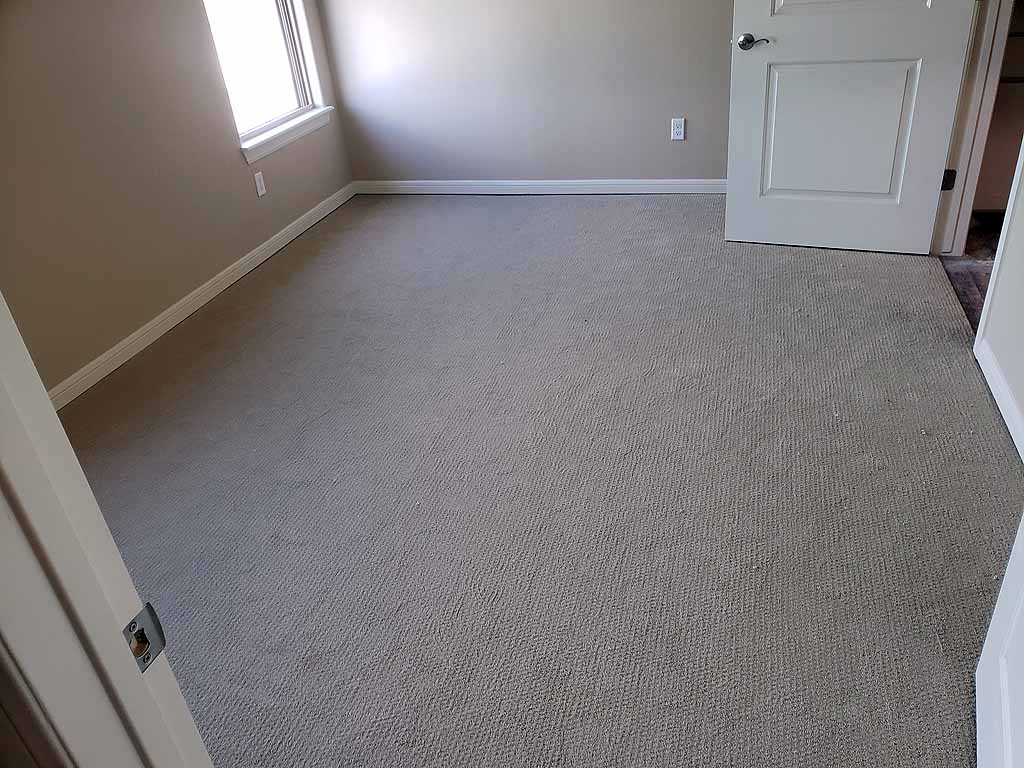 |
Master Bedroom
carpet Bedroom carpet |
 |
click on images to enlarge |
click on images to enlarge |
|
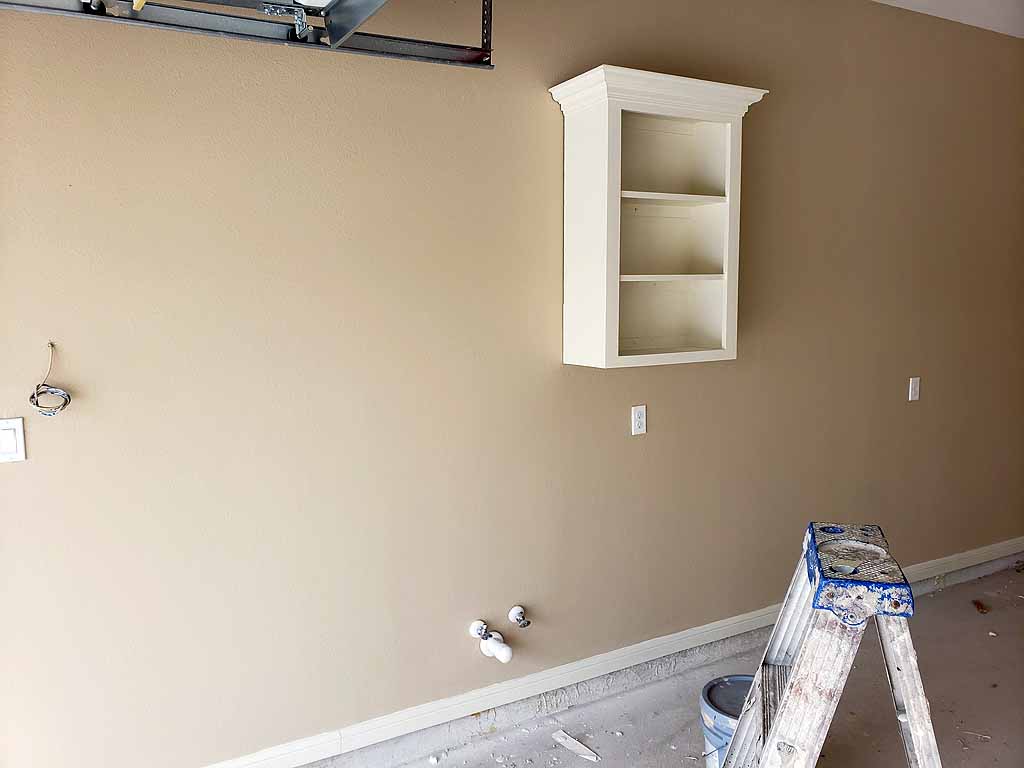 |
The garage has been painted. The cabinet on the wall was relocated from the Bathroom. |
|
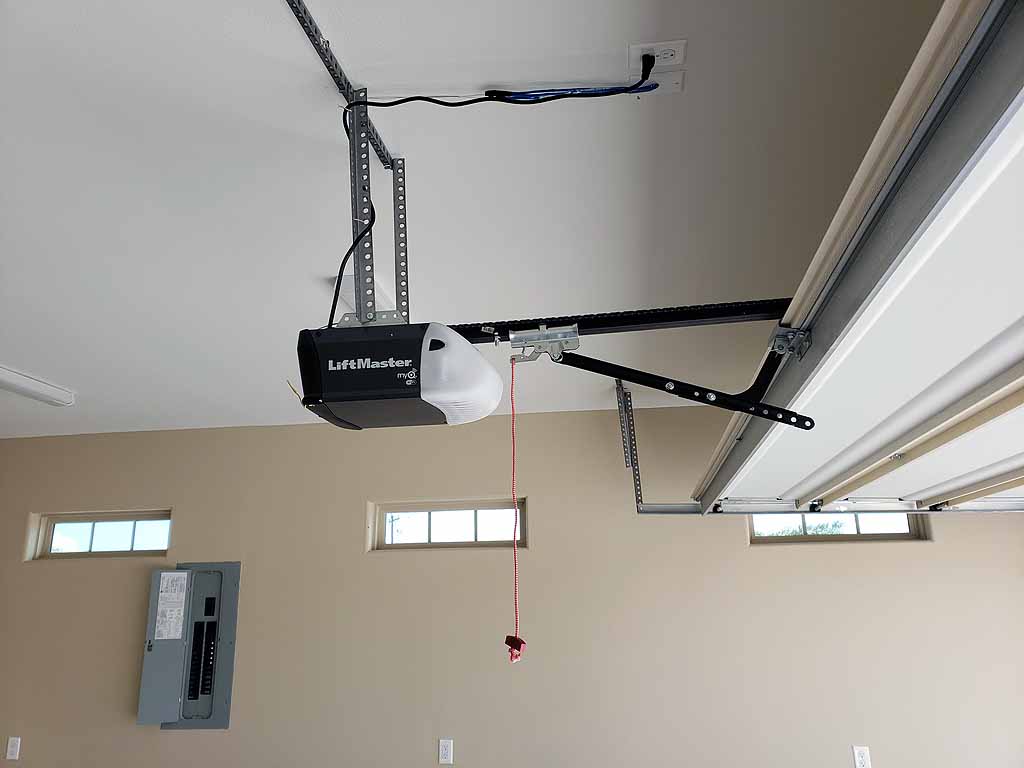 |
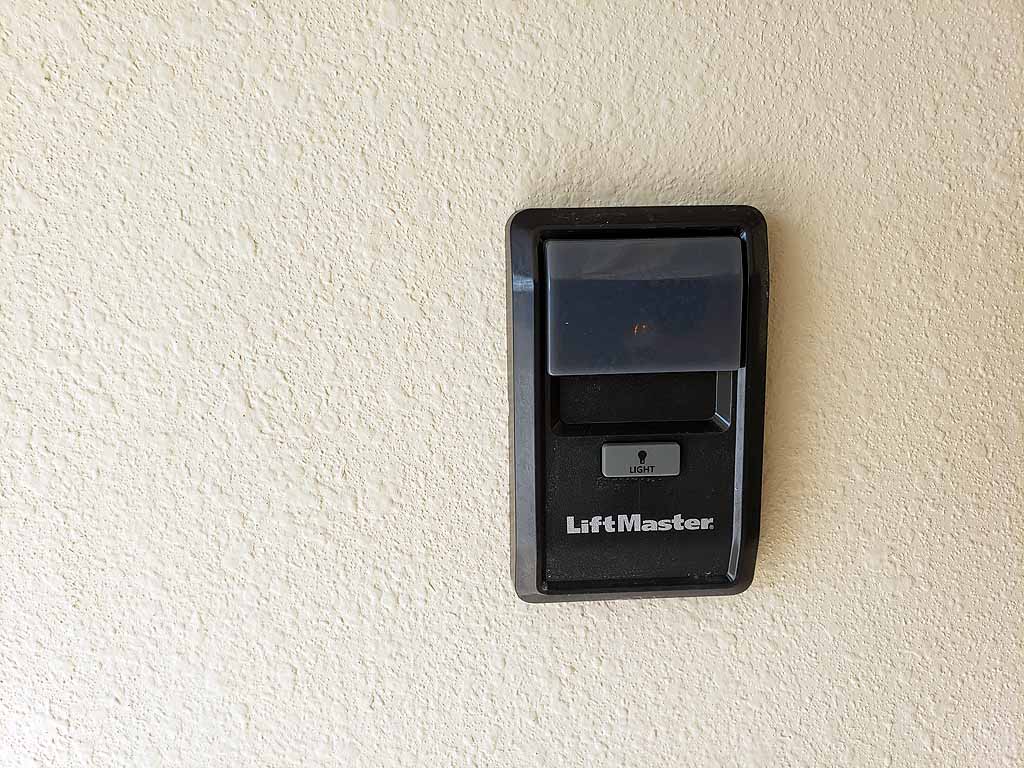
6/26/19 The garage door opener was installed. The garage door remote |
 |
click on images to enlarge |
click on images to enlarge |
|
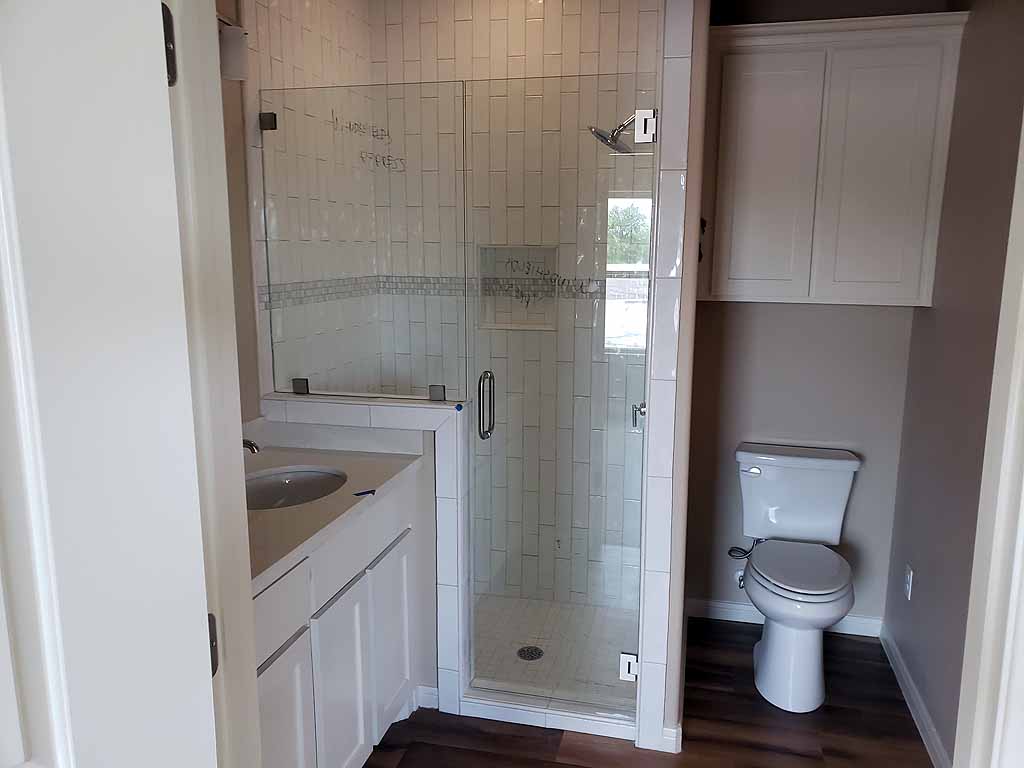 |
The shower glass door in the Master Bath was installed. | |
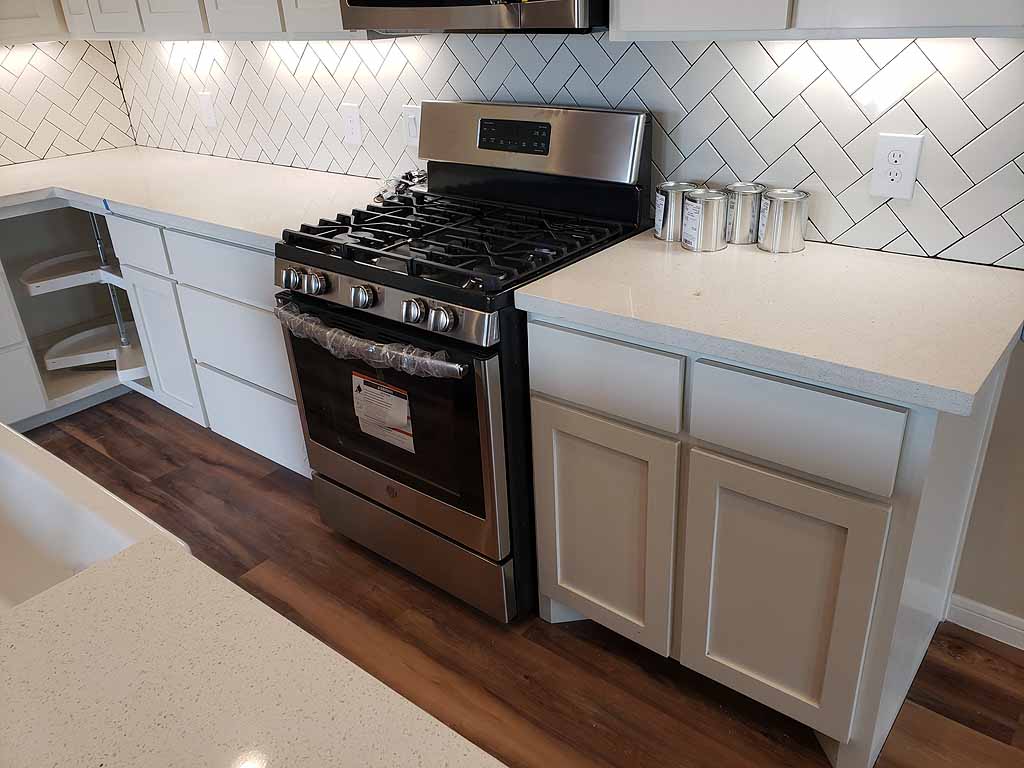
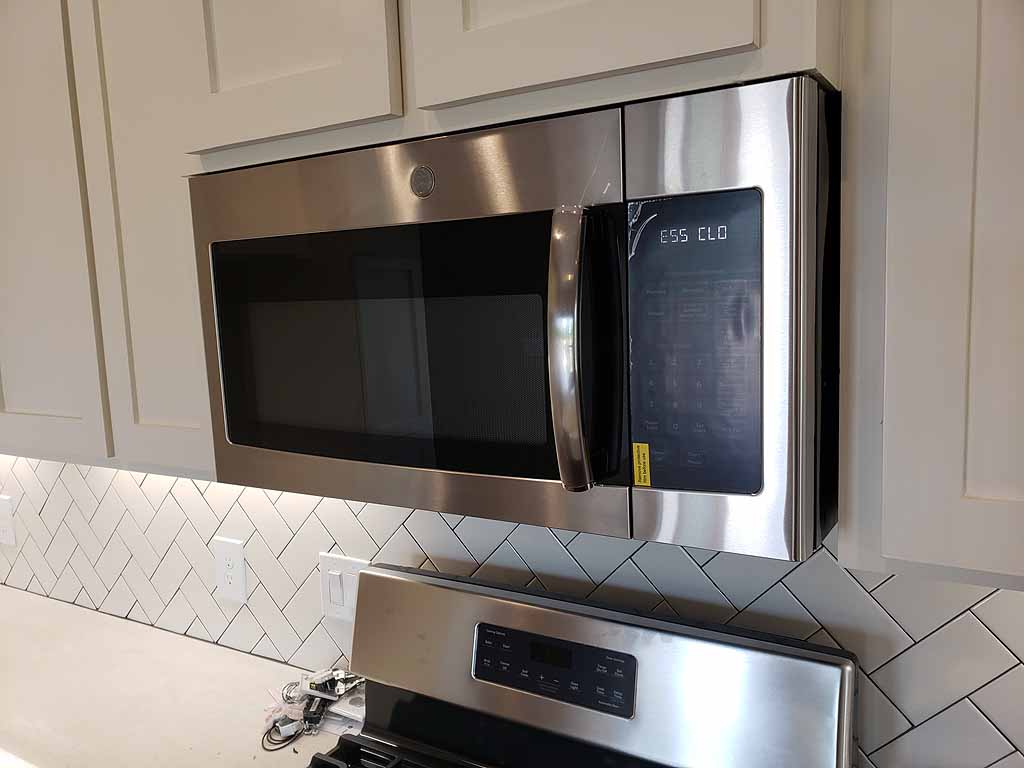
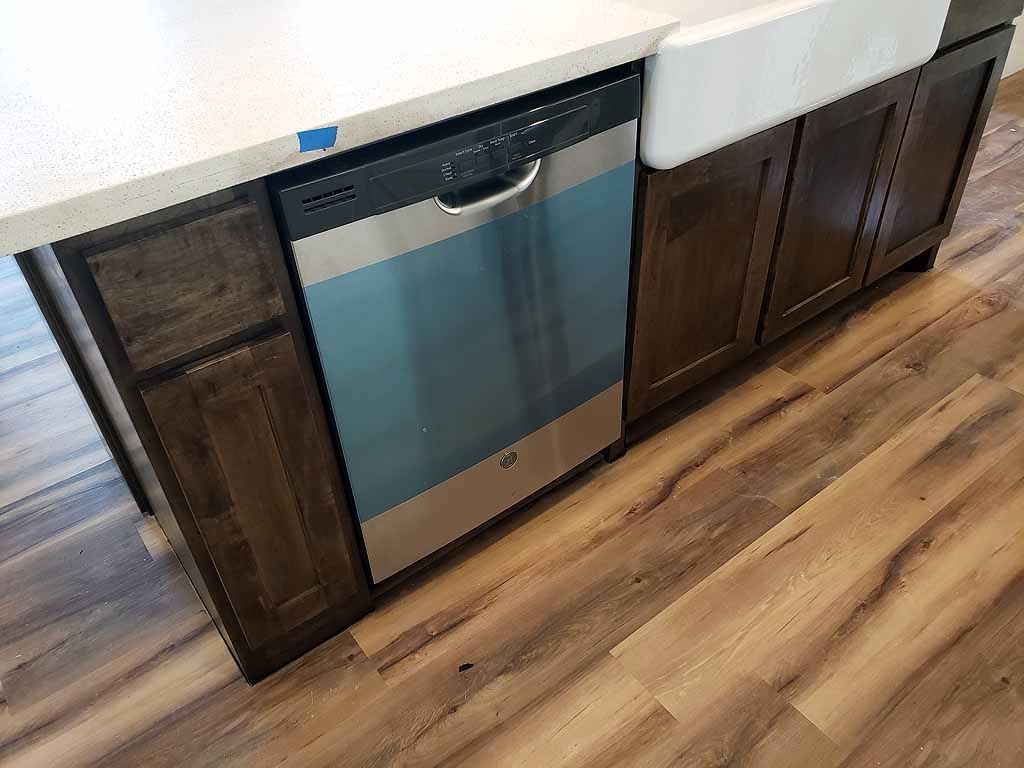
The included appliances, gas range, microwave vent hood, and dish washer were installed today. |
||
 |
 |
 |
click on images to enlarge |
click on images to enlarge |
click on images to enlarge |
 |
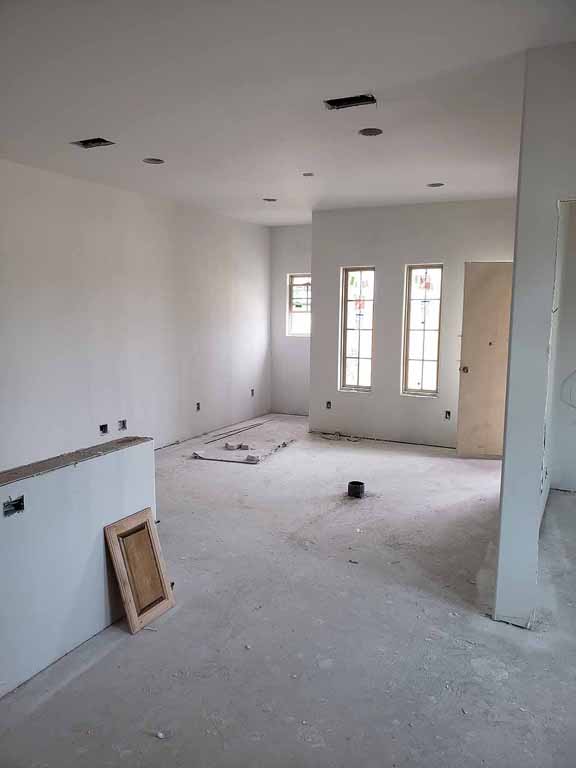
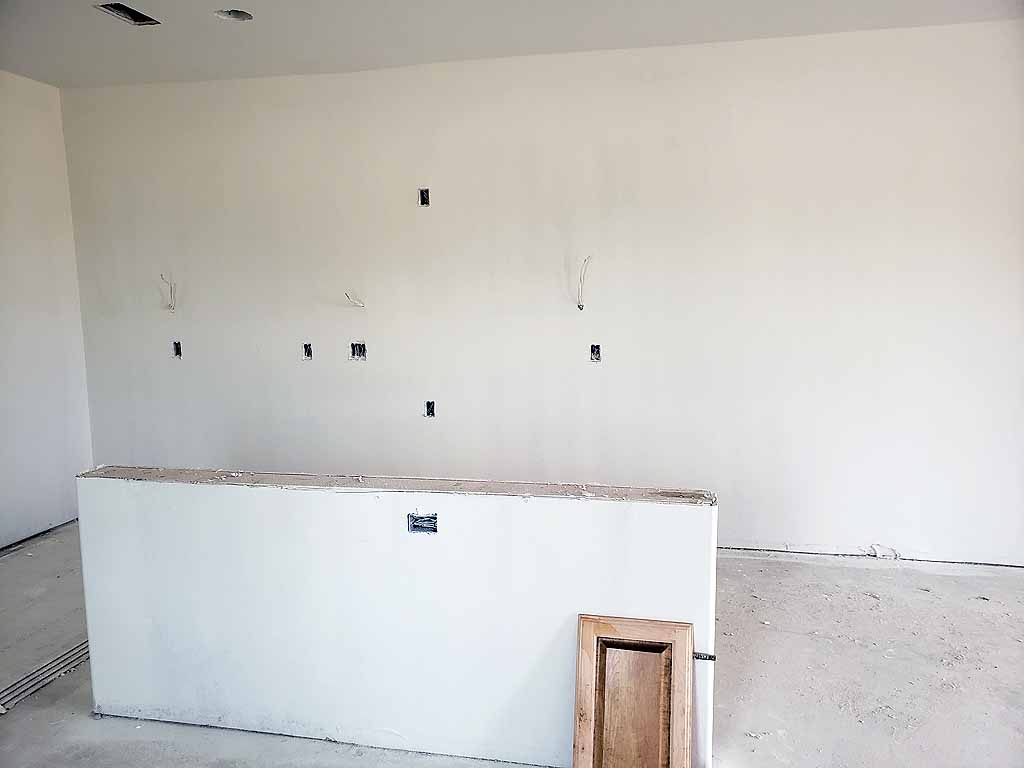
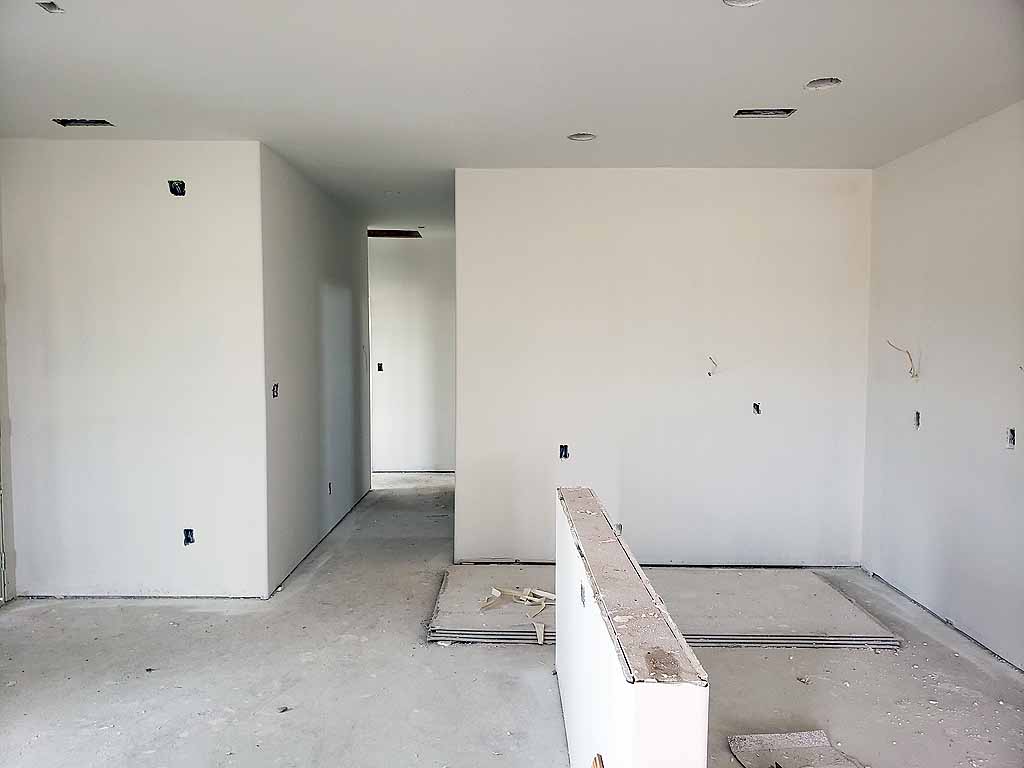
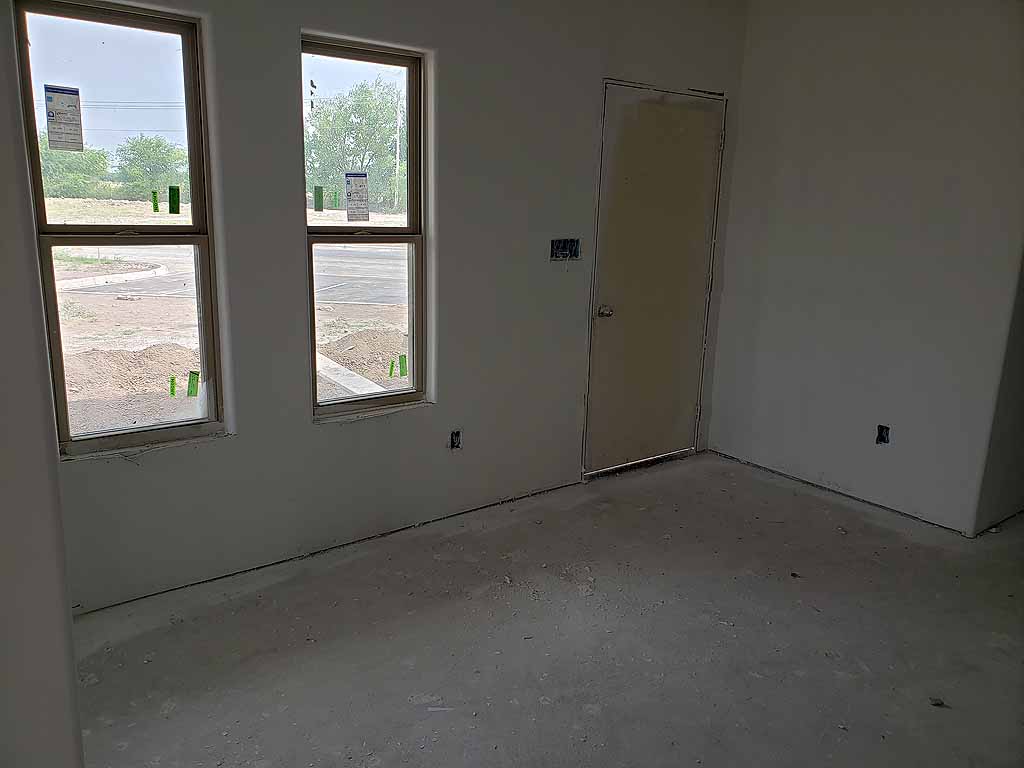
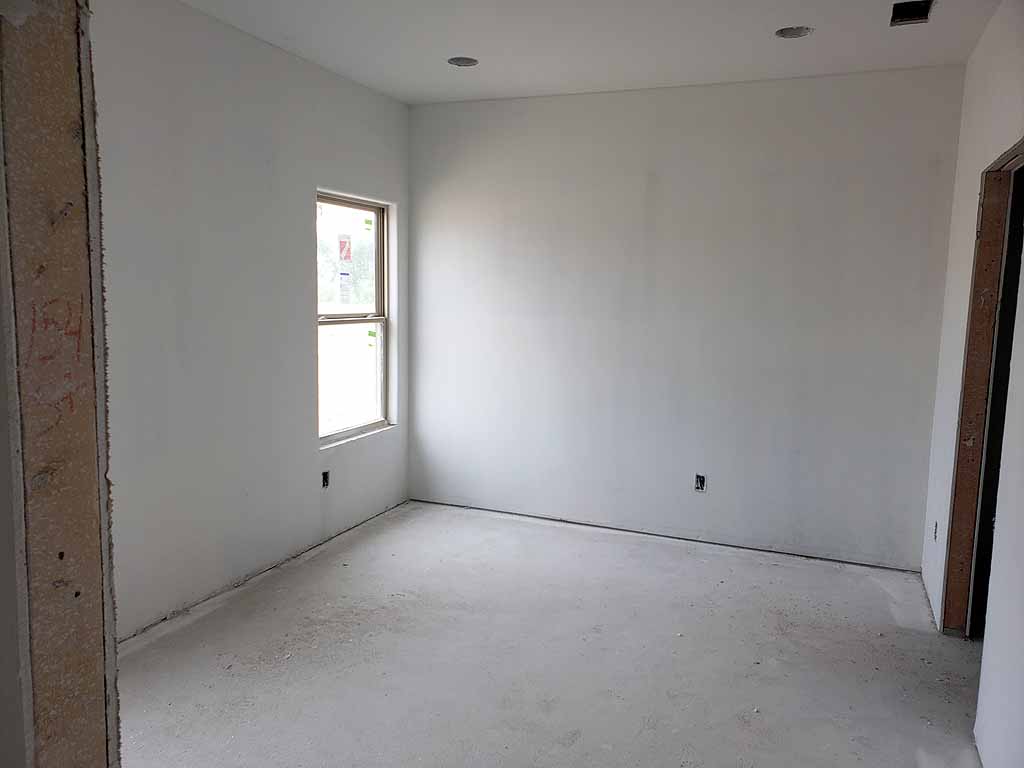
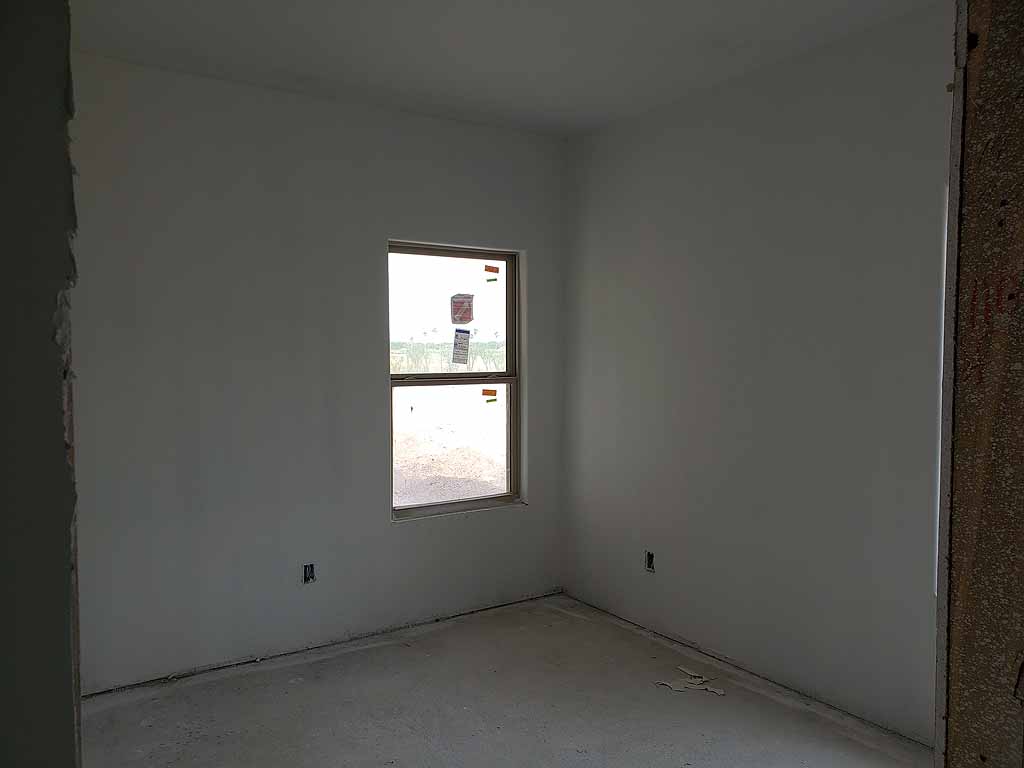
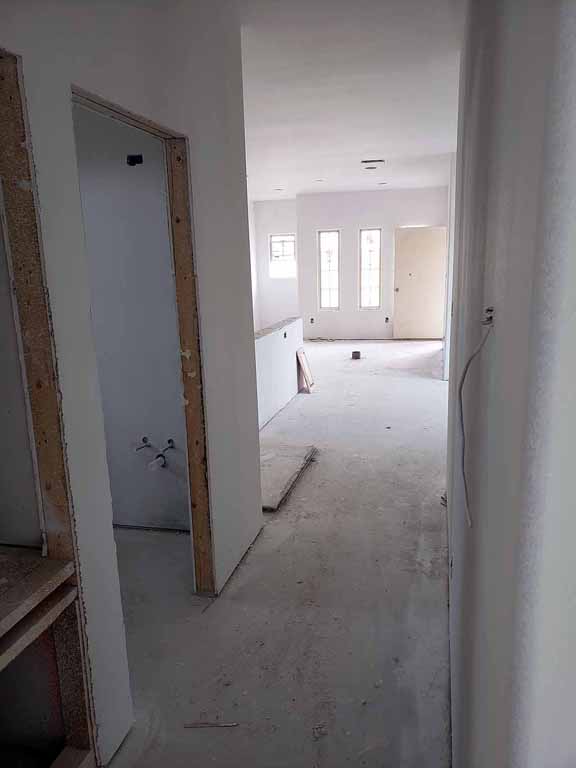
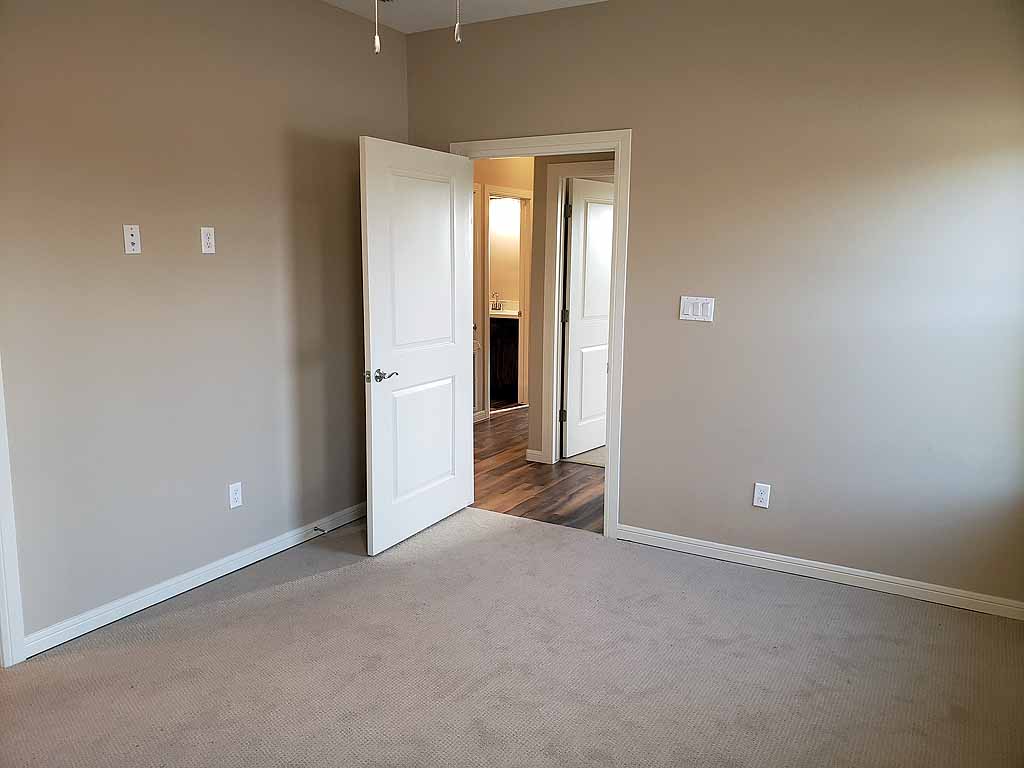
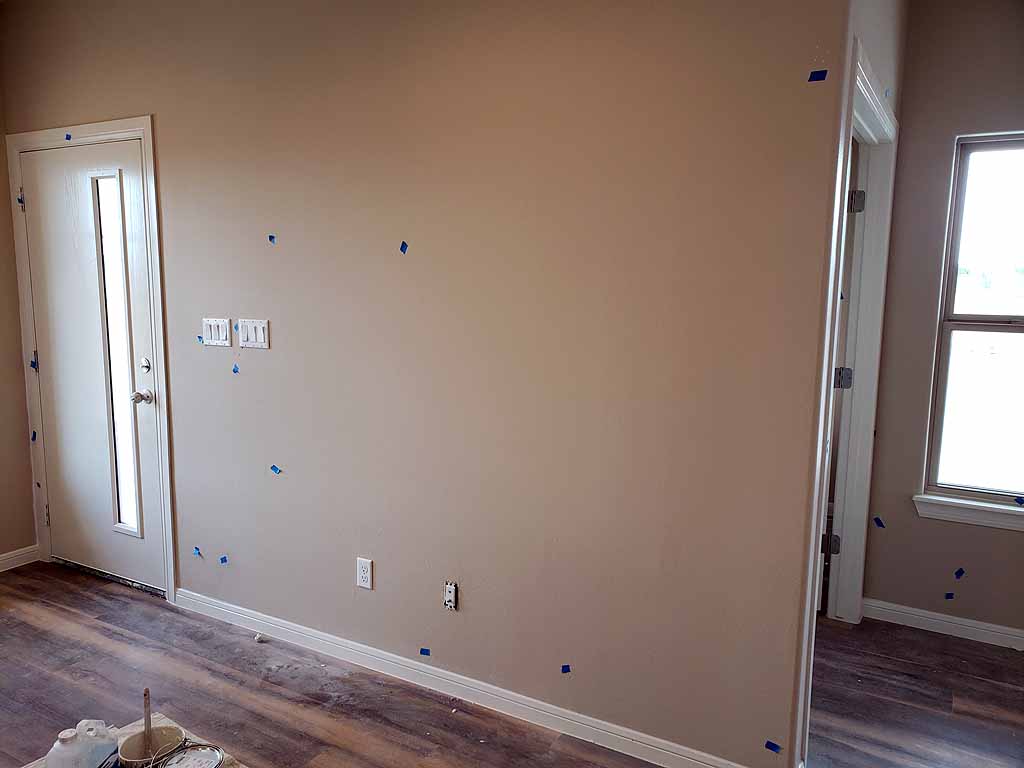
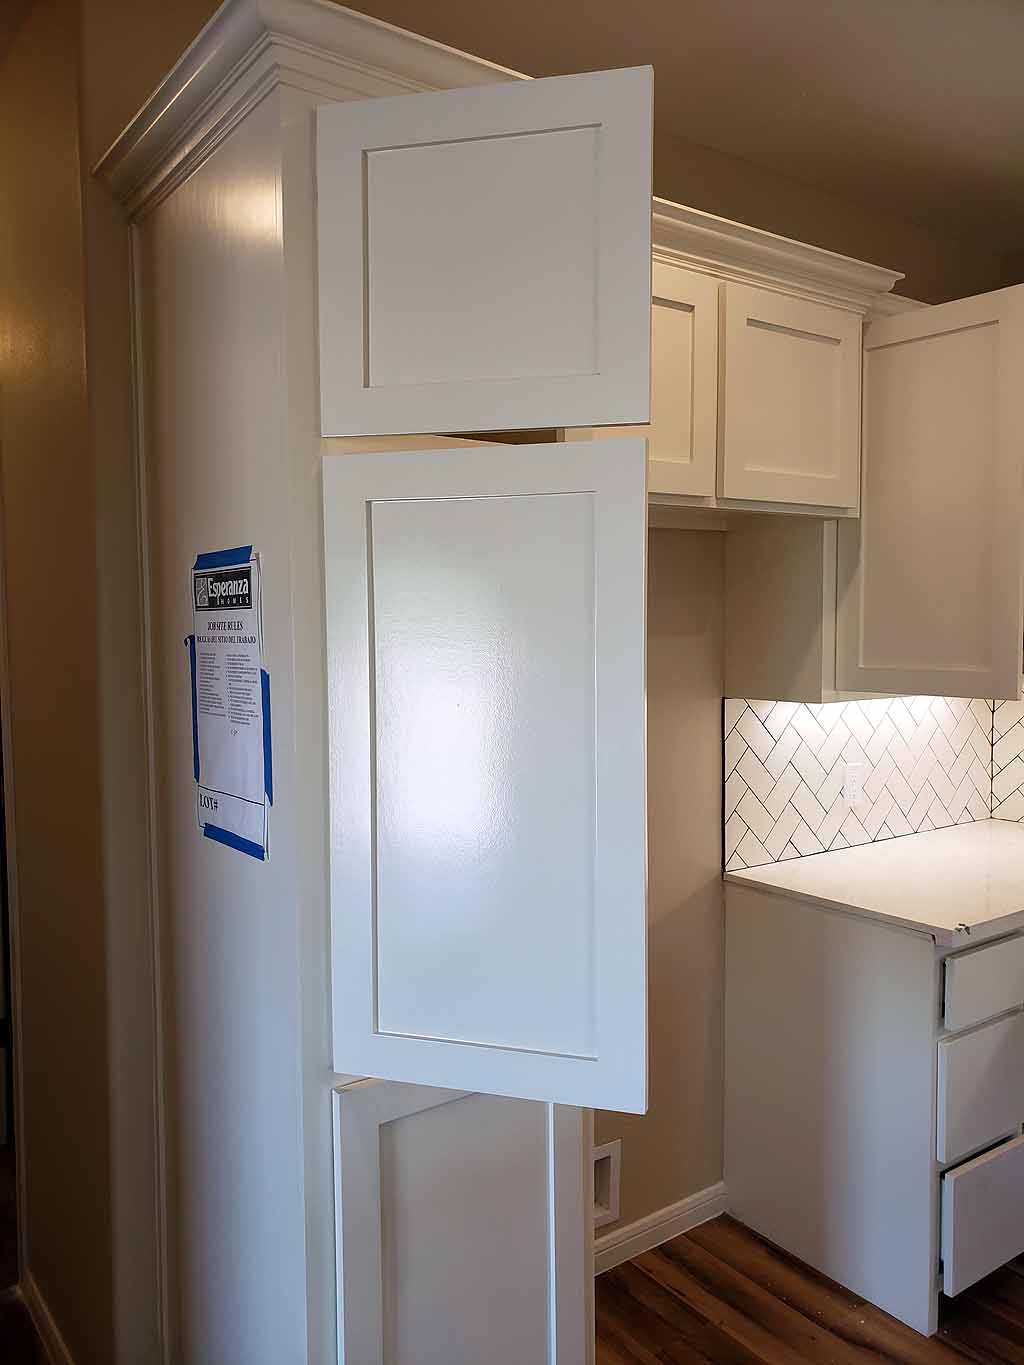
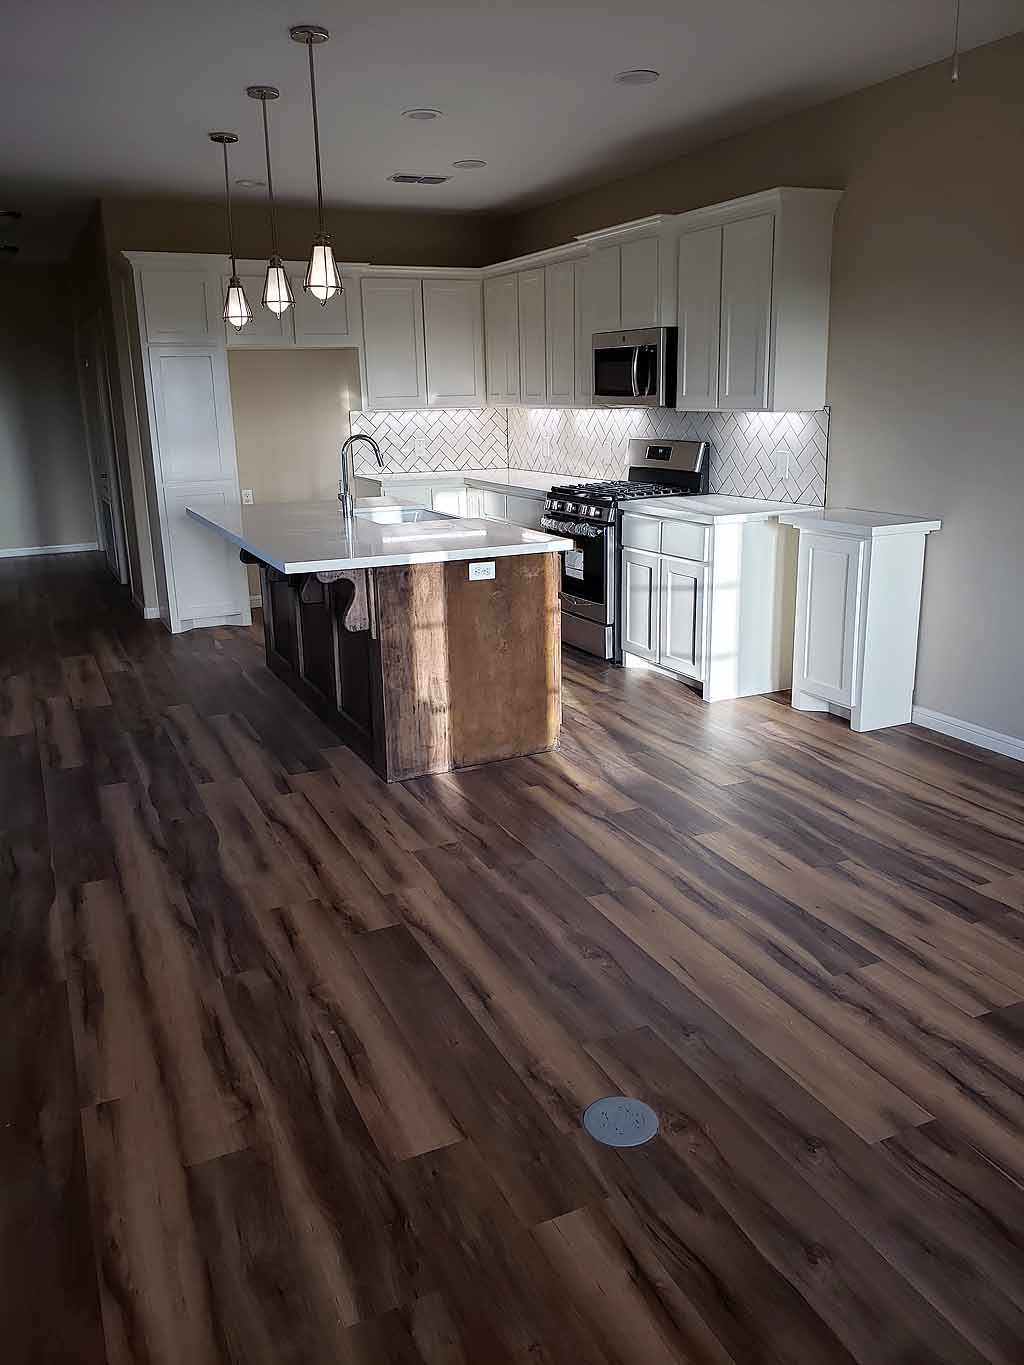
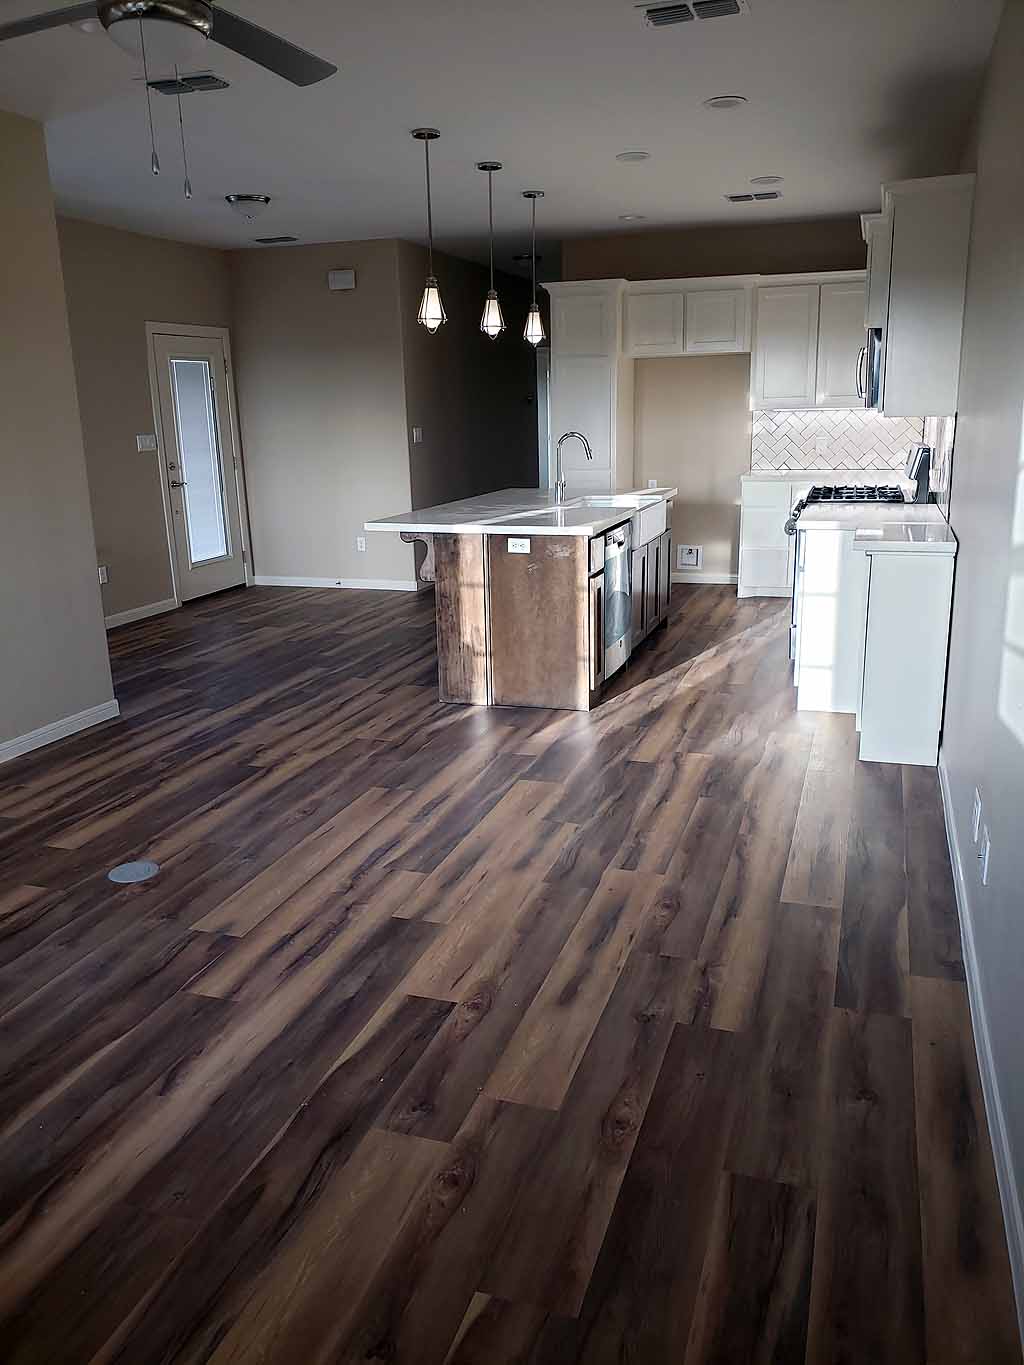
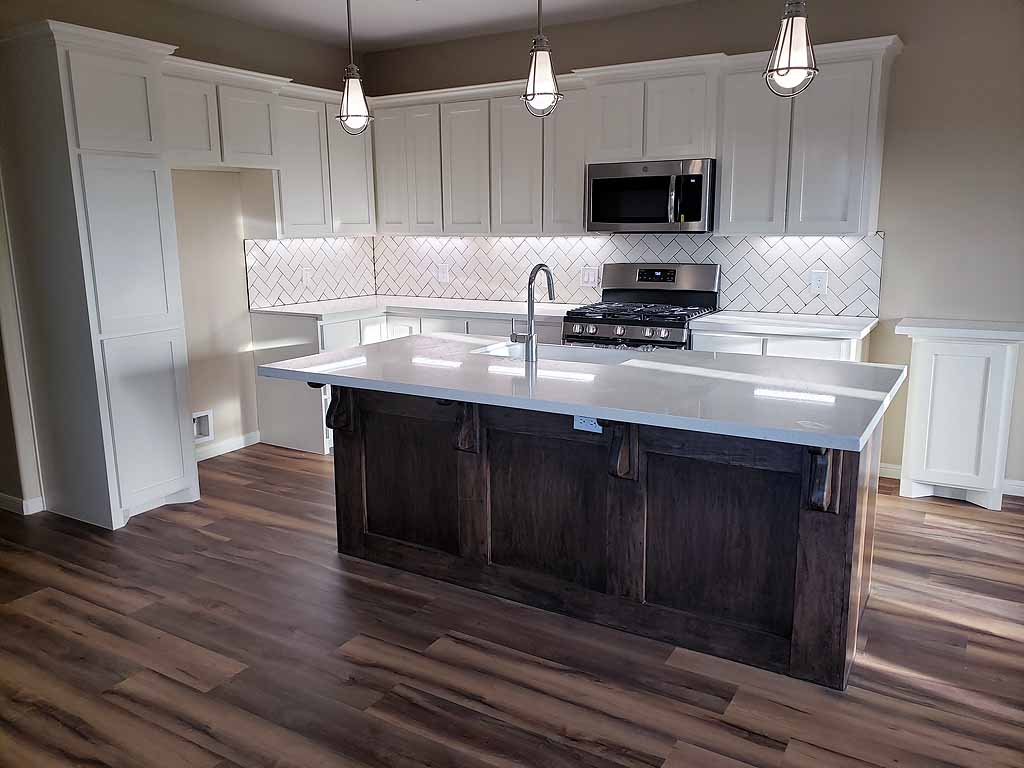
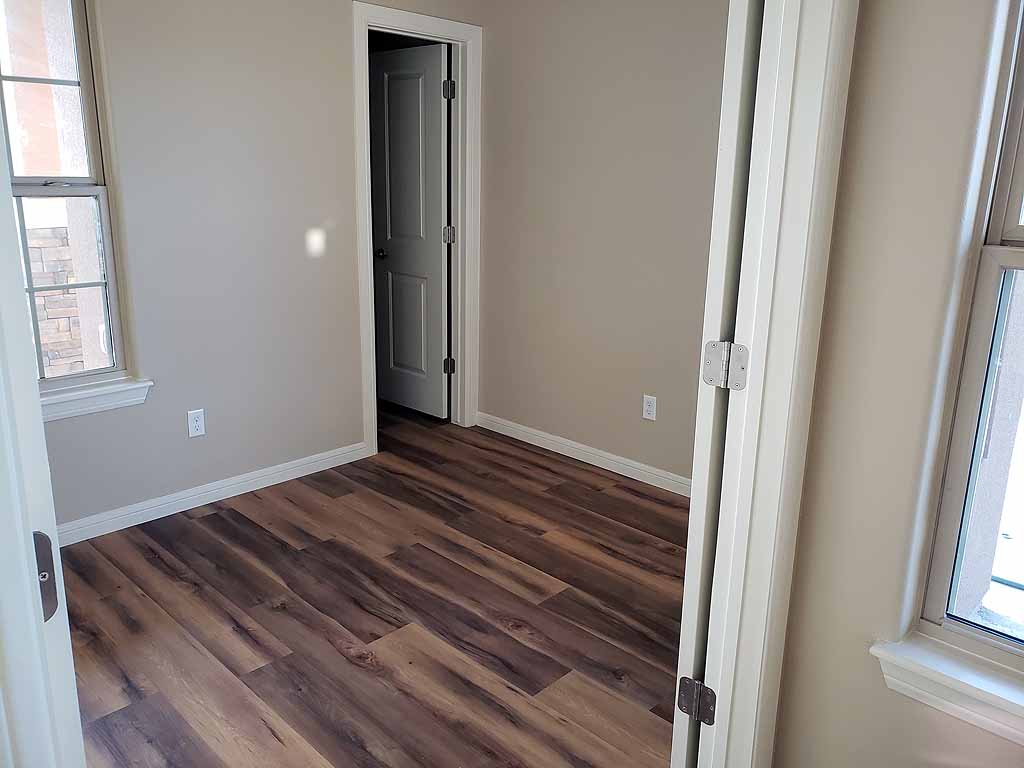
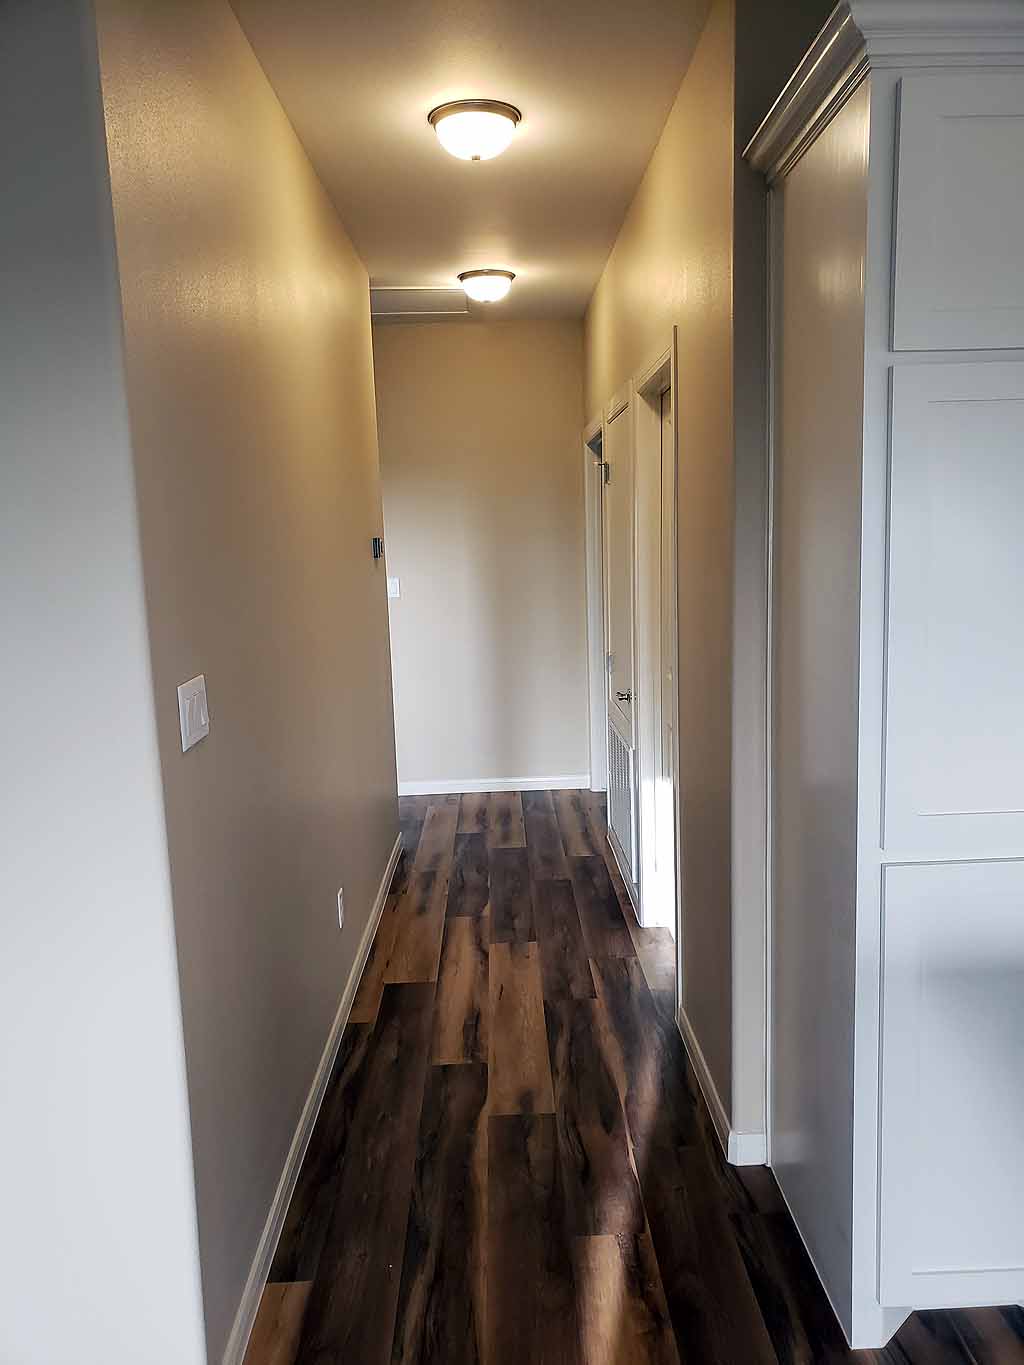
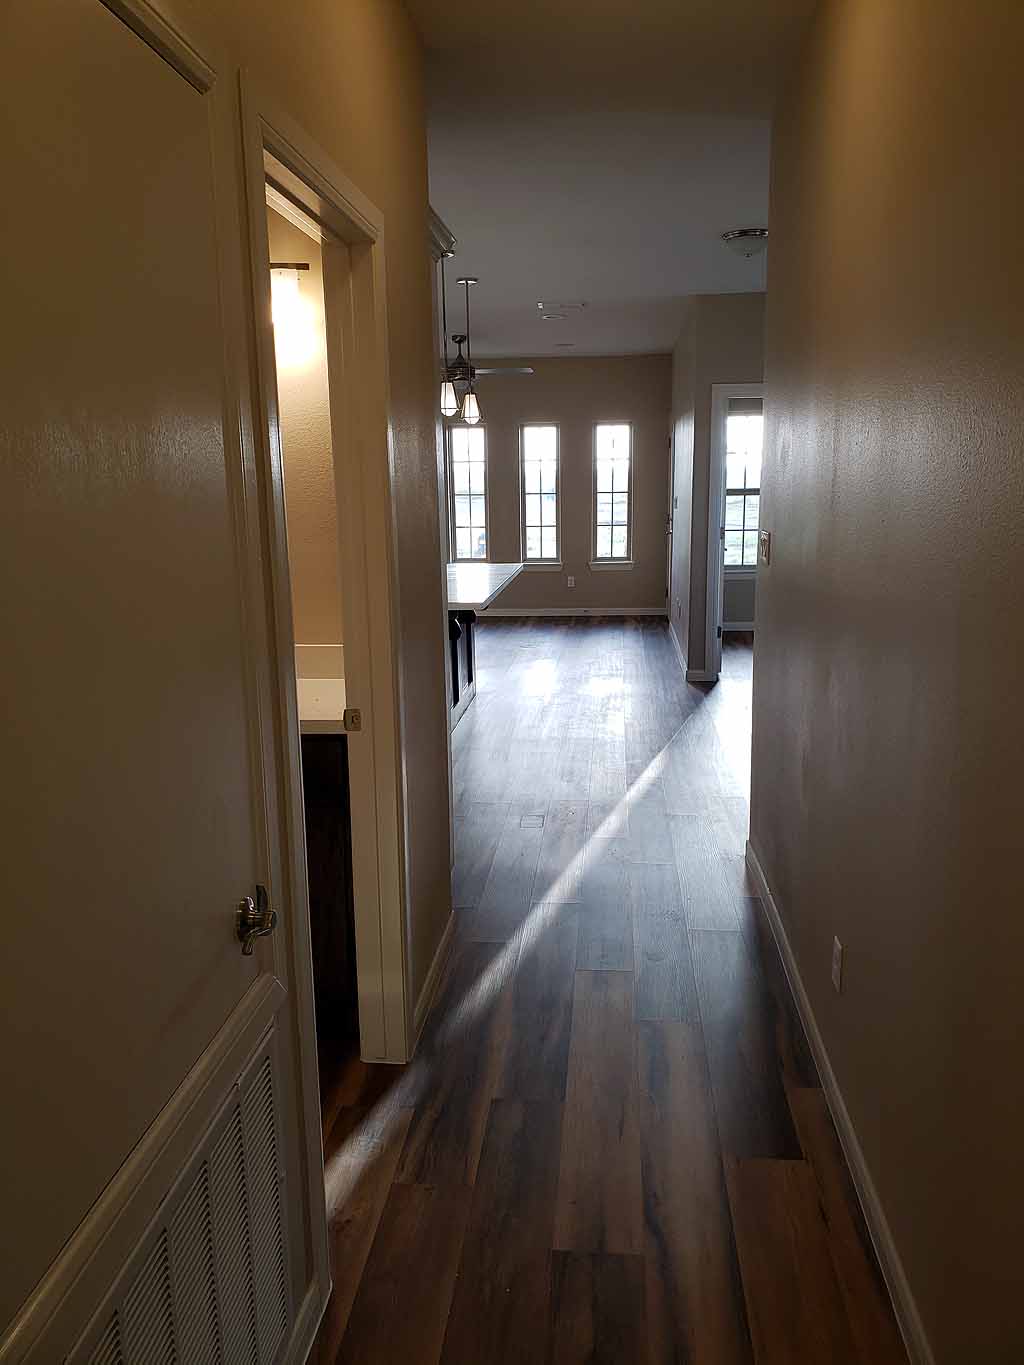
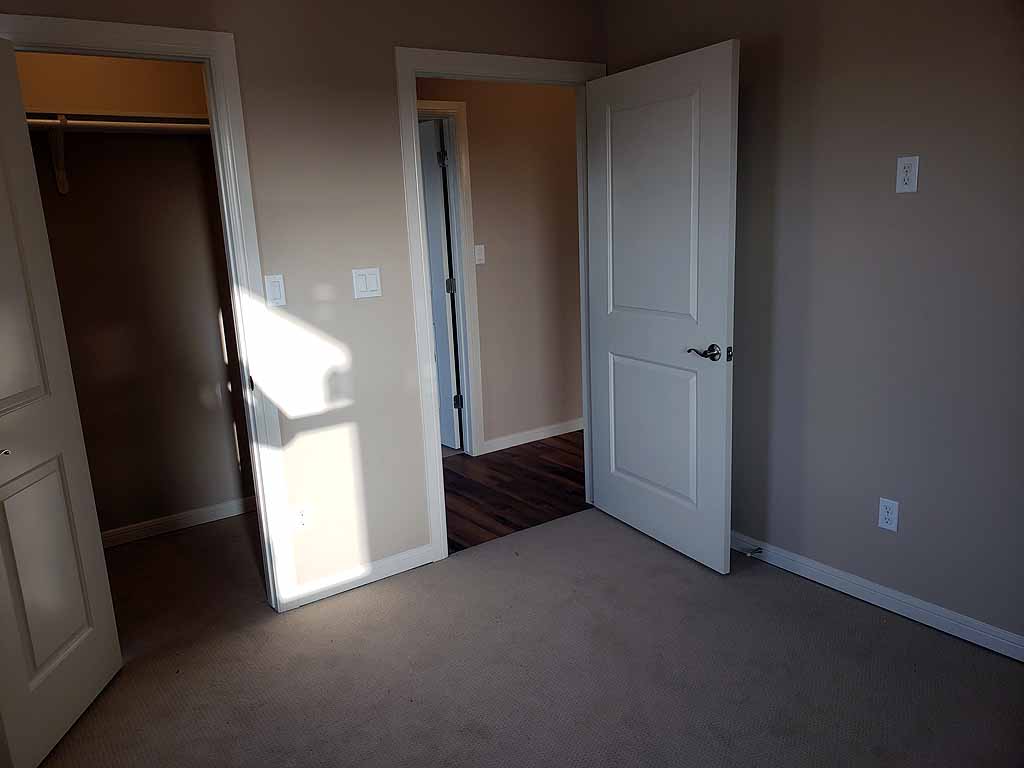
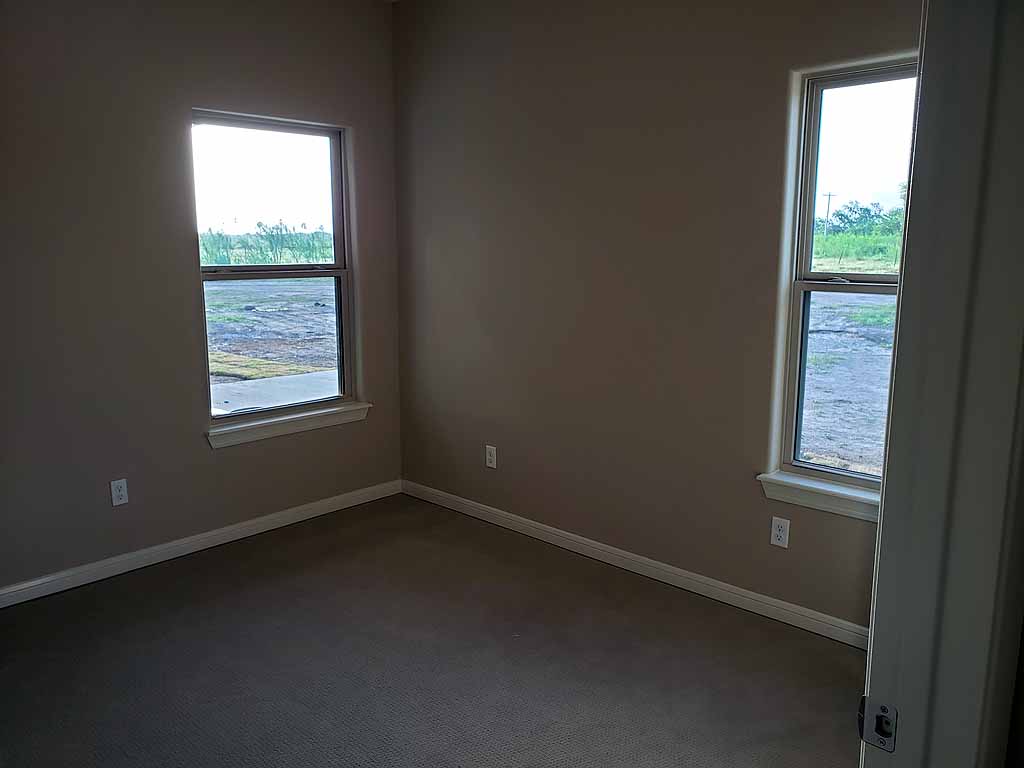
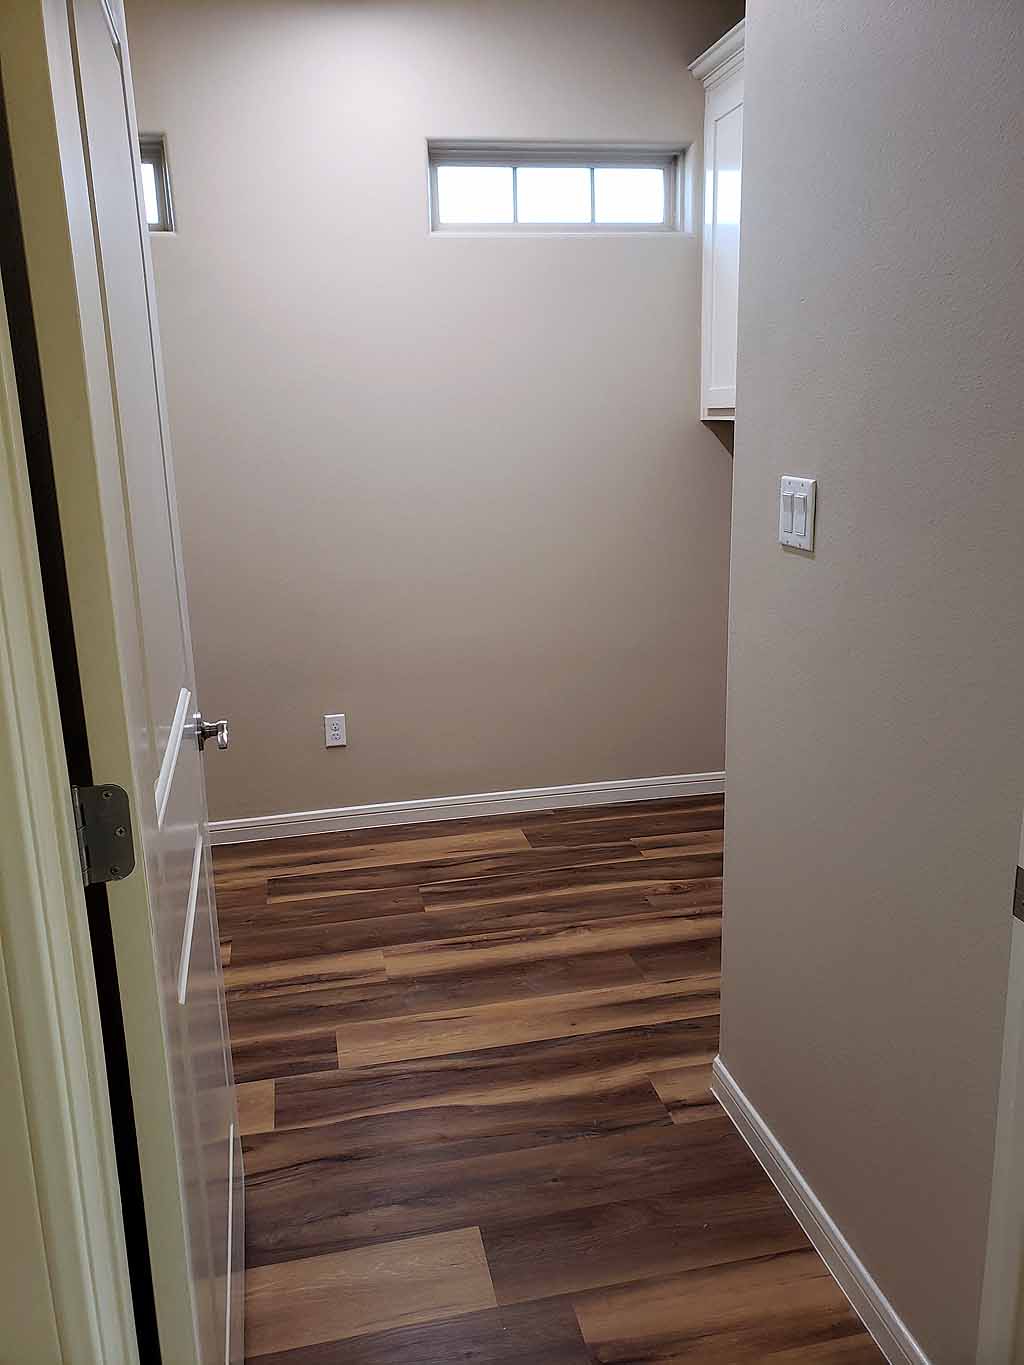
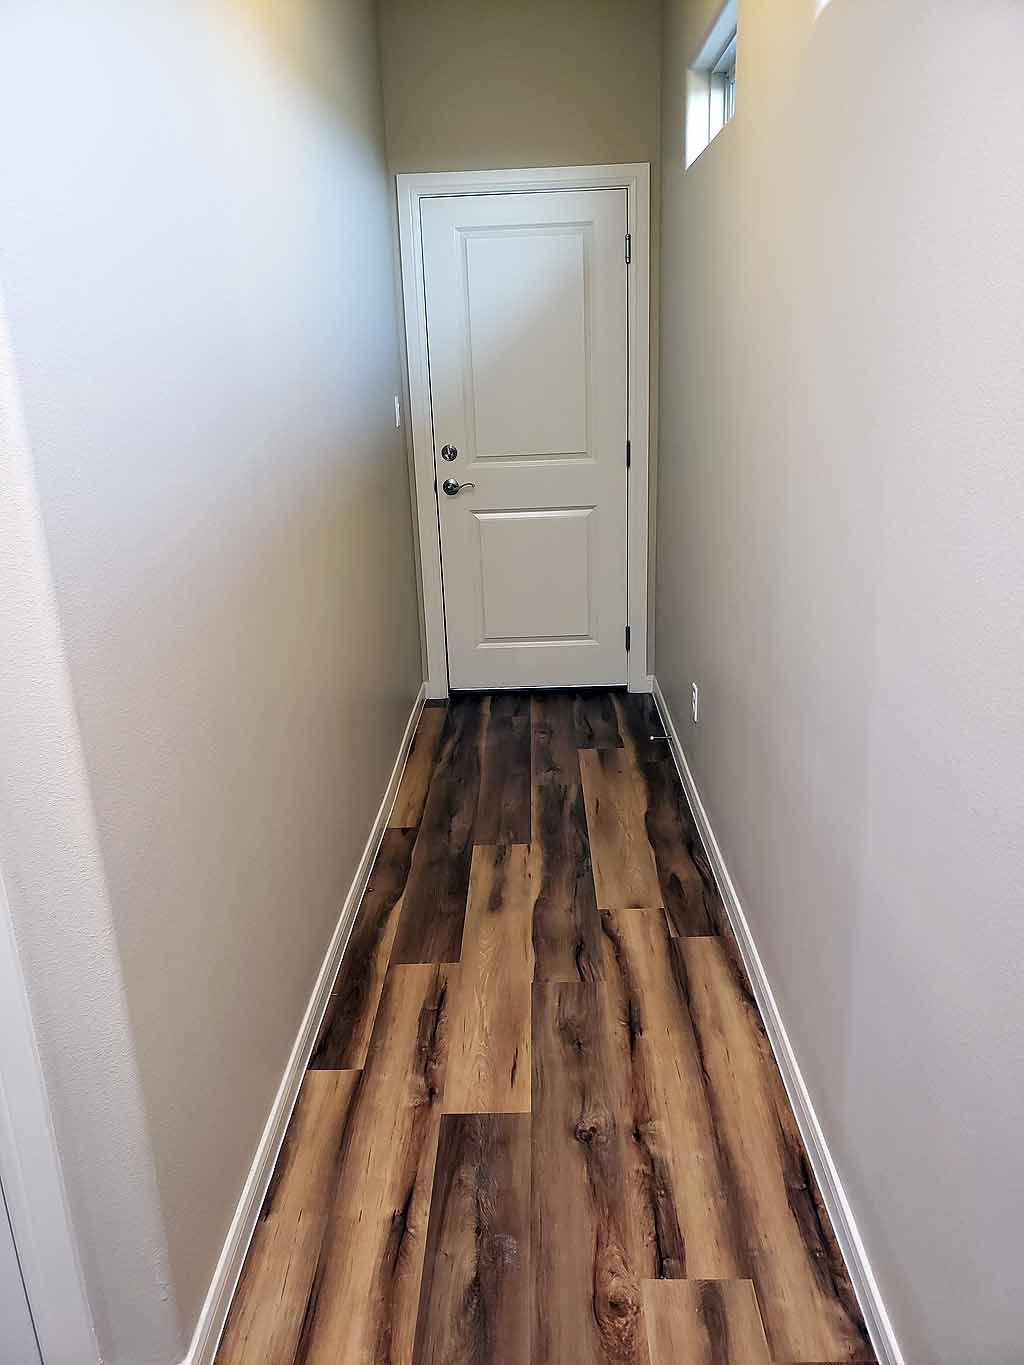
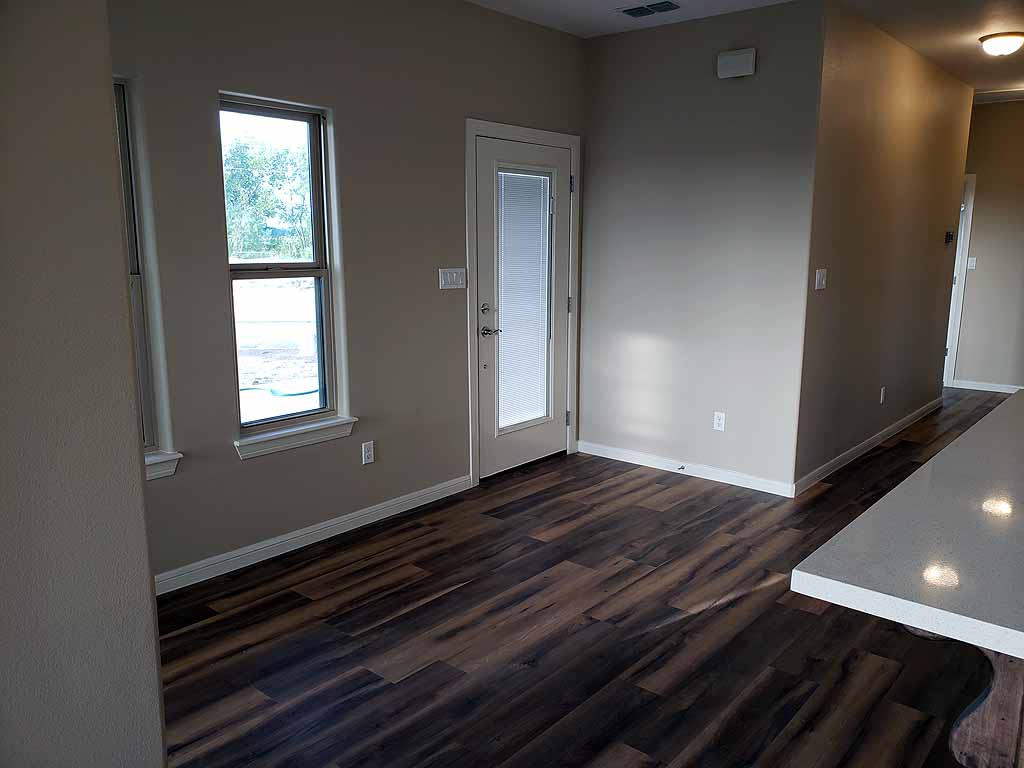
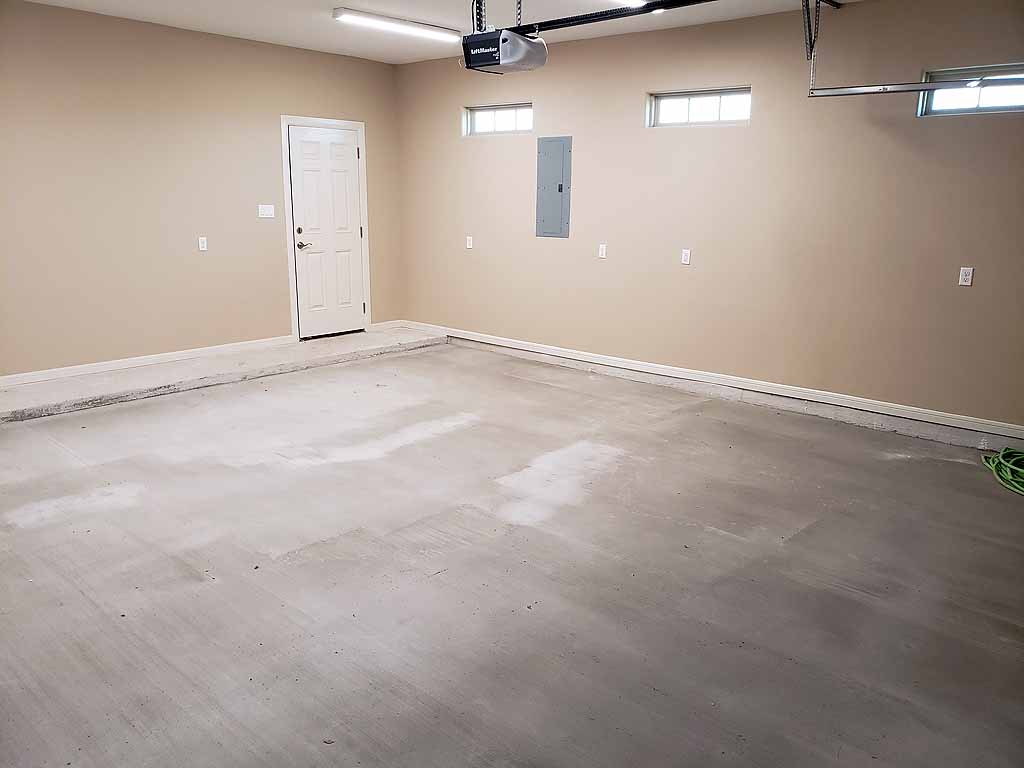
7/5/19 We are almost done. Here is a bunch of photos from the walk-thru.. |
 |
 |
 |
 |
click on images to enlarge |
click on images to enlarge |
click on images to enlarge |
 |
 |
 |
 |
 |
 |
click on images to enlarge |
click on images to enlarge |
click on images to enlarge |
 |
 |
 |
 |
 |
 |
click on images to enlarge |
click on images to enlarge |
click on images to enlarge |
 |
 |
 |
 |
 |
 |
click on images to enlarge |
click on images to enlarge |
click on images to enlarge |
 |
 |
 |
 |
 |
 |
click on images to enlarge |
click on images to enlarge |
click on images to enlarge |
 |
 |
 |
click on images to enlarge |
click on images to enlarge |
click on images to enlarge |
Disclaimer: The information in this site is a collection of data we derived from the vendors and from our personal experiences. This information is meant as a learning guide for you to make your own decisions Best practices and code should always be followed. The recommendations we make are from our personal experiences and we do not receive any compensation for those recommendations. |