
Please wait, I'm coming over...

Last Changed 11/14/2010 |
||
|
Our Winegard AS-2003 had stopped working because a problem with new
satellites in space and a hard-wired control board that could not be
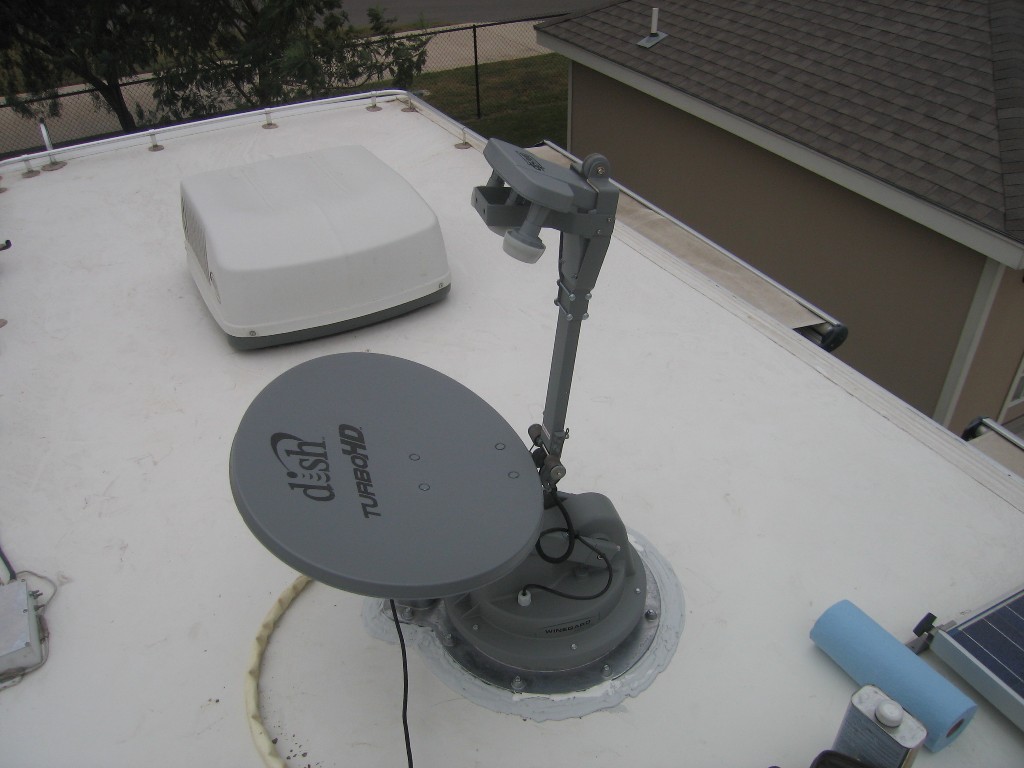
updated. We took advantage a program Winegard offered to buy the new style Trav'ler SK-1000 automatic roof dish. This SK-1000 is a triple headed dish so the disadvantage of the single headed AS-2003 only being able to look at one satellite at a time is eliminated. The design of the Trav'ler SK-1000 also shows that Winegard designed future upgradeability/changes so problems like the new satellite can be resolved with a complete system replacement. |
||
 |
The first thing was to remove the old AS-2003 dish. Nothing special, just scrap the old caulk away to access the screw heads, remove the screws, and disconnect the cables. | |
 |
We then cleaned the area to remove old caulk. Then we filled in the old holes with caulk. The new dish will cover the old holes but we wanted to make sure the holes could not be a source of leakage. |
 |
click on images to enlarge |
click on images to enlarge |
|
 |
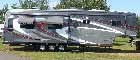
This is the new SK-1000 dish. We started to prepare to lift it up to the roof. We wire tied the cable to the arms and then added some rope at the center of the dish to create a handle. | |
 |
We used Mark Shelly's ladder and Mark S. carried the dish up to the top
of the ladder. Mark B. grabbed the dish from the roof. You can see the rope used as a handle as it was being removed. |
 |
click on images to enlarge |
click on images to enlarge |
|
 |
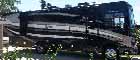
We ran a double bead of caulk under the edge of the new dish and then screwed in down. We then caulked the heads of the screws
and the edge of the dish plate. We then went back and filled
is with caulk between the screw heads to eliminate places for water
to puddle. We made the decision to use the existing coax and control cables with the new dish. The existing control cable had 9 wires and the new cable has only 6. The wire colors in the new cable were all present in the old signal cable which made for an easy connection later. |
|
 |
The original cables were long as they had to move with the AS-20003 dish as it rotated around. The new dish handles cable rotation internally so the existing cables had to be shortened.. We started with the coax cables, cutting them and installing new compression ends. |
|
click on images to enlarge |
||
 |
We temporarily connected the control box with the new control cable so we could elevate the dish arm. With the arm elevated, we could attach the reflector. We could also caulk the base edge under the arm. |
|
 |
This is the control box temporarily connected with the new control cable. We used an extension cord to get AC voltage up on the roof for the temporary install. |
|
click on images to enlarge |
||
 |
We ran the dish up and let is lock in on the satellites and checked
with the TV before cutting the control cable. Testing before cutting the control cable and splicing makes trouble-shooting easier. |
|
 |
Then we stowed the dish before continuing with the rest of the cabling. We cut the new control cable and spliced to the existing control cable. we use Rescue Tape to seal the splices as we have found it to be superior to electrical tape. |
 |
click on images to enlarge |
click on images to enlarge |
|
 |
This was the original control panel. Travel Supreme built
this box to hold the control panel and mounted it inside a rear
overhead cabinet. We had hoped to reused the box to hold the power brick that came with the new controller module but it was too small.. |
 |
 |
We use wire-ties and clips to mount the power brick for the controller where the old control
panel box was mounted. We spliced the other end of the new control cable to the existing control cable. We used wood blocks and Velcro tape to secure the controller and to elevate it a bit to make it easier to see in the overhead cabinet. |
|
click on images to enlarge |
||
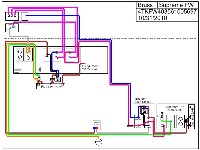 |
Since the Winegard SK-1000 uses a standard Dish Pro triple LNBF
head, we can now use Dish separators to use one cable to feed both
inputs to each of our DVRs. We could not do this with the old
AS-2003 as it used
voltage switching and separators could be used. This simplified the cabling used for our TVs. |
|
 |
When we removed the old AS-2003, we found that the roller on the arm
had worn a grove in the fiberglass roof. We some epoxy
in the grove to seal it. Then we put down a piece of Eternabond Tape where the new roller touches the roof to act as a sacrificial wear point. It is there in the photo, it just blends with the roof. |
 |
Disclaimer: The information in this site is a collection of data we derived from the vendors and from our personal experiences. This information is meant as a learning guide for you to make your own decisions Best practices and code should always be followed. The recommendations we make are from our personal experiences and we do not receive any compensation for those recommendations. |