
Please wait, I'm coming over...

Last Changed 12/10/2009 |
||
|
We are working on the insulation of the Coach House to get ready for the sheetrock. |
||
click on images to enlarge |
||
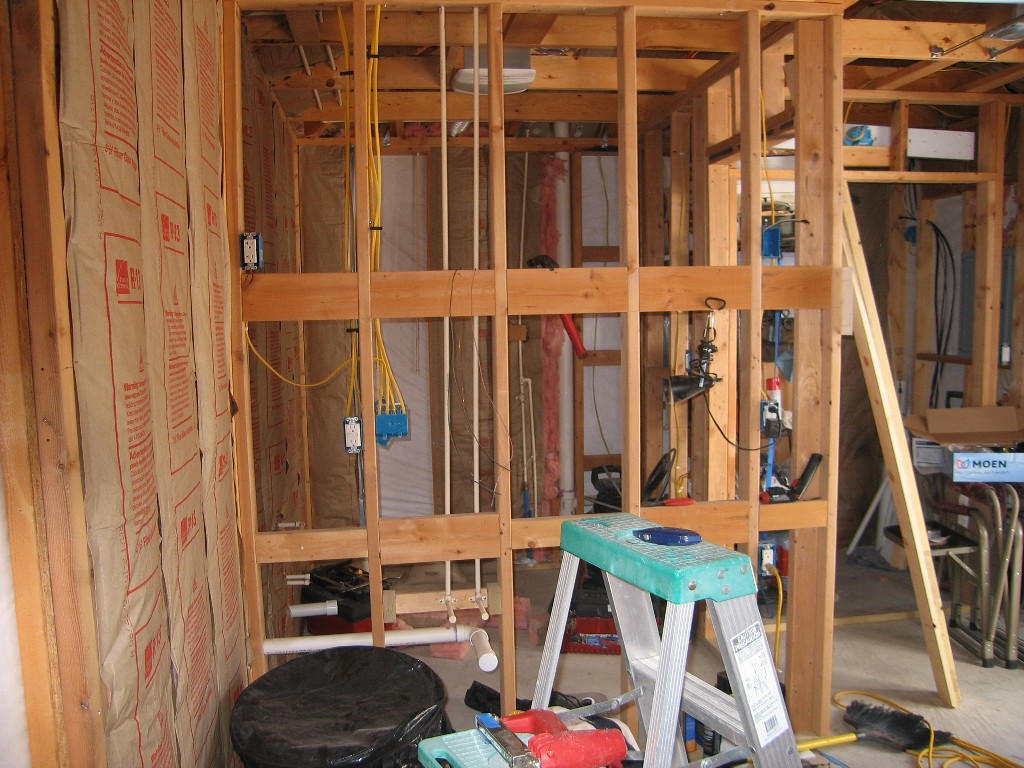 |
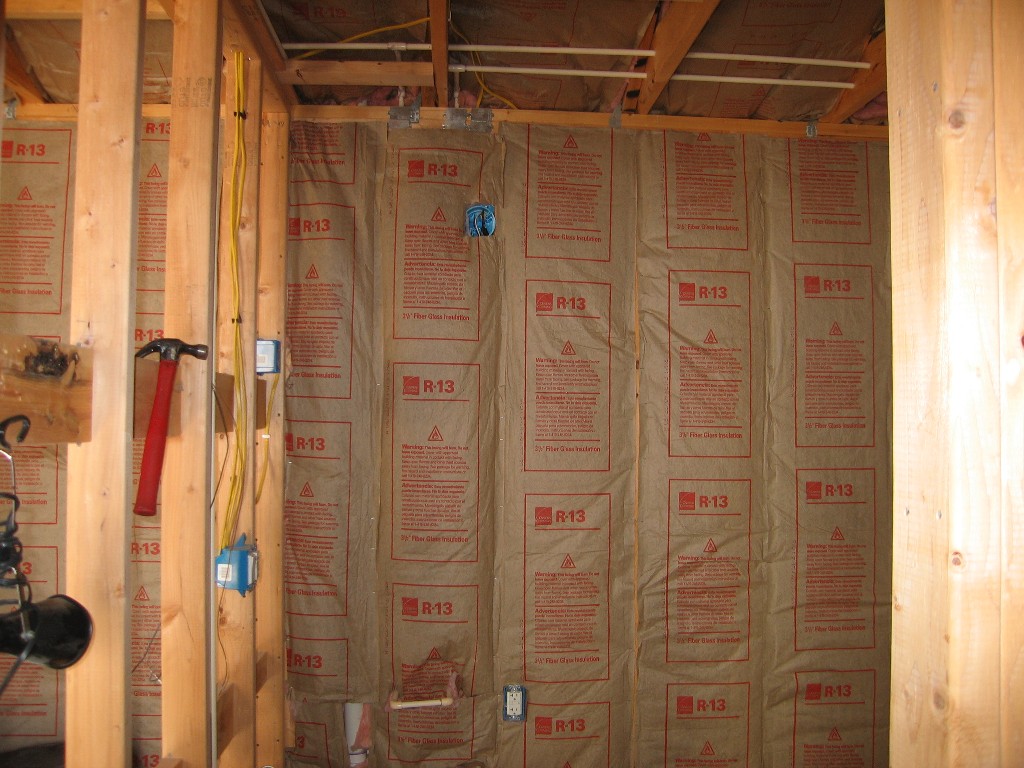
The bathroom wall. | |
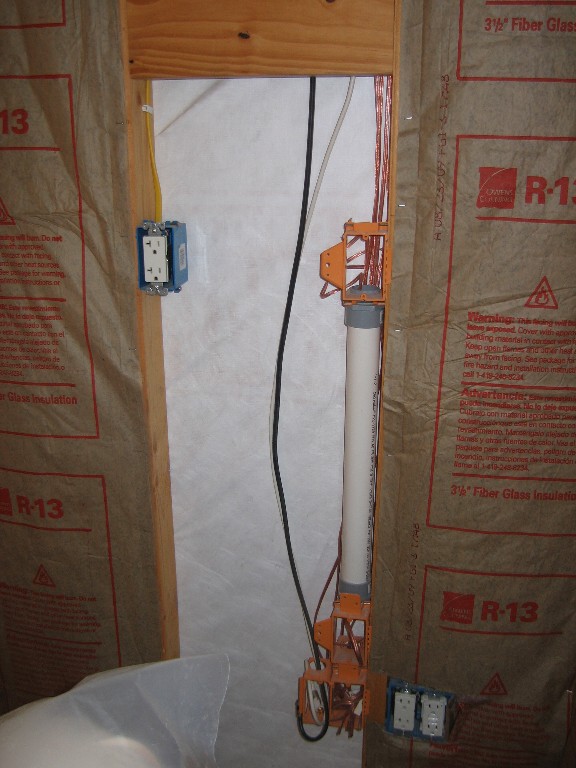 |
We put this pipe in the wall to run the cables for the LCD TV that will be mounted on the wall from the cabinet below. Just a little neater than normal. | |
click on images to enlarge |
||
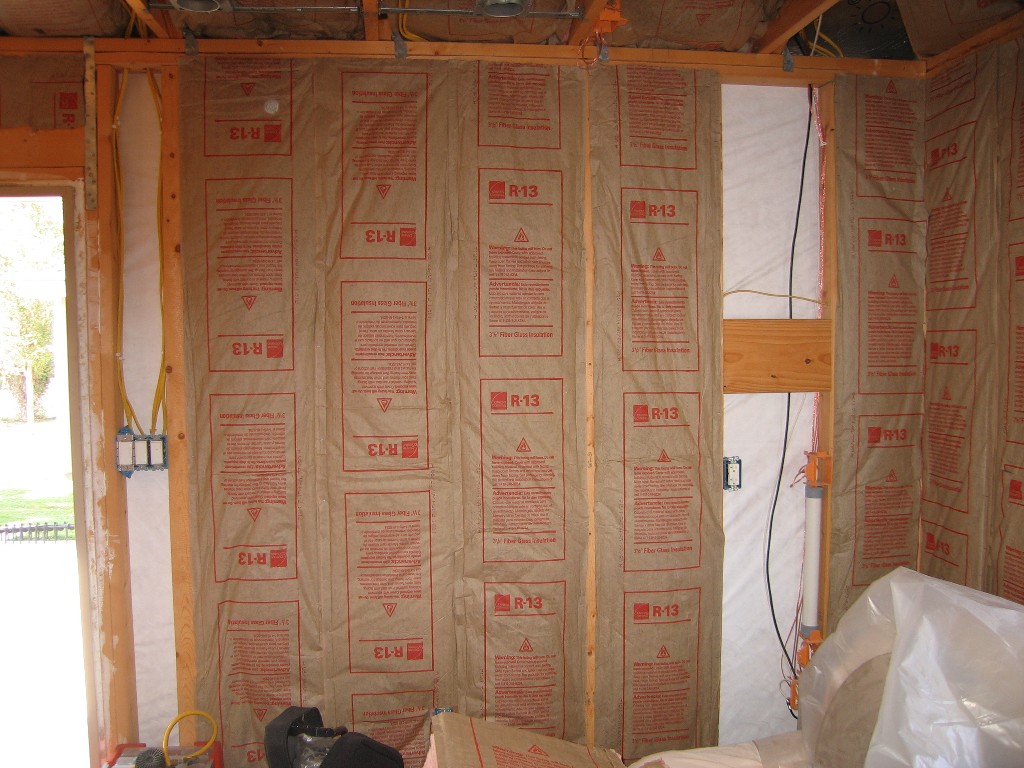 |
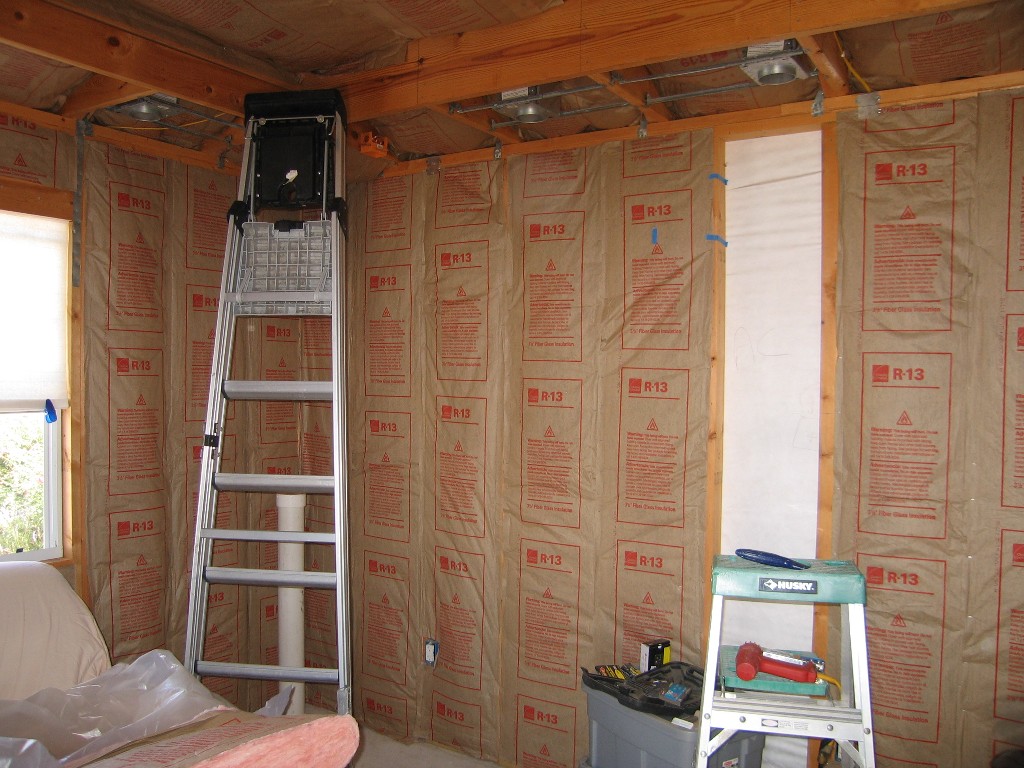
Insulation being installed. | |
 |
||
click on images to enlarge |
||
 |
||
click on images to enlarge |
||
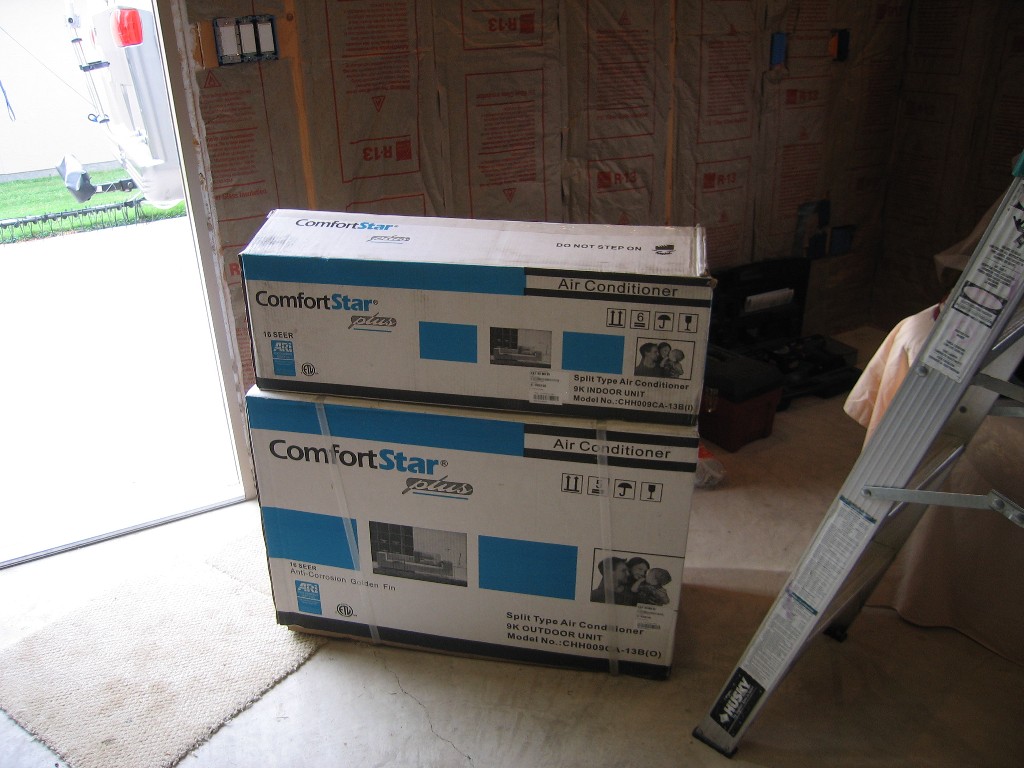 |
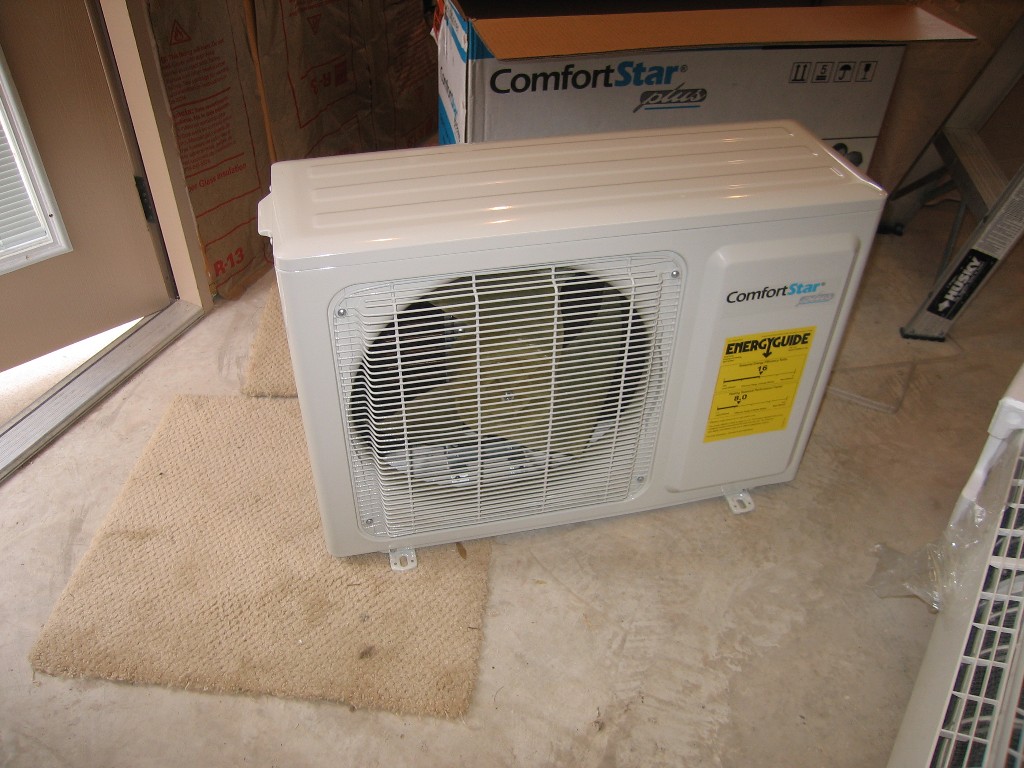
Many of the other coach houses have window air conditioners mounted in the wall. We choose a mini-split style because it
is so much quieter even though the cost is easily twice as much as a typical "quiet" window unit. The mini-split air conditioner arrived. |
|
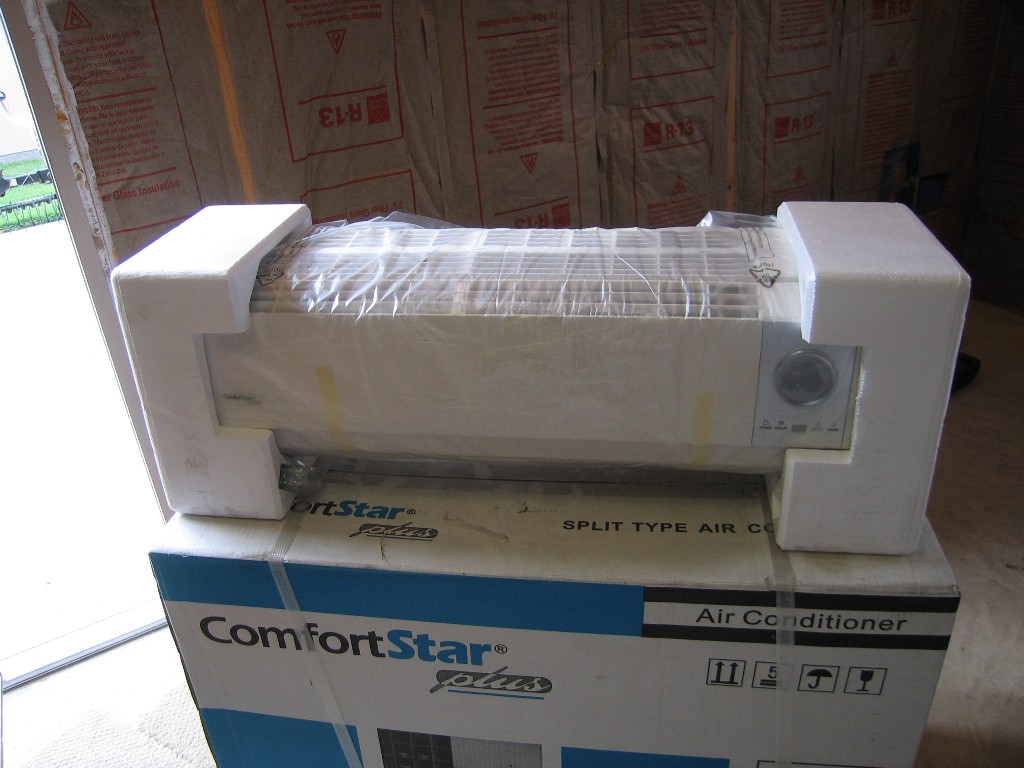 |
They are called mini-splits because there are two parts. They are like small commercial air conditioners you see in office buildings. | |
click on images to enlarge |
||
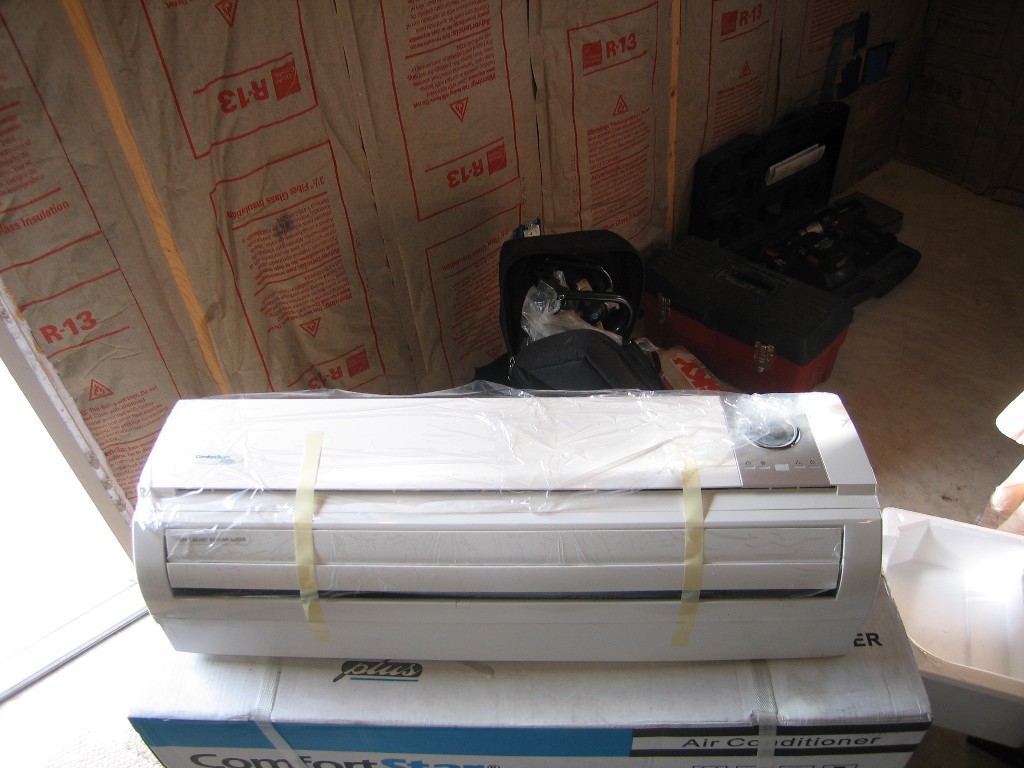 |
This is this interior unit called the condenser. It will be mounted on the wall. | |
 |
This is the compressor unit that will be mounted on concrete pavers in back of the Coach House. This is why mini-splits are quieter. Most of the mechanicals are outside. |
|
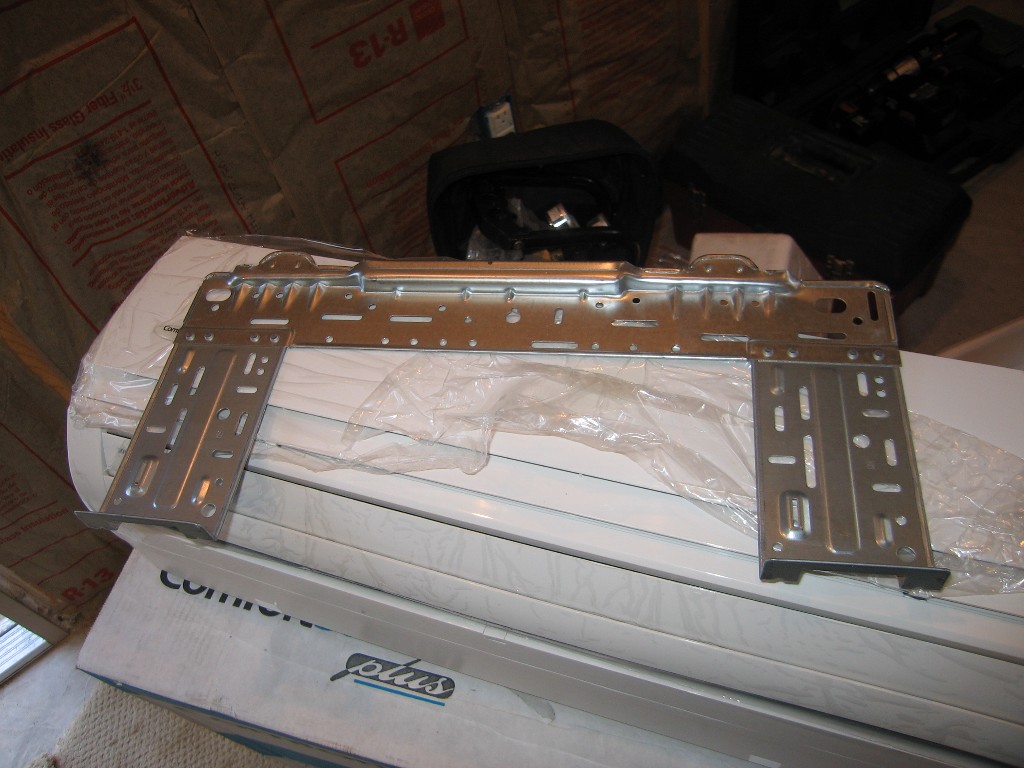 |
This is the bracket that is mounted on the wall. The condenser unit hangs on it. | |
click on images to enlarge |
||
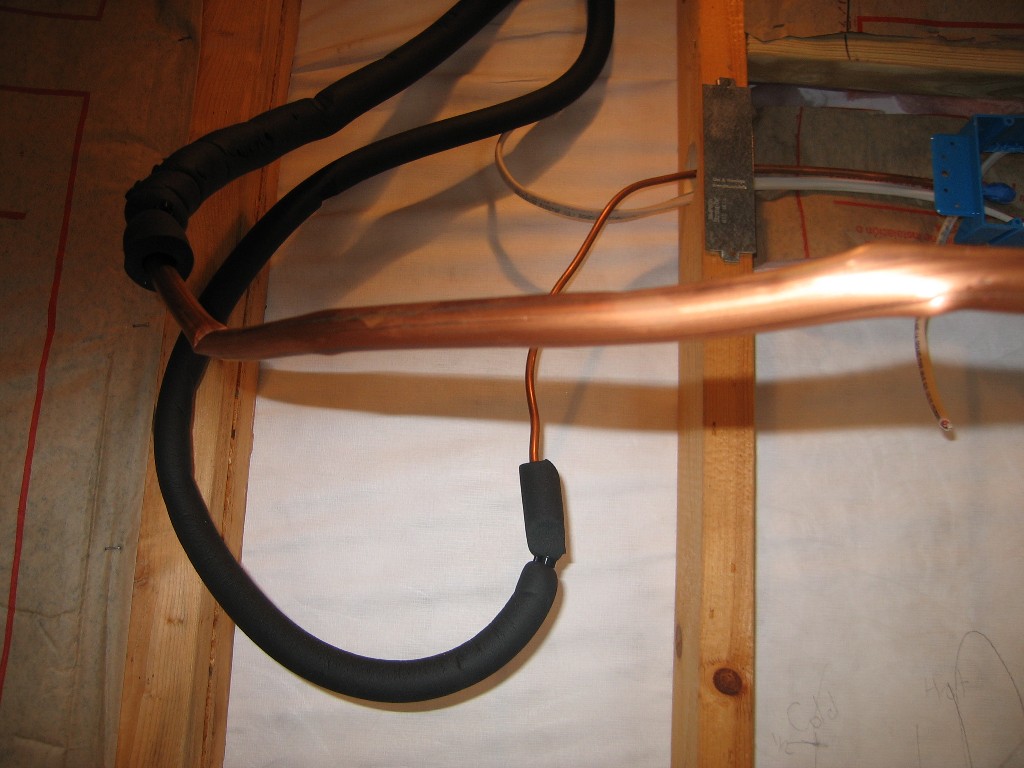 |
Often, mini-splits are mounted on and the refrigerant lines run straight out the wall to the compressor below. We wanted the
refrigerant lines to run up the wall, across the ceiling, and down and out the back wall for appearances sake and to have the compressor
in back of the Coach House. We bought pre-made refrigerant lines. There is a 1/4" and a 1/2" line. They came with insulation installed on the lines. Bending the 1/4" line to feed it through the wall studs and headers was easy. The 1/2" line didn't do so well. That is when we decided that a professional was needed for that task. |
|
click on images to enlarge |
||
Disclaimer: The information in this site is a collection of data we derived from the vendors and from our personal experiences. This information is meant as a learning guide for you to make your own decisions Best practices and code should always be followed. The recommendations we make are from our personal experiences and we do not receive any compensation for those recommendations. |