
Please wait, I'm coming over...

Last Changed 5/8/2011 |
||
|
We got used to being able to see behind Training Wheels
with its rearview camera system. We like that view, because there are so many idiot car drivers that try to sneak around the right side of an RV. When we started to pull Sparky behind Tige, the rear view camera became a necessity as we had to have a way to monitor Sparky's status. We have tire pressure monitors on Sparky but other things can happen and Sparky isn't visible in Red Rover's mirrors. |
||
We added a rearview camera to Tige. note - as we replace the camera because of water invasion, we became aware the "weatherproof" does not mean the camera can withstand hard rain. We used a different camera when we replaced this camera when the rain invaded it. Details are at Rear View camera (2). |
||
Camera Installation |
||
 |
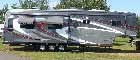
We mounted the same kind of CCD camera that was used on the rear of Red Rover. We painted the normally black camera so that it did not stick out visually. |
|
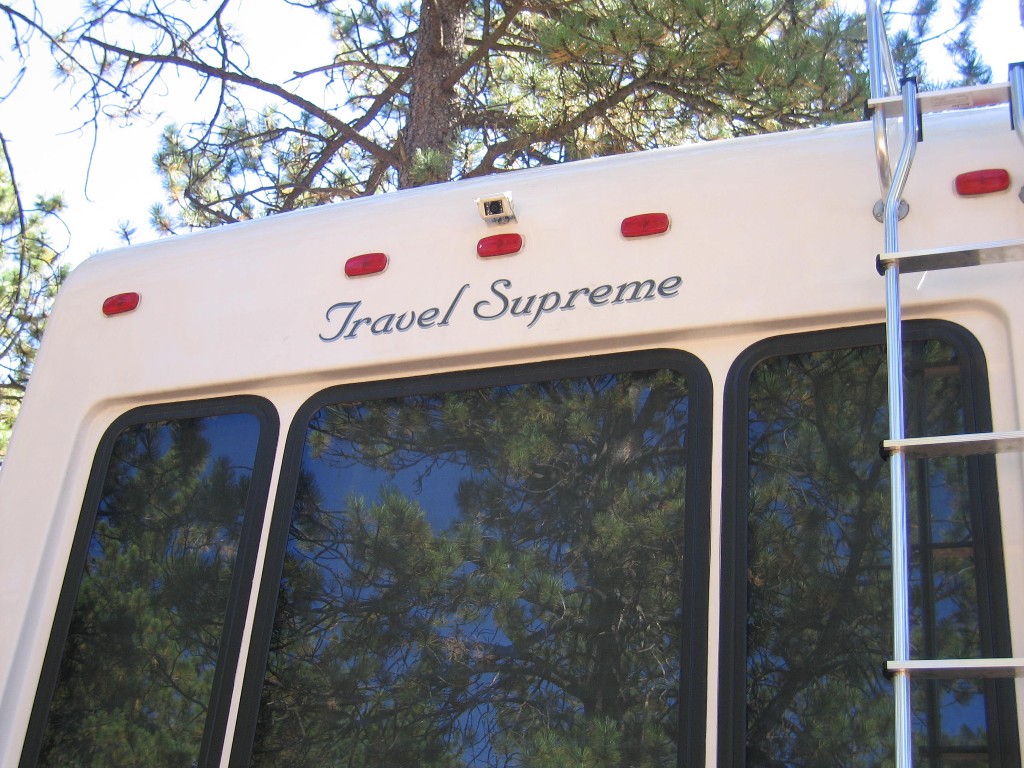 |
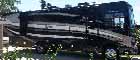
A view from the ground. You can hardly notice the camera. | |
click on images to enlarge |
||
Cabling |
||
 |
When we ordered Tige, we had a pull wire
installed from an access hole in the back cap to the front pin area
where the trailer cable is attached. We used that pull wire to
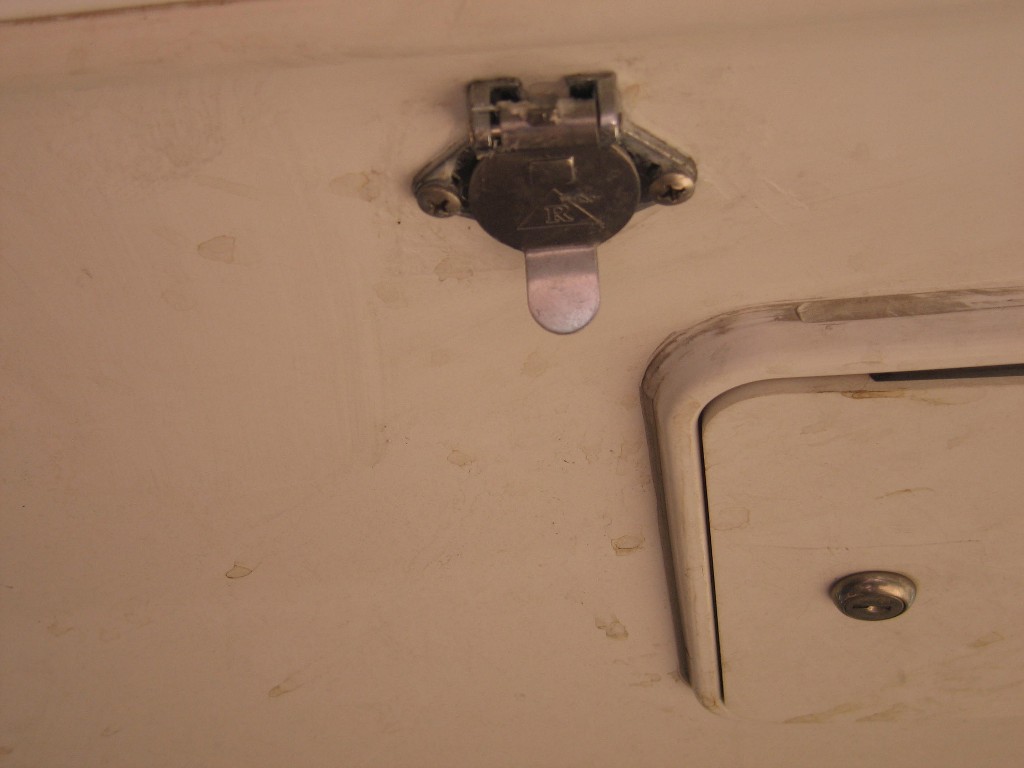
string a piece of Cat-5 wire. At the front end of the trailer, we installed a four conductor jack and attached the Cat-5 wire. Plugs were soldered at the other end of the Cat-5 wire to attach to the camera. |
|
 |
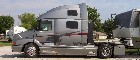
A four conductor jack was installed above the trailer cord jack. Cat-5 wire was used to attach this jack to the Rearview Monitor in Red Rover's cab. | |
click on images to enlarge |
||
 |
This is the cable we will use for the truck to trailer connection of the rearview camera. This cable/jack set was sold for making connections to toad vehicles behind a motorhomes. | |
click on images to enlarge |
||
Better Cabling |
||
 |
Over time we had problems with the cable connectors on the
cable at the end where we attach and detach the trailer to the
truck. The trailer end of the cable is hardly ever removed so
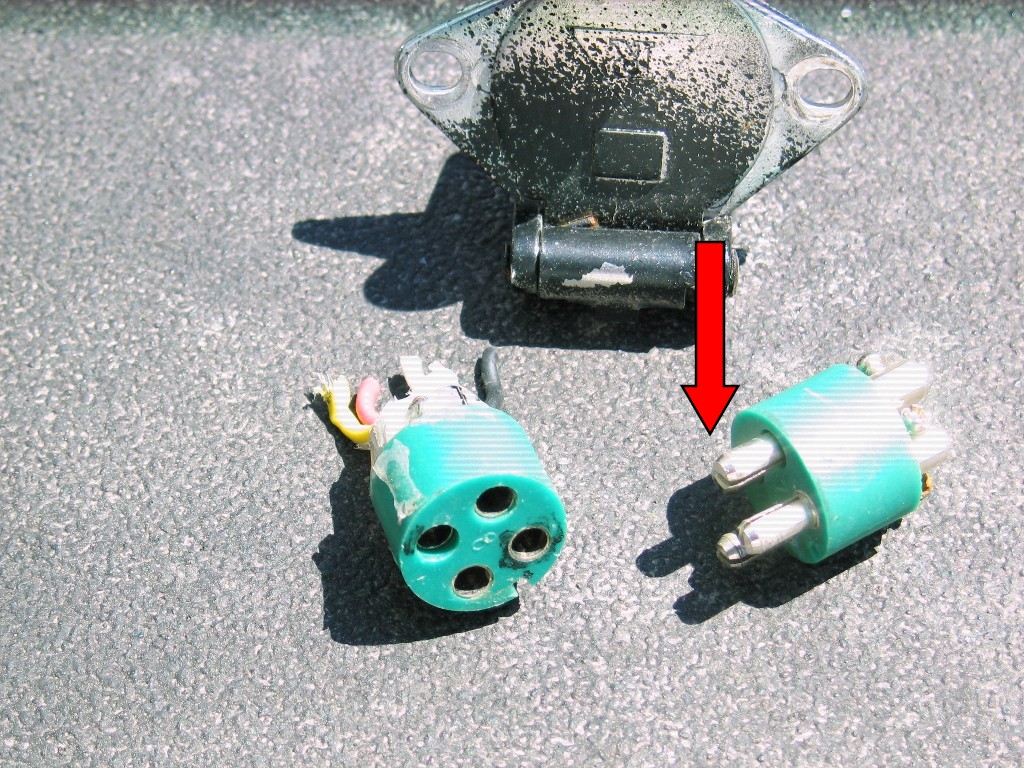
there had been no problem at that end. We had two problems with the receptacle which has the male pins. The springing action that is needed to clean the contact area and the contacts meet weakens over time. The spring action is a split in the pin. After a lot of insertions, the gap closes and the springing action is reduced. Also, as we disassembled the receptacle, we found that a couple of the pins had retracted a bit also making for poor contact. |
|
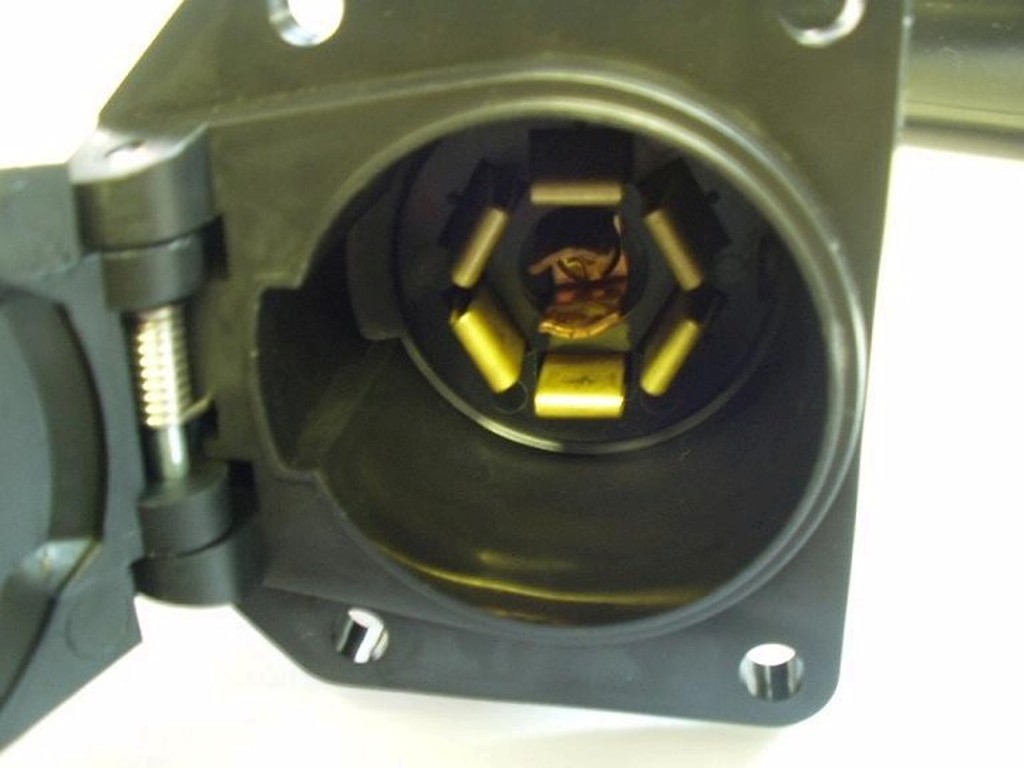 |
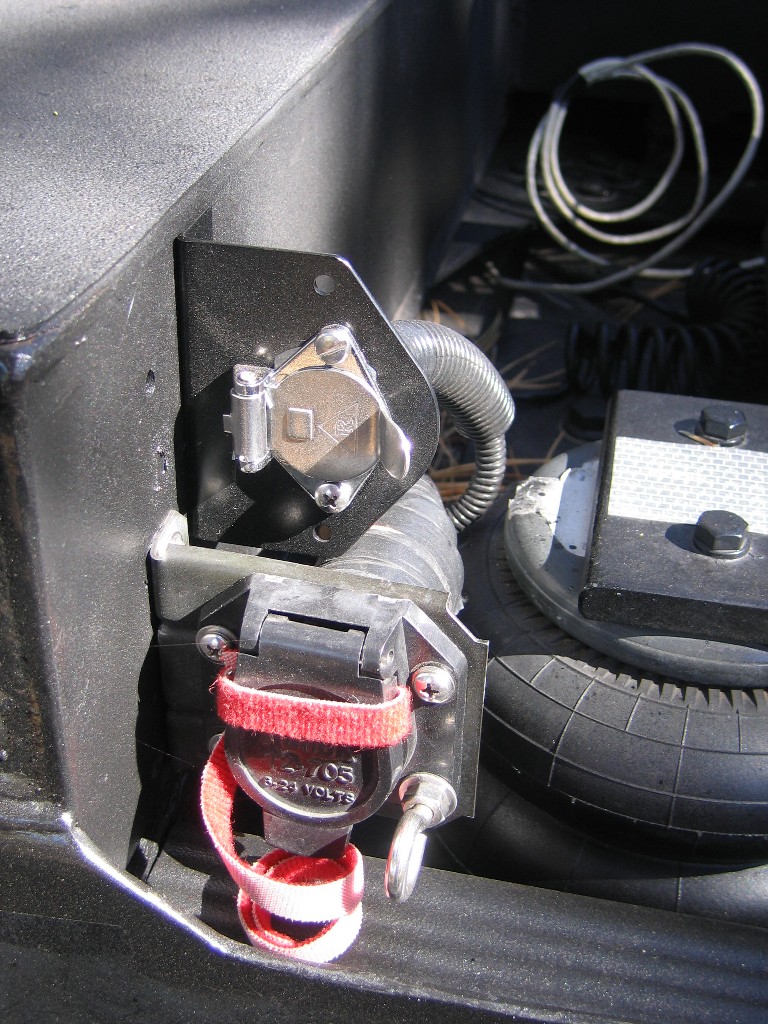
After looking at many options, we decided to use a standard 7-way
plug and receptacle like the normal trailer cable that has light,
brake, and power connections. The connectors have a lot more capacity than is need by the rear-view camera. But we like the way the plug contacts are sprung. That insure a good wiping action as the plug is inserted. These connectors are geared for a lot more use. |
|
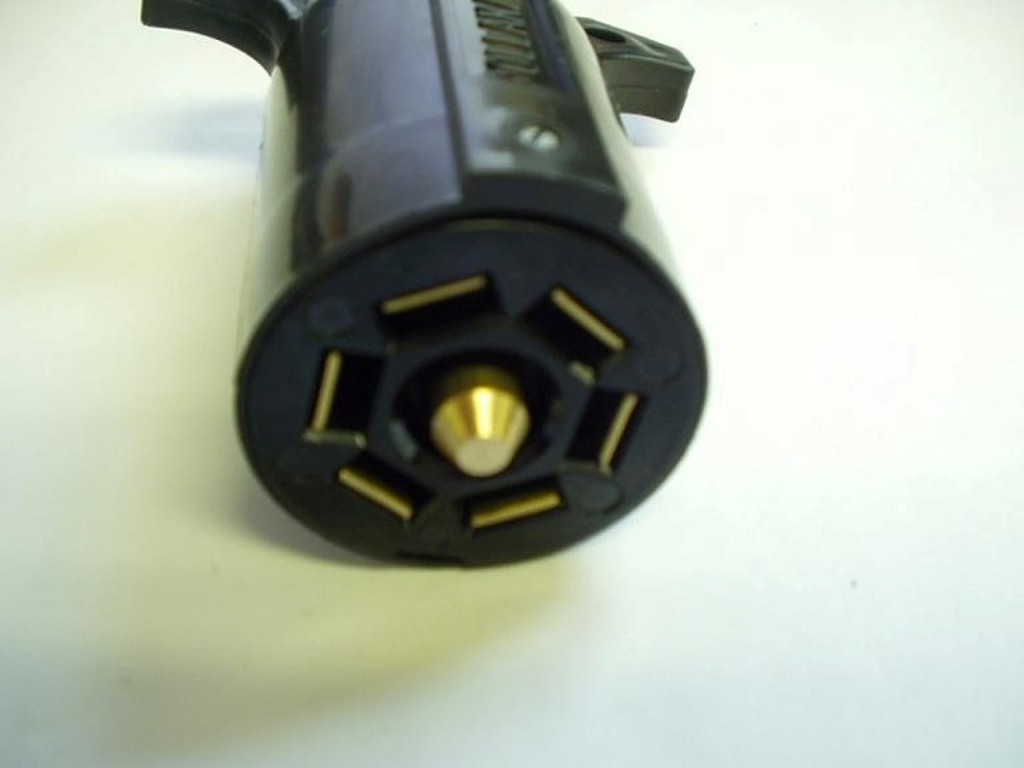 |
The plug had flat blades that engage the spring contacts in the receptacle. | |
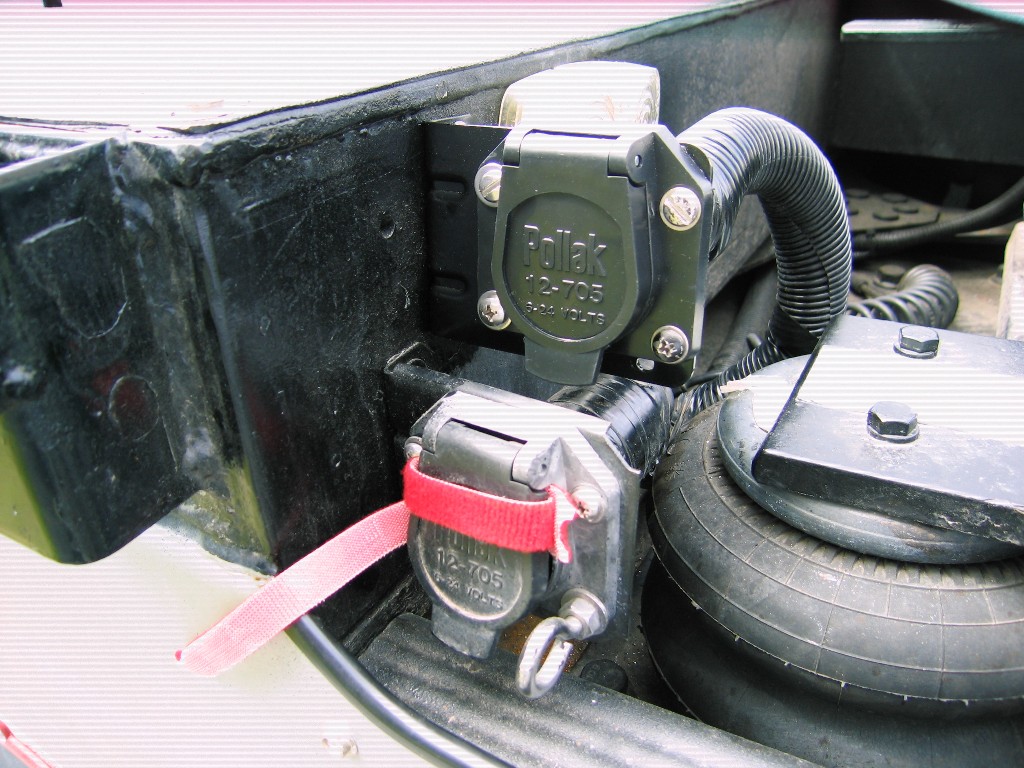 |
The larger 7-way connector fit in the same place we had the 4-way connector. | |
Tige's camera plugs into the same monitor as the rearview camera on Red Rover. Since only one of the two cameras is useful at one time, the video input selector on the monitor handles the switching function. |
||
Disclaimer: The information in this site is a collection of data we derived from the vendors and from our personal experiences. This information is meant as a learning guide for you to make your own decisions Best practices and code should always be followed. The recommendations we make are from our personal experiences and we do not receive any compensation for those recommendations. |